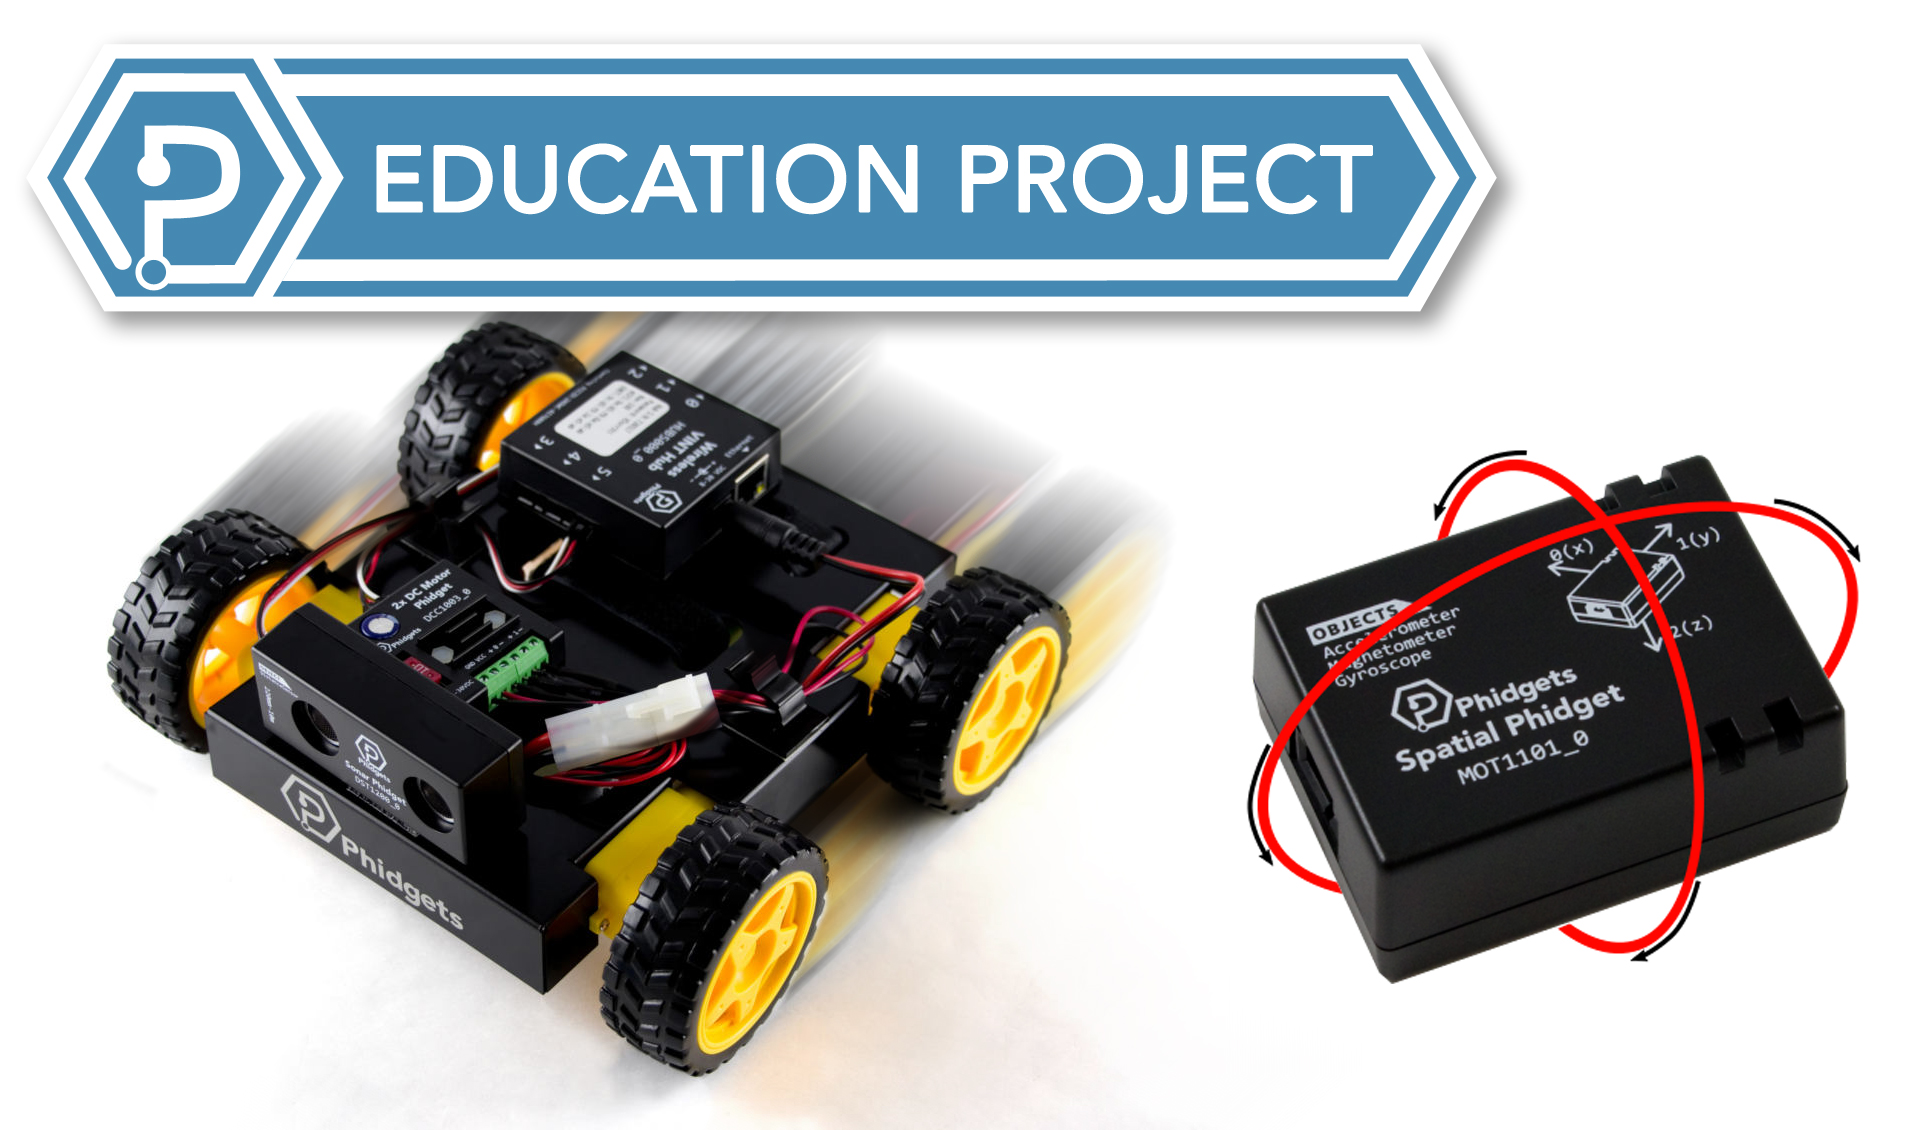
Tilt Controlled Rover
Using the Spatial Phidget as a Tilt Sensor
Intermediateby Ben
Prerequisites
This project assumes you have completed the following guides:
- The Getting Started Kit.
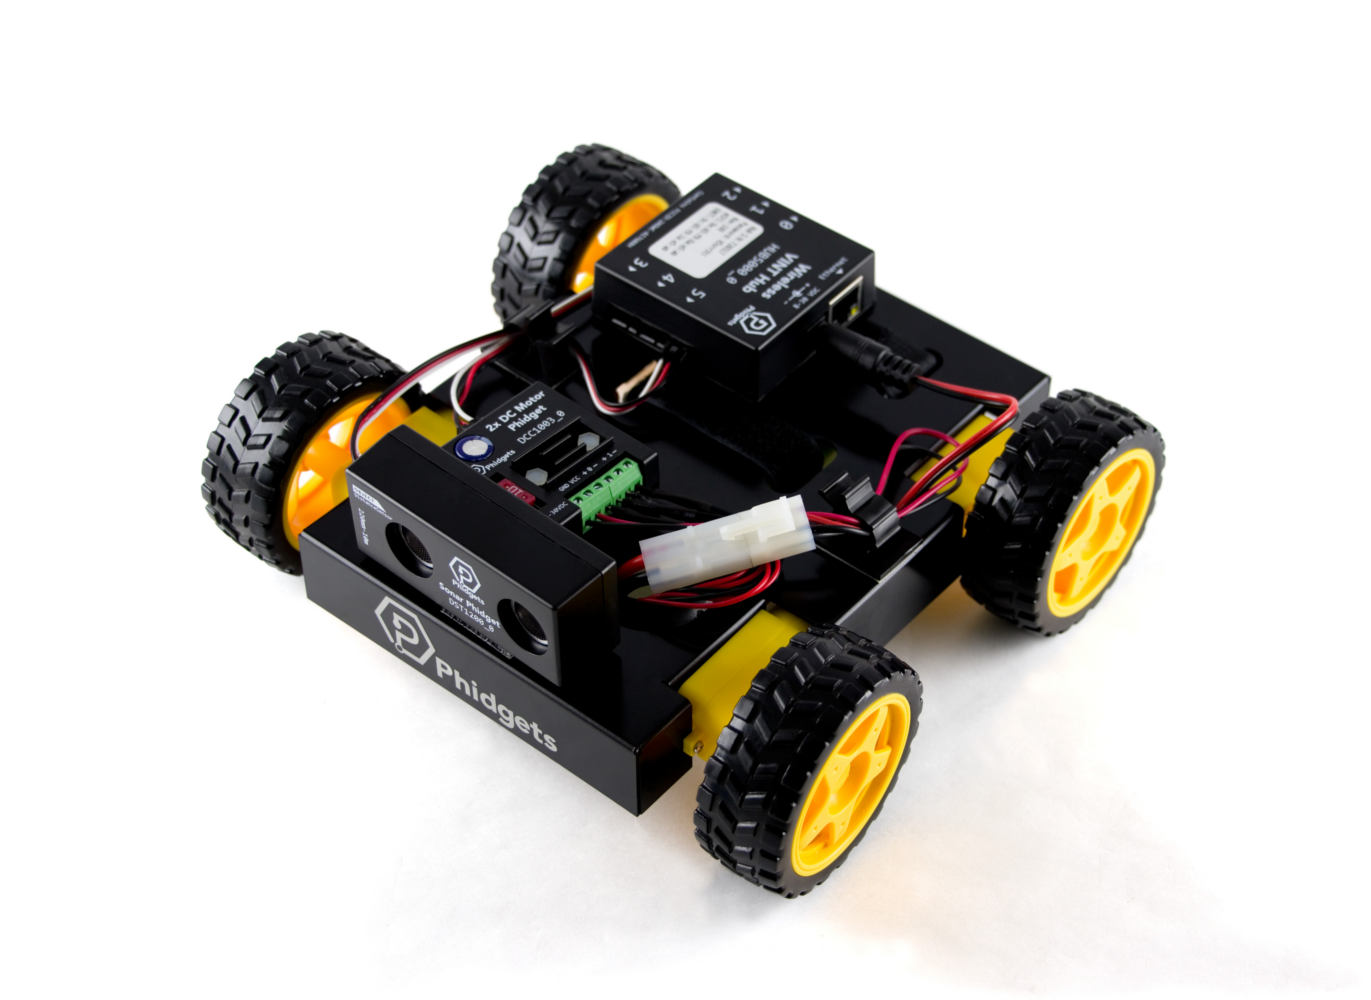
- The Rover Kit.
- The Spatial Tutorial
See the Student Page for more information
Interpreting Data
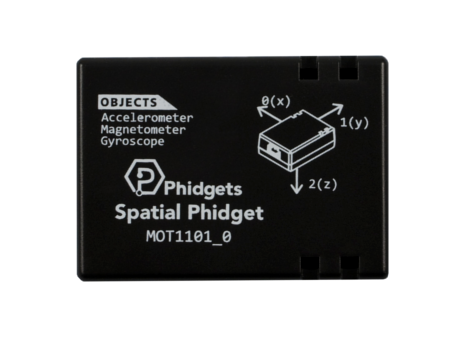
The Spatial Phidget's accelerometer can measure all accelerations experienced by the sensor, including the acceleration
due to gravity. Because this acceleration always points down, it can be used to calculate orientation.
Read the
Calculating Tilt Angles Tutorial for a detailed explanation.
Here are the relevant equations for reference:
`theta = "roll angle "phi = "pitch angle"`
`M_x = "Measured x-axis acceleration"`
`M_y = "Measured y-axis acceleration"`
`M_z = "Measured z-axis acceleration"`
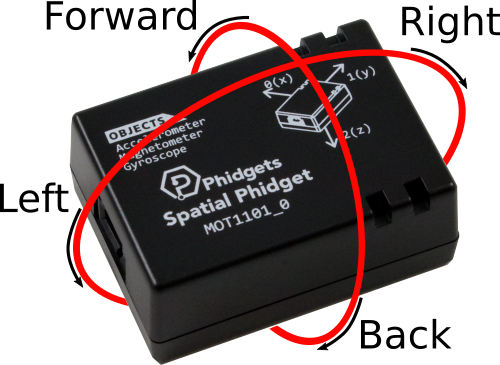
The rover is controlled by the orientation of the Spatial Phidget. Tilting the Spatial Phidget forward or back will move the rover forward or back. Tilting the Spatial Phidget left or right will result in the rover turning to the left or right.
Software
In your Rover Kit, you converted thumbstick values into motor commands. In this project, you can modify that code by using Phidget Spatial commands in place of the thumbstick commands.
Step 1: Setup
Here you'll need to create Phidget objects, add event handlers and begin the main loop. Use the provided code samples and the flow chart to get started.
def main():
leftMotors = DCMotor()
rightMotors = DCMotor()
accel = Accelerometer()
# TODO: Address, Register for Events,
# Open, Configure Accelerometer Data Interval
main()
public static void main(String[] args) throws PhidgetException{
DCMotor leftMotors = new DCMotor();
DCMotor rightMotors = new DCMotor();
Accelerometer accel = new Accelerometer();
//TODO: Address, Register for Events
// Open, Configure Accelerometer Data Interval
}
static void Main(string[] args)
{
DCMotor leftMotors = new DCMotor();
DCMotor rightMotors = new DCMotor();
Accelerometer accel = new Accelerometer();
//TODO: Address, Register for Events
// Open, Configure Accelerometer Data Interval
}
Step 2: Events
Here you will get the tilt values in the handler and store them in a variable for later use.
In your handler, the raw accelerometer data must first be converted to a tilt angle. Next, rescale the control value such that a 90 tilt forward will correspond to a control input of 1.
Accelerometer data comes in an array of three values, one for each axis.
def onAccelerationChange(self, accelerations, timestamp):
global yControl, xControl
x = accelerations[0]
y = accelerations[1]
z = accelerations[2]
#TODO: Convert and scale tilt values.
# Save them to global variables afterwards
accel.addAccelerationChangeListener(new AccelerometerAccelerationChangeListener() {
public void onAccelerationChange(AccelerometerAccelerationChangeEvent e) {
double x = e.getAcceleration()[0];
double y = e.getAcceleration()[1];
double z = e.getAcceleration()[2];
//TODO: Convert and scale tilt values.
// Save them to global variables afterwards
}
});
static void onAccelerationChange(object sender, AccelerometerAccelerationChangeEventArgs e)
{
double x = e.Acceleration[0];
double y = e.Acceleration[1];
double z = e.Acceleration[2];
//TODO: Convert and scale tilt values.
// Save them to global variables afterwards
}
Step 3: Main Loop
Update the motors target velocity using the accelerometer tilt data.
def main():
#previous code above ...
try:
while True:
# TODO: Update Motors Target Velocity
time.sleep(0.02) #sleep 20ms
except KeyboardInterrupt:
# TODO: Close phidgets before program exits
main()
//previous code above ...
while (programIsRunning) {
//TODO: define programIsRunning at top of main
//TODO: Update Motors Target Velocity
if (System.in.available() > 0) {
System.out.println("Ending Program");
programIsRunning = false;
}
Thread.sleep(20); //sleep 20ms
}
//TODO: Close phidgets before program exits
//previous code above ...
while (programIsRunning)
{
//TODO: define programIsRunning at top of main
//TODO: Update Motors Target Velocity
if (System.Console.KeyAvailable)
{
Console.WriteLine("Ending Program");
programIsRunning = false;
}
System.Threading.Thread.Sleep(20); //sleep 20ms
}
// TODO: Close phidgets before program exits
Next Steps
There are many applications where we can use tilt angles gathered from the Spatial Phidget. For example, try our interactive maze project!
Have a cool project or suggestions for future education projects? Let us know at education@phidgets.com