Automate your blinds with Phidgets
by Lucas

Source Code
Introduction
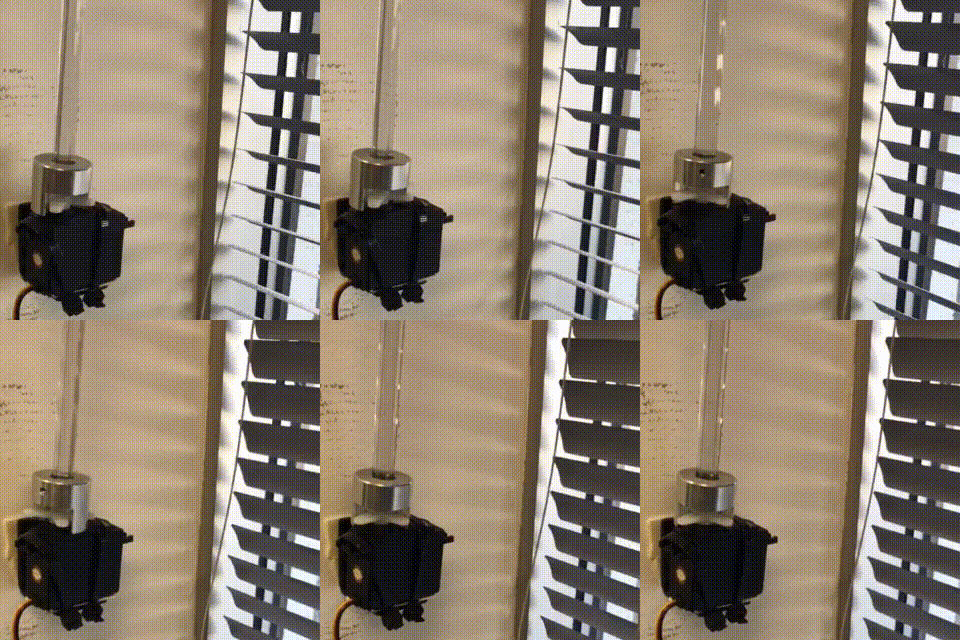
This will be a quick project on automating your blinds with Phidgets. This project was implemented in a non-permanent way, which is ideal for an office environment.

Hardware
- Any servo controller. For this project, a PhidgetAdvancedServo 1-Motor was used because only one servo needed to be controlled.
- Continuous rotation servo
- Double sided tape
If you would like to implement a similar system in your home, it would be better to use a quieter motor such as a small DC motor or stepper motor with the appropriate controller. You will also likely mount the motor on top of the blinds instead of coupled to the blind wand as was done in this implementation, which you can see above.
Software
Libraries and Drivers
This project assumes that you are somewhat familiar with the basic operation of Phidgets (i.e. attaching and opening devices, reading data, etc). If this is your first time building a Phidgets project with C#, please refer to the C# page for instructions on how to setup your environment and get started.
Overview
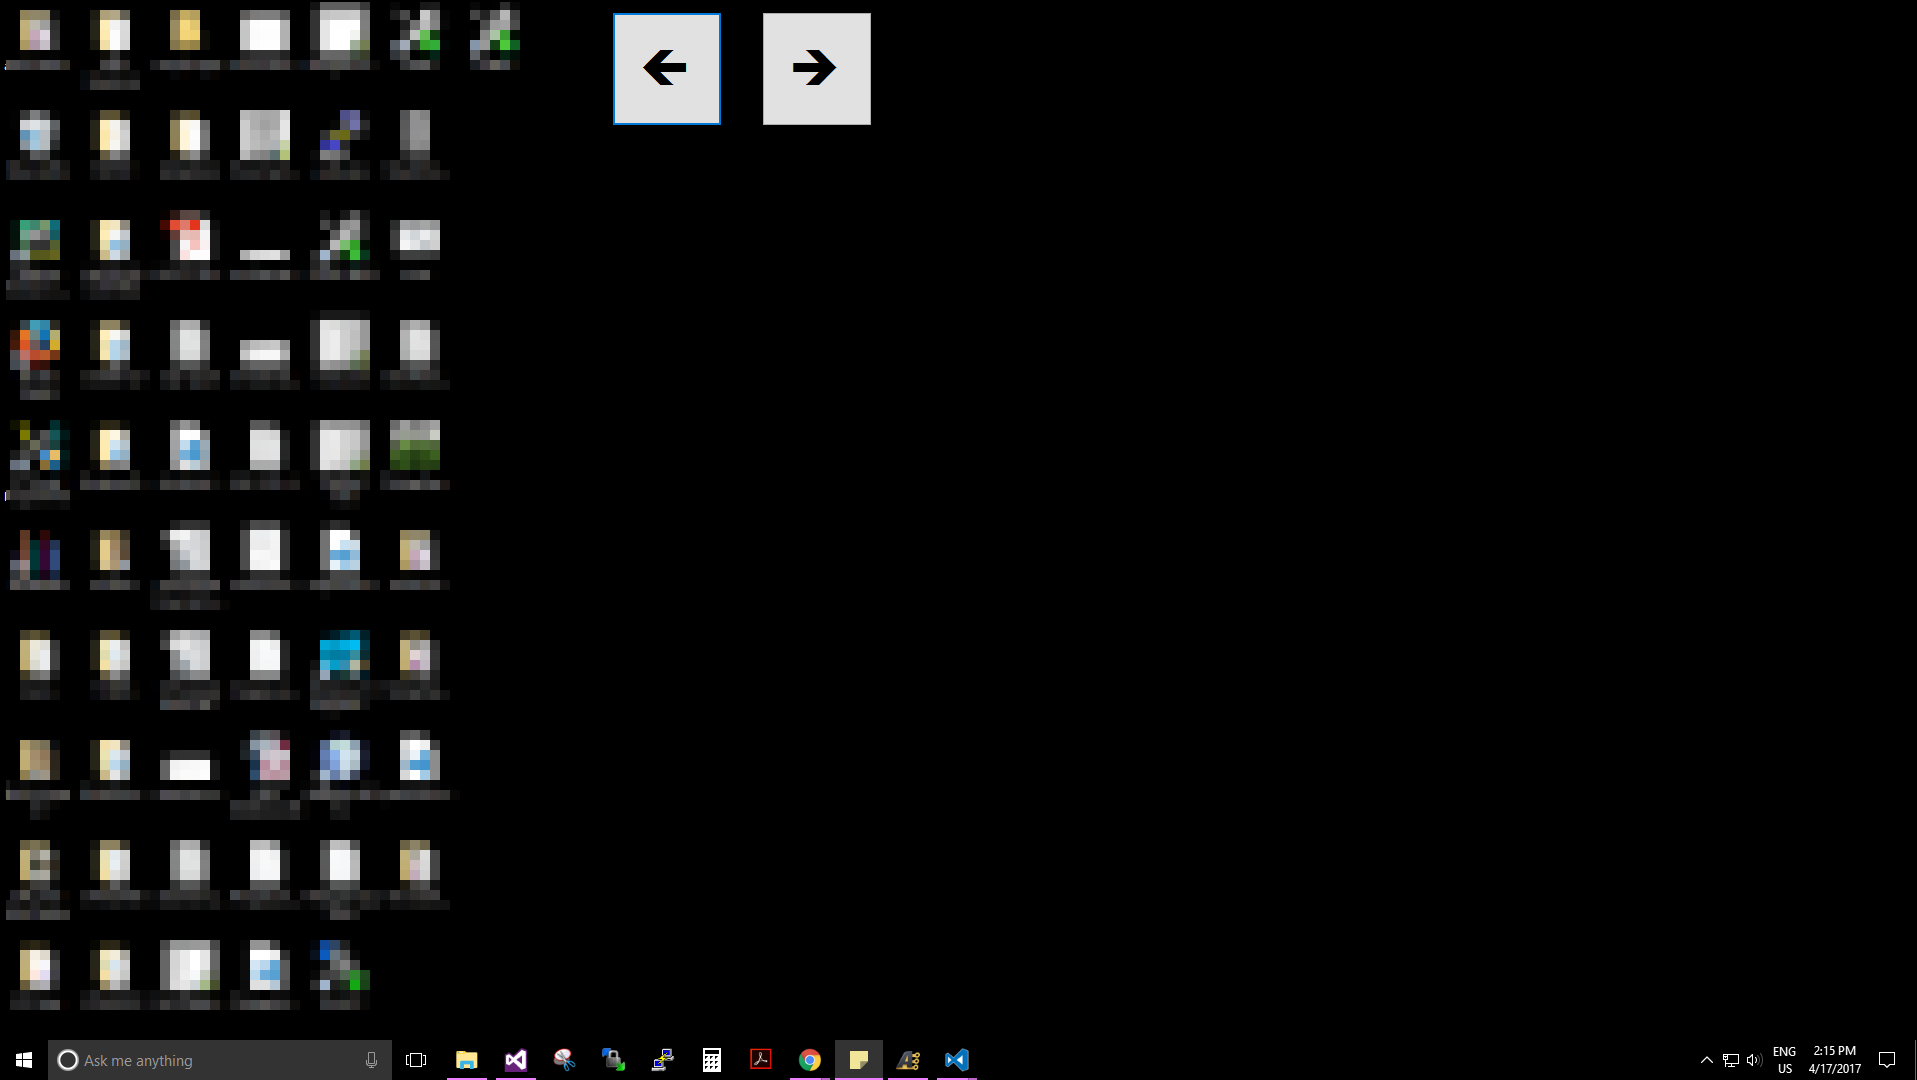
For this project, a very simple program was created. There are two buttons available to the user. When either is pressed, the motor will rotate which causes the blinds to open or close. If a button is held for more than 5 seconds, the servo motor is disengaged in order to prevent damage to the blinds. The program can be seen running on a windows machine below:

Create RCServo & Enable Logging
The first step, as always, is enabling Phidget logging and creating the required Phidgets.
RCServo servo;
...
private void Form1_Load(object sender, EventArgs e){
    try{
        Log.Enable(LogLevel.Info, "path/to/log/file" );
        servo = new RCServo();
        servo.Attach += attach_handler;
        servo.Detach += detach_handler;
        servo.DeviceSerialNumber = 119852;
        servo.Open();
    }catch(PhidgetException ex){
       Phidget.Log(LogLevel.Error, ex.Description);
    }
}
You can use the attach/detach handlers to enable/disable user interaction with the buttons.
Handle Button Events
Enable mouse down and mouse up events for each of the buttons on your GUI. Next, add a timer with a 5 second interval to ensure your blinds are kept safe!
private void leftButton_MouseDown(object sender, MouseEventArgs e){
    timer1.Enabled = true;
    servo.TargetPosition = servo.MaxPosition;
    servo.Engaged = true;
}

private void leftButton_MouseUp(object sender, MouseEventArgs e){
    servo.Engaged = false;
    timer1.Enabled = false;
}
private void timer1_Tick(object sender, EventArgs e){
    servo.Engaged = false;
    timer1.Enabled = false;
}
As you can see from the code above, when the user holds down a button (mouse down event), the motor will begin to rotate. It will rotate until either the user releases the button (mouse up event), or, the 5 second timer elapses. Now you simply have to copy the code above for the other button!
Conclusion
Your automated blinds are now complete! Some ideas for future projects:
- Create either iOS app or web page with JavaScript so you can control your blinds from your phone.
- Add some light sensors to your project and ensure its never too bright!
- Open or close your blinds at specific times during the day
