Prerequisites
This project assumes you are familiar with the basic functionality of Unity. You should also review the following before moving on:
Setup
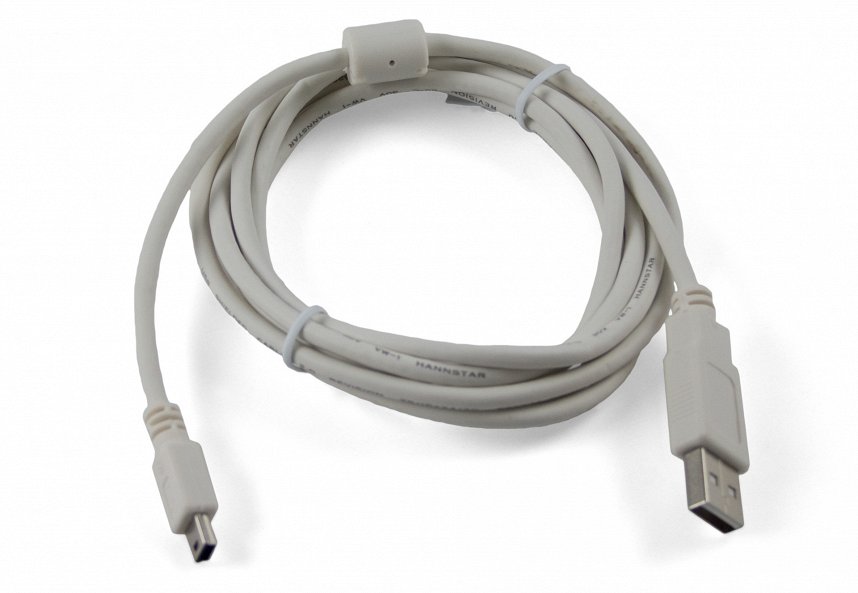
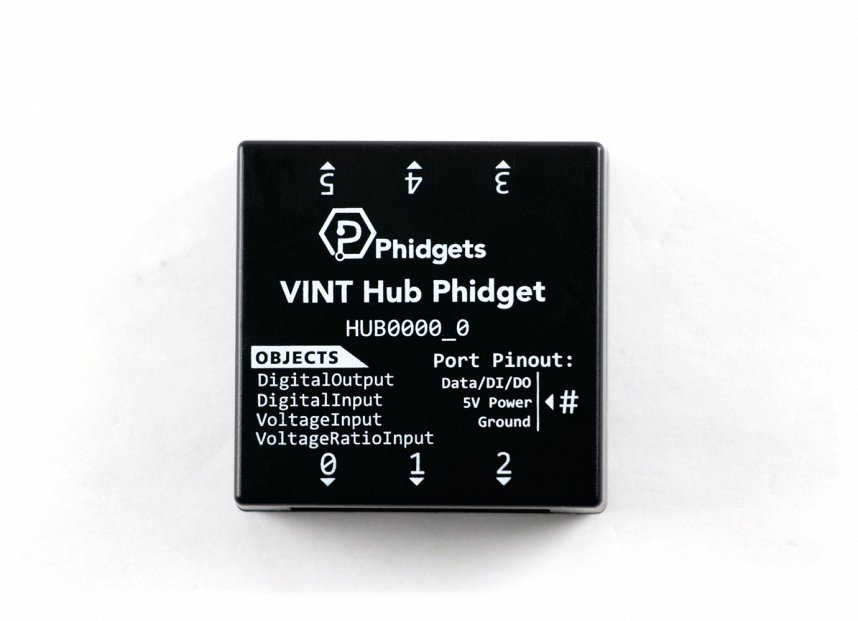
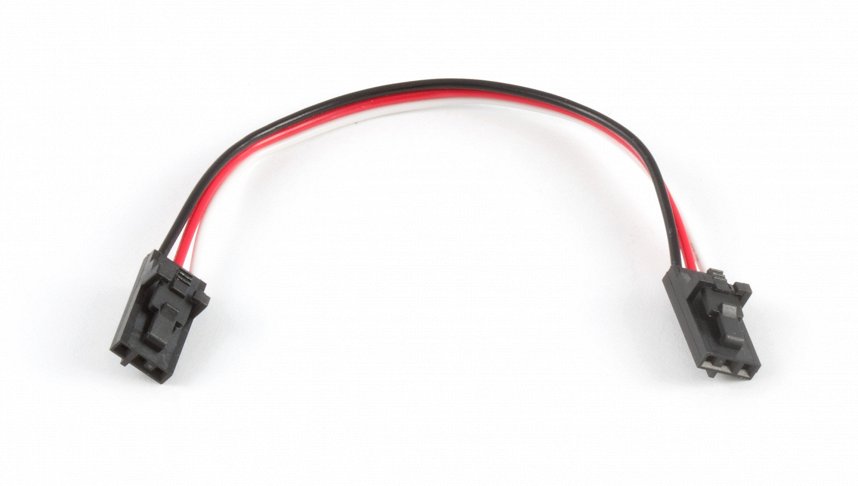
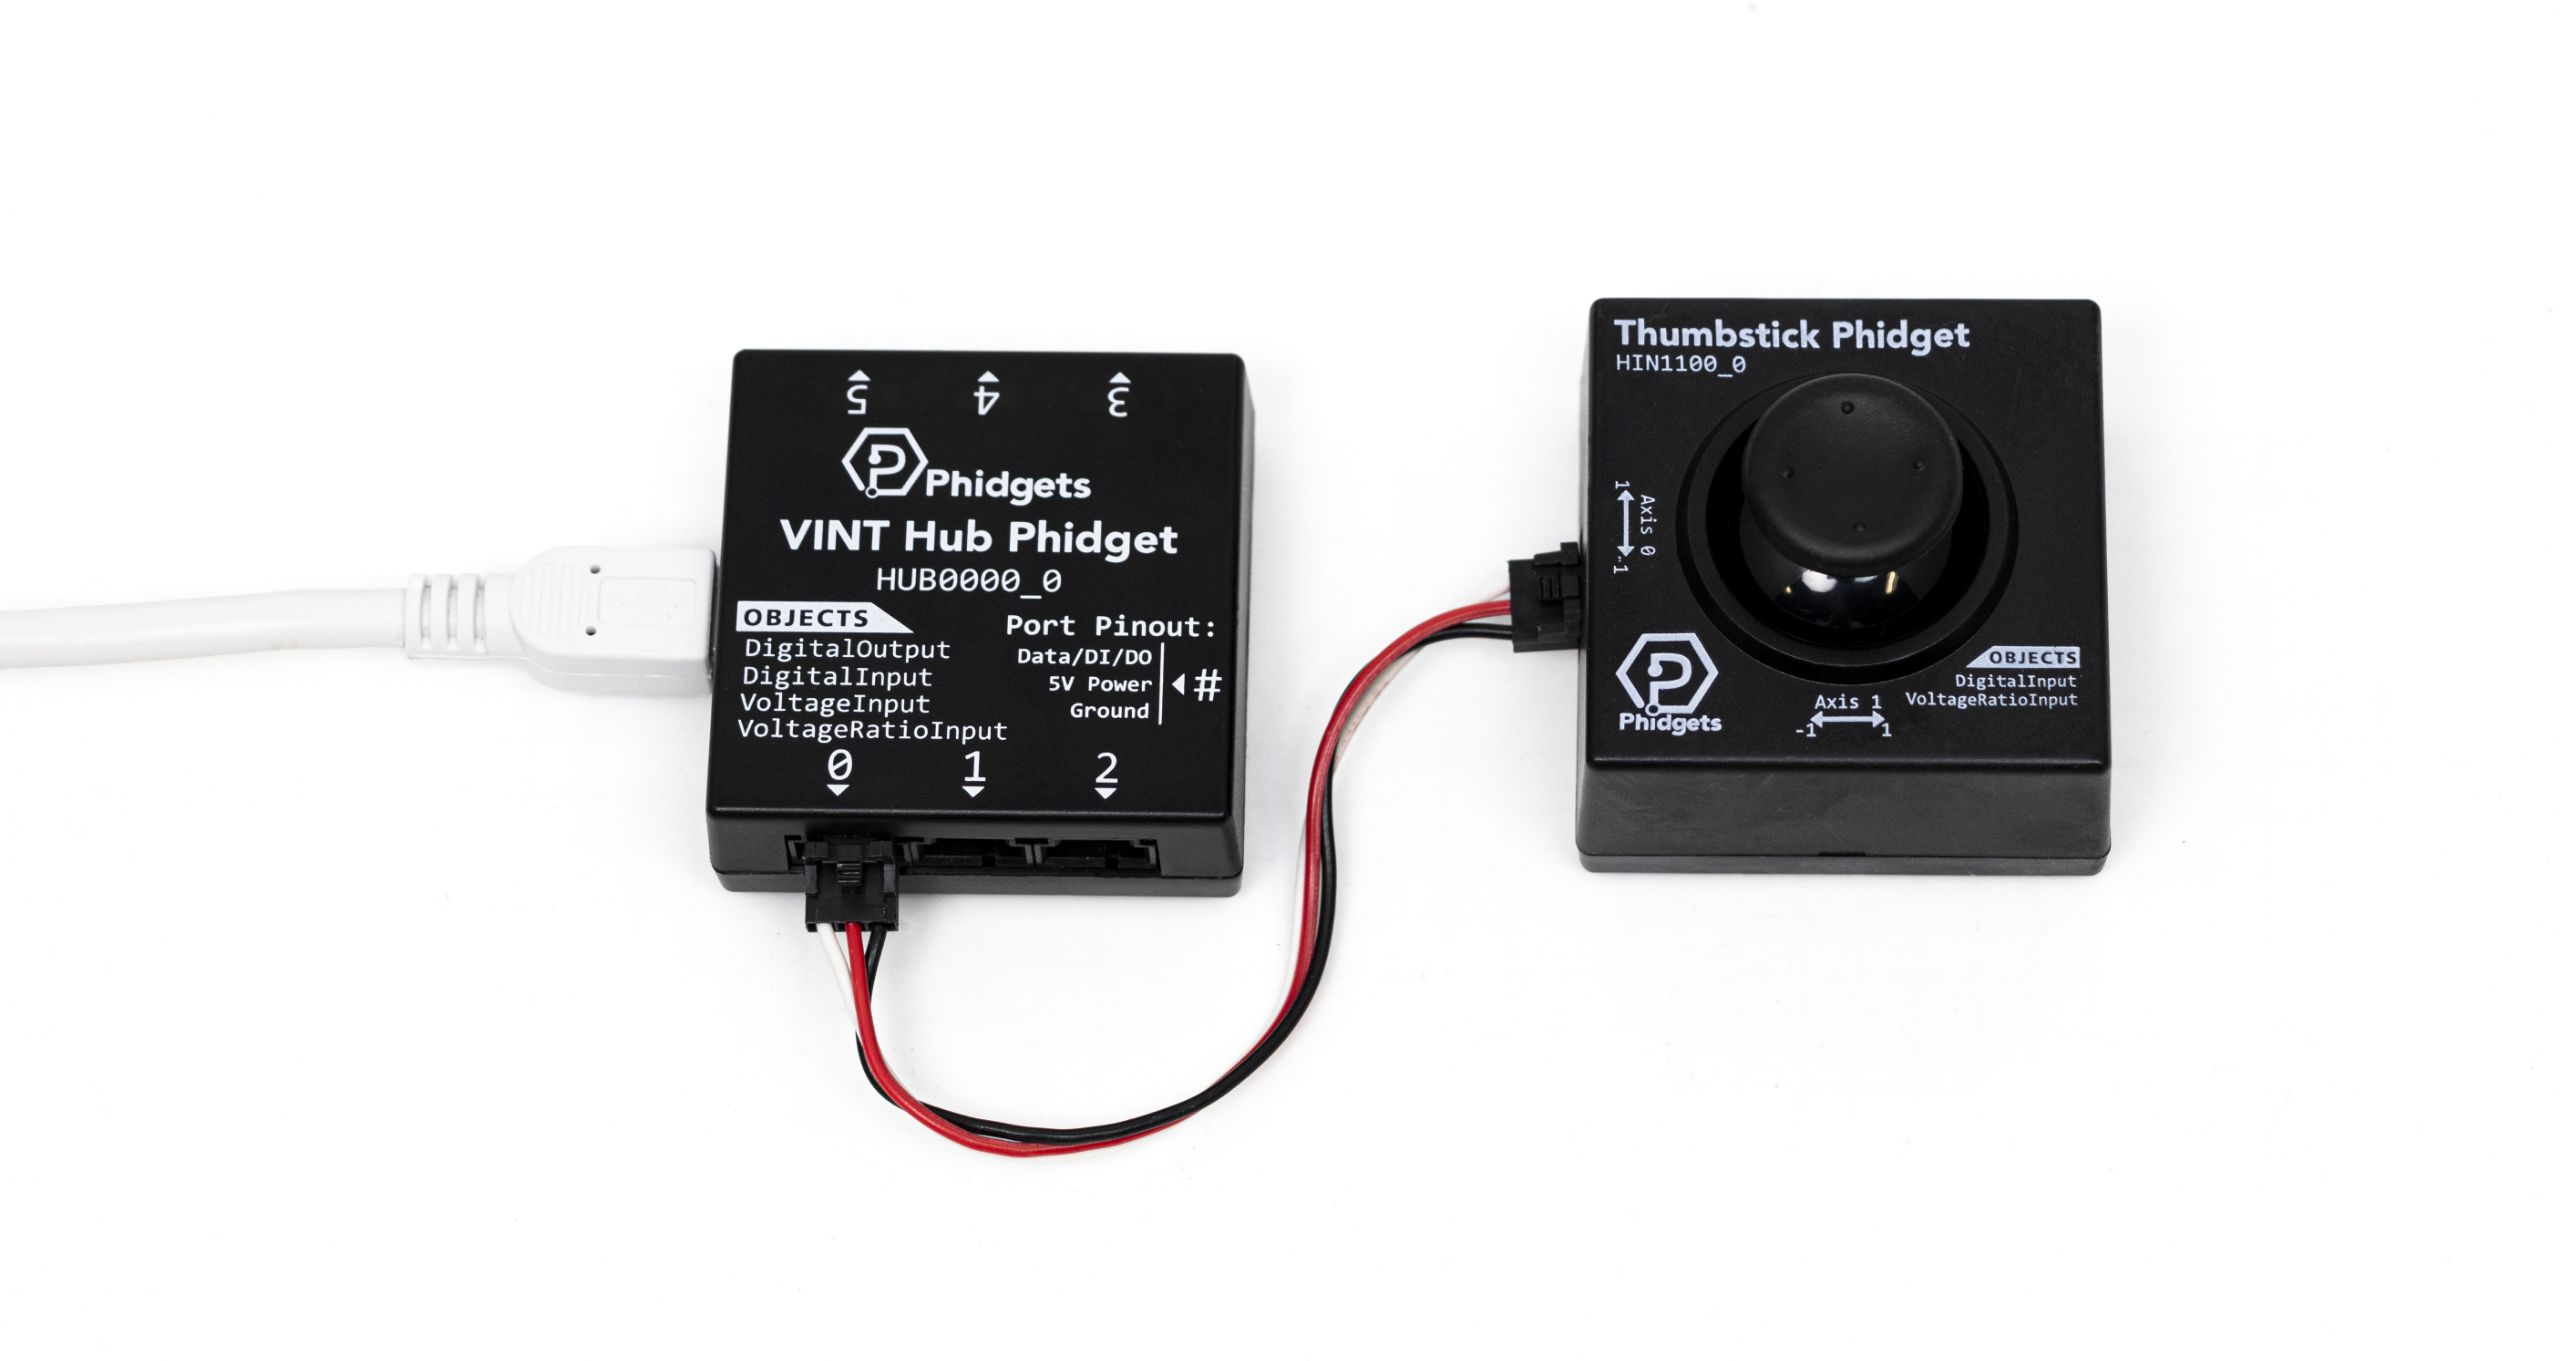
Make sure you have the following parts before getting started.
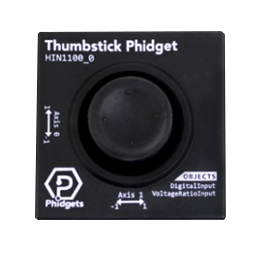
VINT Hub
Attach your Thumbstick Phidget to your VINT Hub as shown:
Configure Unity
In order to use Phidgets with Unity, you have to configure your project. Follow the instructions below.
Step 1
Download a copy of the Phidget libraries and unzip it as shown.
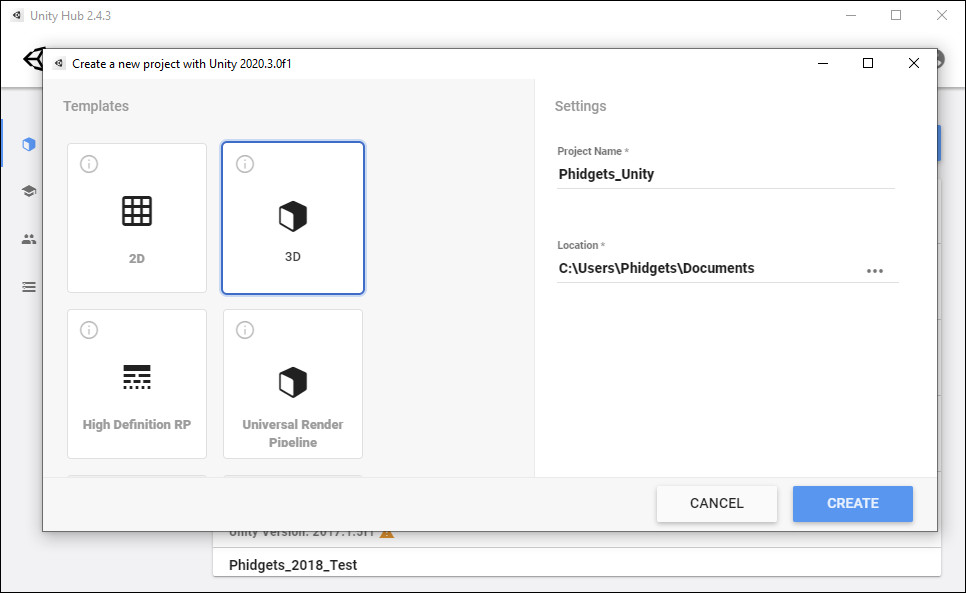
Step 2
Next, open Unity and create a new 3D project. Name it Phidgets_Unity and place it in the location of your choice.
Step 3
Navigate to the file you previously unzipped and import Phidget22.NET.dll and phidget22.dll as shown.
Note: If you are developing on macOS, you do not need to import phidget22.dll
Create Environment
Now that your project is configured, you can create your environment.
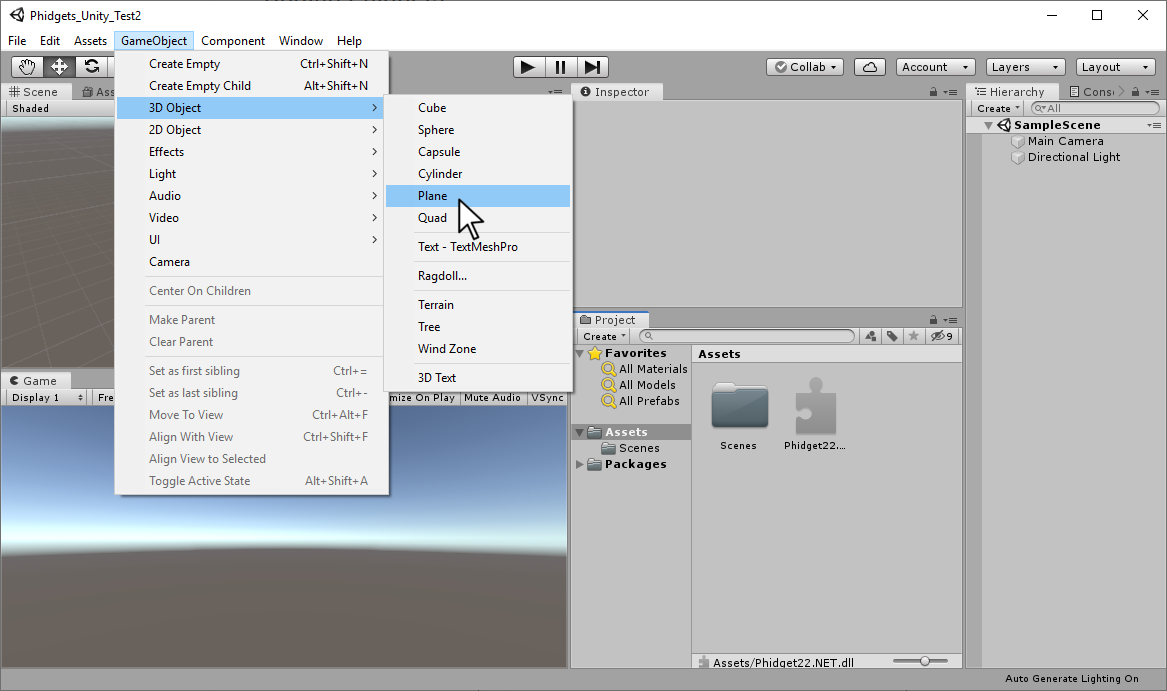
Step 1
Create a 3D plane.
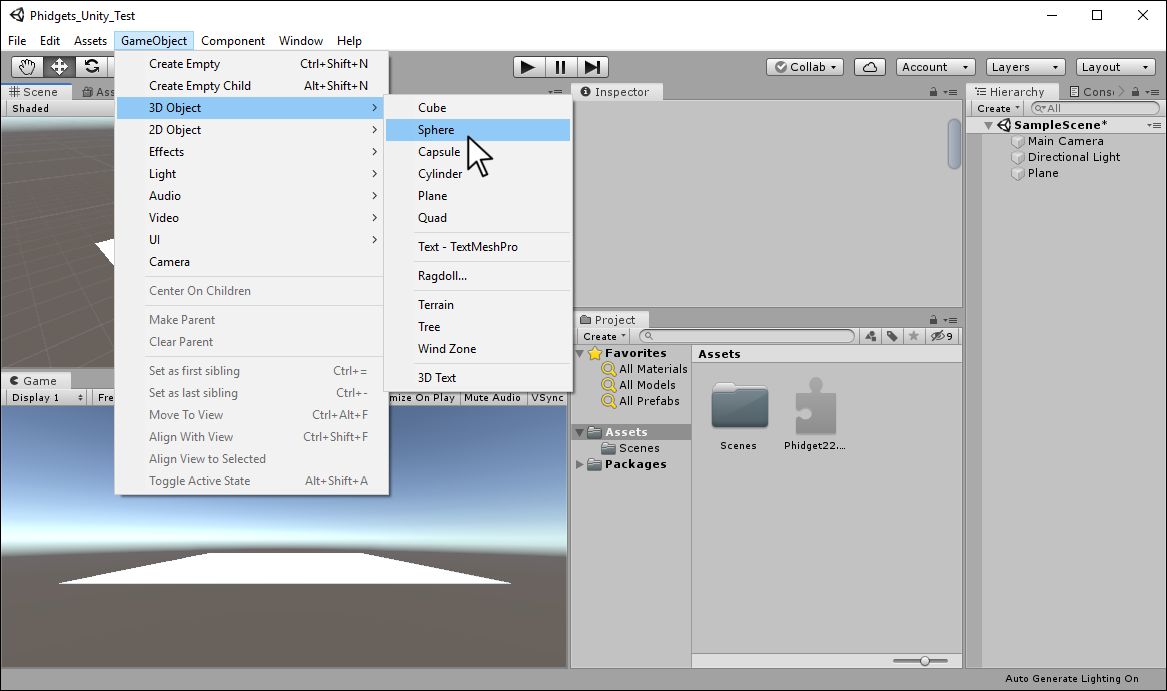
Step 2
Next, create a Sphere.
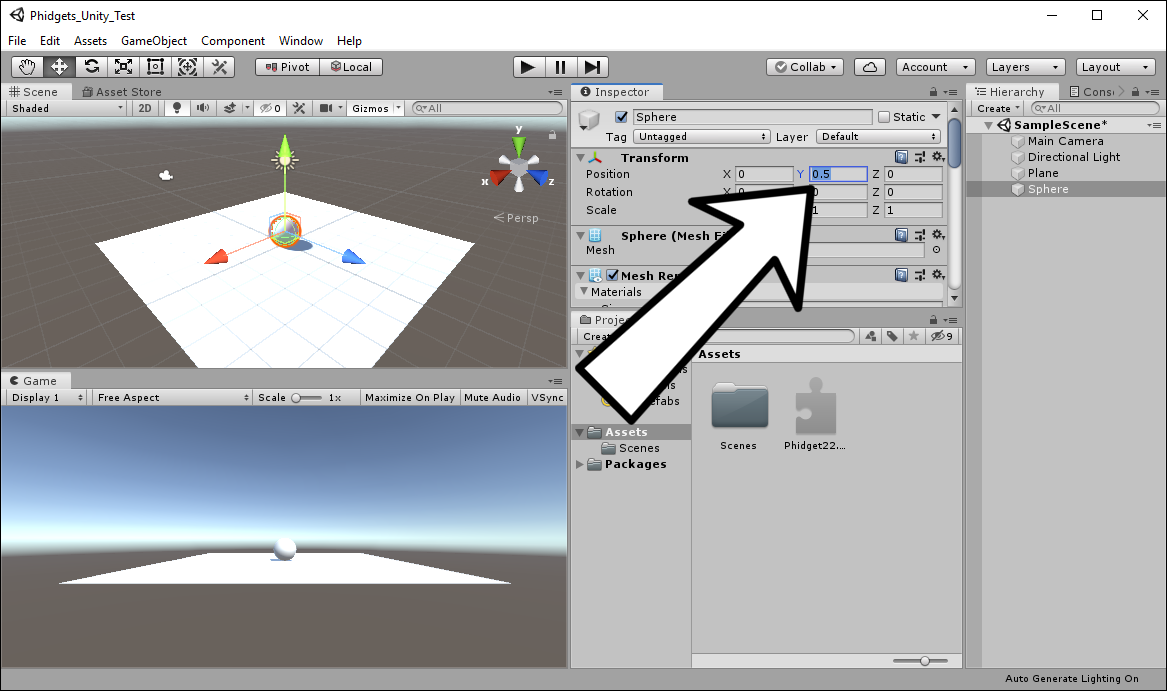
Step 3
Select the sphere and adjust the y-position to 0.5 so it sits on top of the plane.
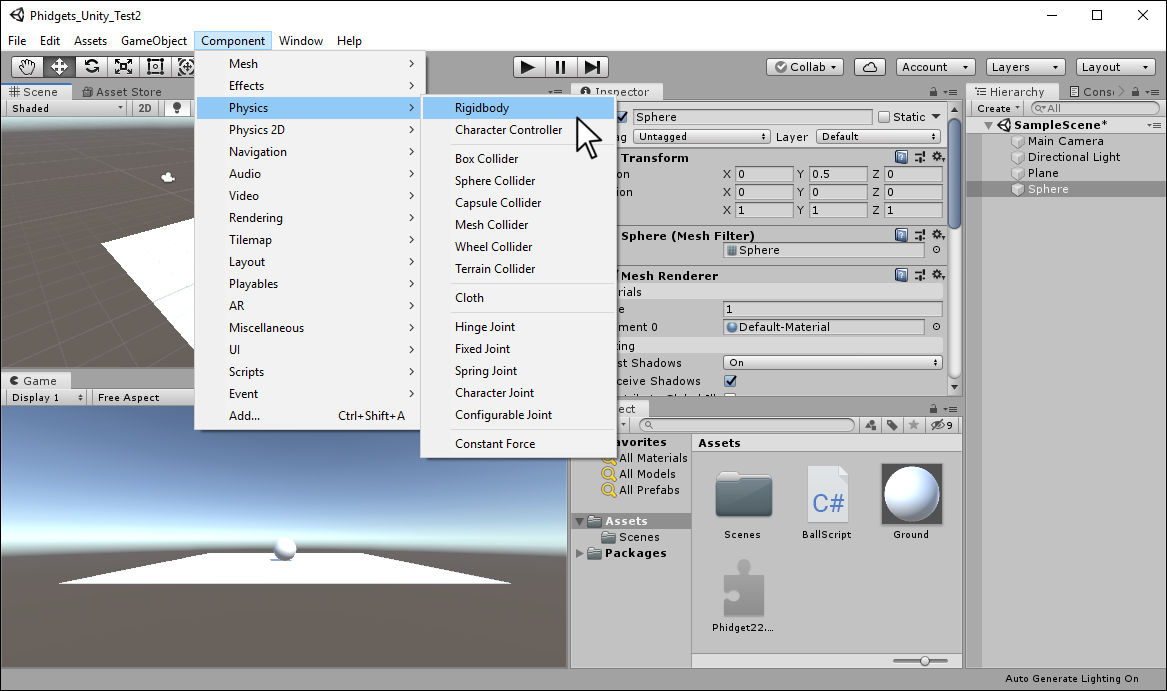
Step 4
With the sphere selected, add a Rigidbody component.
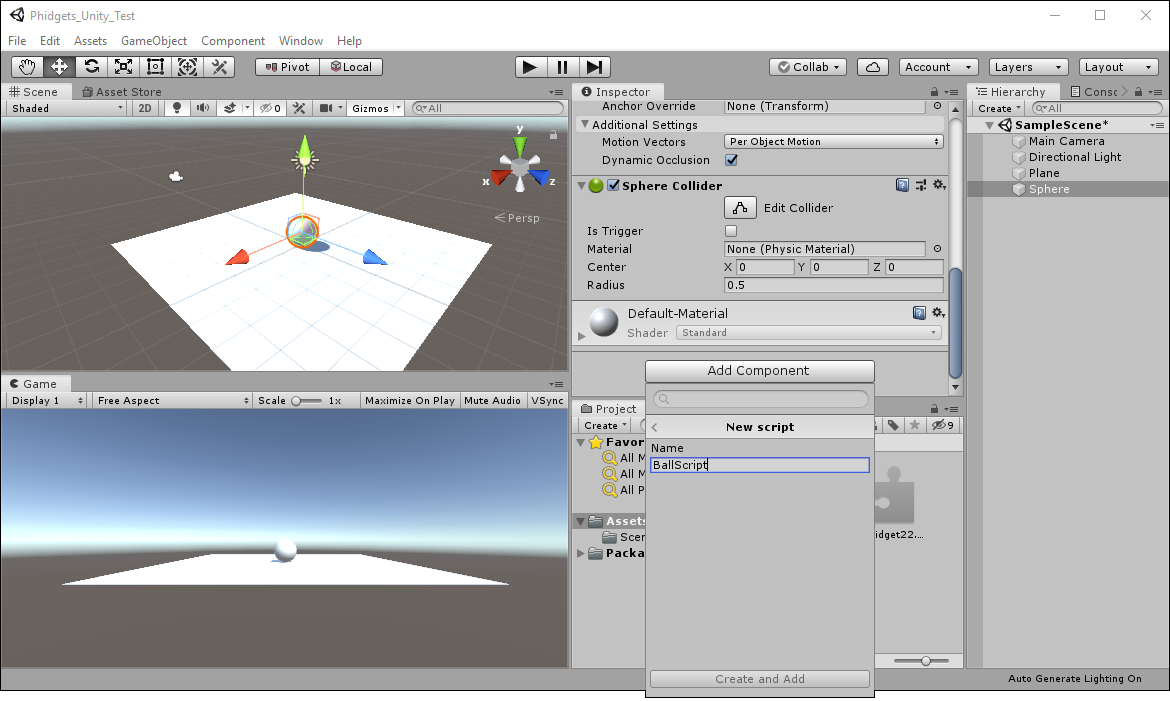
Step 5
Next, add a script to the sphere called BallScript
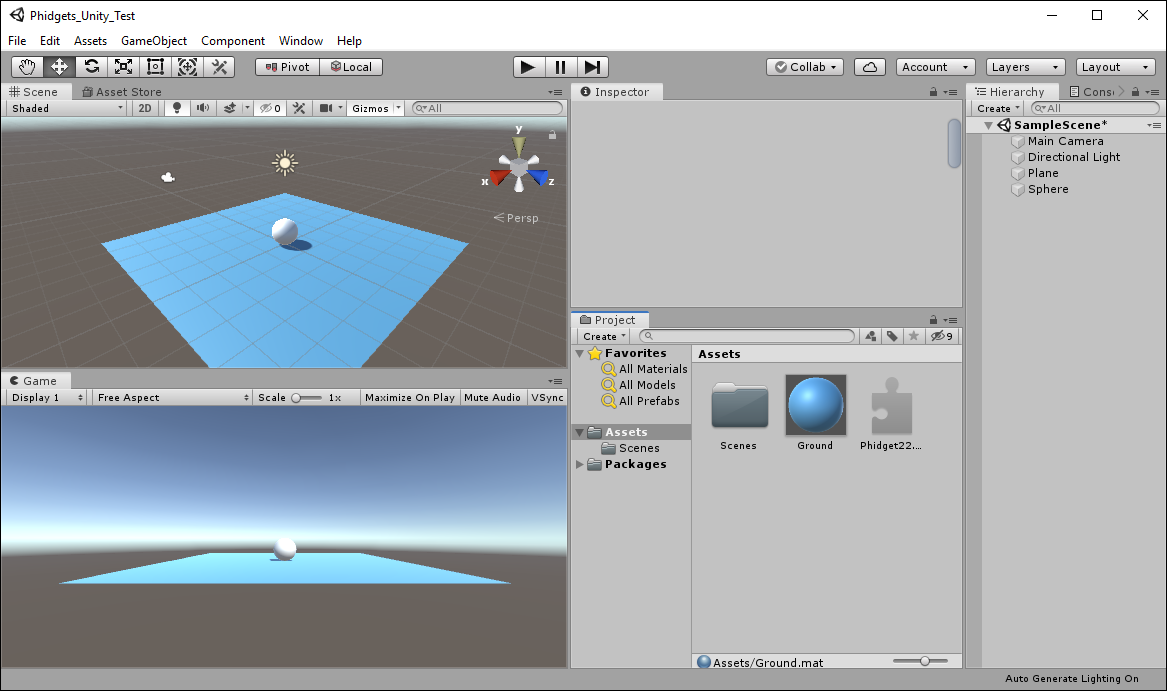
Step 6
Finally, add some color to the plane to differentiate the objects.
Write Code (C#)
Copy the code below into your BallScript file.
using UnityEngine;
using Phidget22;

public class BallScript : MonoBehaviour
{

    private Rigidbody rb;
    DigitalInput button;
    VoltageRatioInput vertical;
    VoltageRatioInput horizontal;
    bool shouldJump = false;

    //Button Event
    void Button_StateChange(object sender, Phidget22.Events.DigitalInputStateChangeEventArgs e)
    {
        shouldJump = e.State;
    }

    // Start is called before the first frame update
    void Start()
    {
        //Connect Rigidbody
        rb = GetComponent <Rigidbody>();

        //Create
        button = new DigitalInput();
        vertical = new VoltageRatioInput();
        horizontal = new VoltageRatioInput();

        //Address | There are two VoltageRatioInputs available. Setting the channel differentiates between the two
        vertical.Channel = 0;
        horizontal.Channel = 1;

        //Subscribe to Events
        button.StateChange += Button_StateChange;

        //Open
        button.Open(1000);
        vertical.Open(1000);
        horizontal.Open(1000);

        //Set data interval to minimum | This will increase the data rate from the sensor and allow for smoother movement
        vertical.DataInterval = vertical.MinDataInterval;
        horizontal.DataInterval = horizontal.MinDataInterval;
    }

    // Update is called once per frame
    void Update()
    {
        //Use your Phidgets
        float x = (float)horizontal.VoltageRatio;
        float z = (float)vertical.VoltageRatio;
        float y = shouldJump ? 250.0f : 0.0f;
        shouldJump = false; //reset
        Vector3 movement = new Vector3(x, y, z);
        rb.AddForce(movement);
    }

    //Required for Unity and Phidgets
    private void OnApplicationQuit()
    {
        button.Close();
        button.Dispose();
        vertical.Close();
        vertical.Dispose();
        horizontal.Close();
        vertical.Dispose();
    }
}
Run Your Program
When you run your code, you will see the ball move based on the position of the thumbstick. Press the button to make the ball jump.
Code Review
When using the Thumbstick Phidget, you have three objects to create an use:
- Horizontal Axis
- Vertical Axis
- Push Button
When using the horizontal and vertical axes, it's important to set the data interval to the minimum as shown in the code above. This will ensure your sensor is as responsive as possible.
When using the push button, it's a good idea to use events. Events will allow you to easily determine when the button has been pushed or released. Polling can also be used, however, extra code will be required.
Practice
- Try adding a multiplier to the horizontal/vertical axes. This will make your ball more sensitive to movement of the thumbstick.
    // Update is called once per frame
    void Update()
    {
        //Use your Phidgets
        float multiplier = 3.0f;
        float x = (float)horizontal.VoltageRatio;
        float z = (float)vertical.VoltageRatio;
        x *= multiplier;
        z *= multiplier;
        float y = shouldJump ? 250.0f : 0.0f;
        shouldJump = false; //reset
        Vector3 movement = new Vector3(x, y, z);
        rb.AddForce(movement);
    }
2. Instead of adding a force to your sphere based on the thumbstick, try mapping the position of your thumbstick to the sphere directly.
    // Update is called once per frame
    void Update()
    {
        //Use your Phidgets
        float x = (float)horizontal.VoltageRatio * 4.0f;
        float z = (float)vertical.VoltageRatio * 4.0f;
        rb.position = new Vector3(x, rb.position.y, z);
    }