Setup
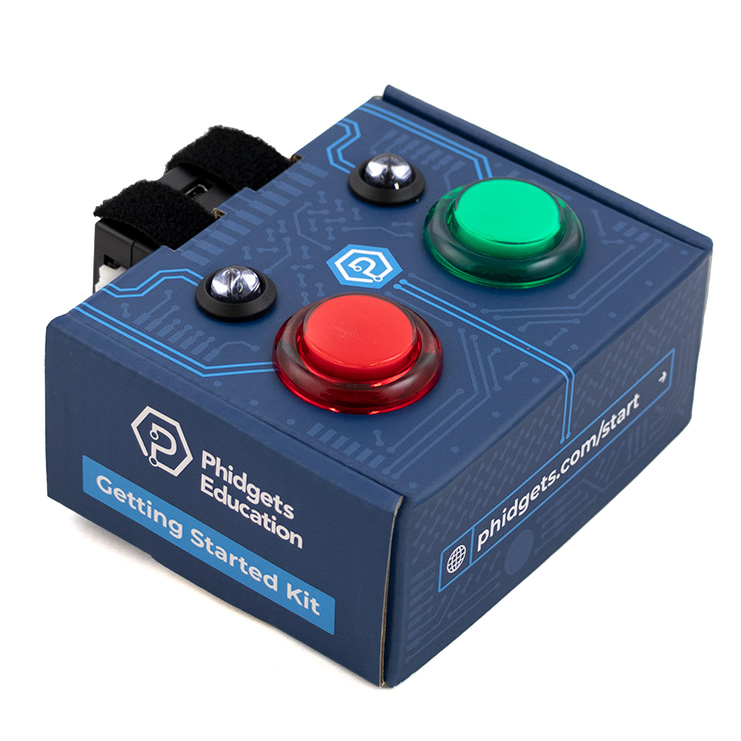
Before getting started, make sure you have the following parts.
Step 1
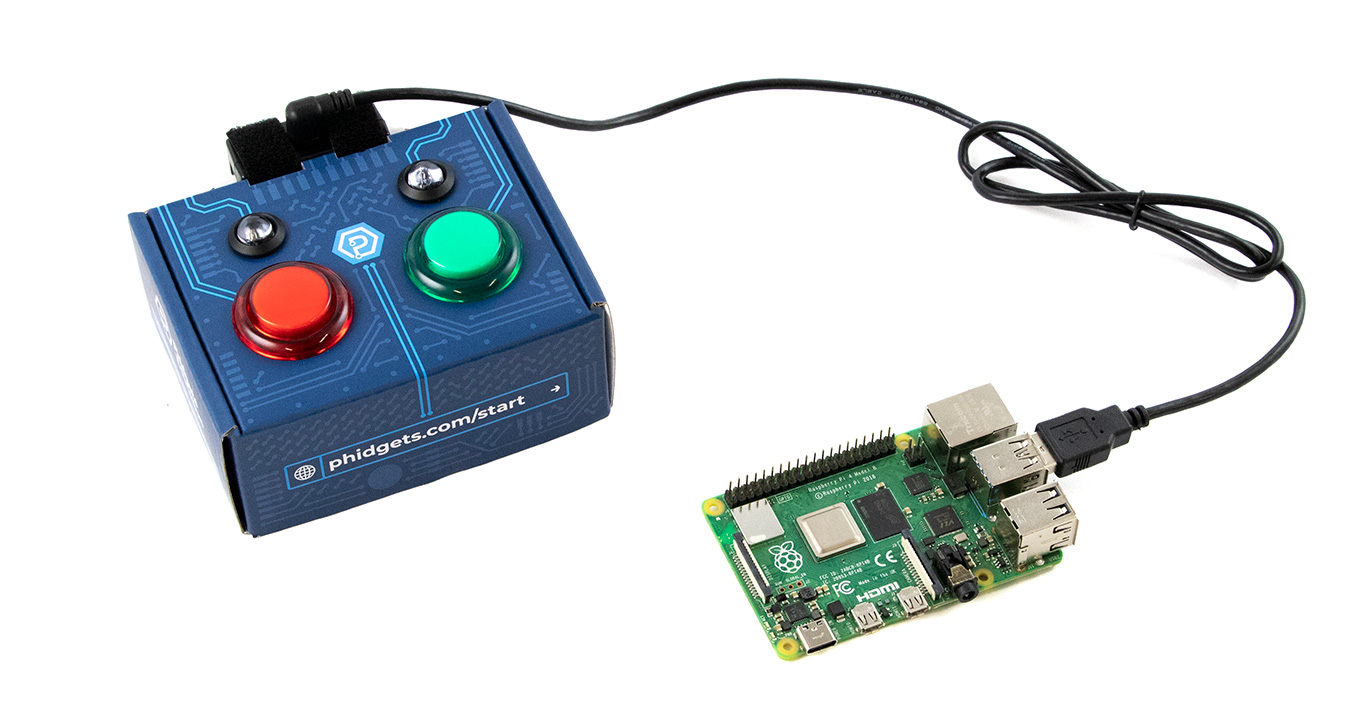
Simply connect your Getting Started Kit to your Raspberry Pi.
If you haven't set up your Raspberry Pi with Phidgets yet, visit this project.
Set Up Your Webserver
Open the terminal on your Raspberry Pi and enter the following commands:
sudo apt update
sudo apt install apache2 -y
This will install an Apache web server on your Raspberry Pi. The web server will allow you to host a website right from your Raspberry Pi.
Test Your Web Server
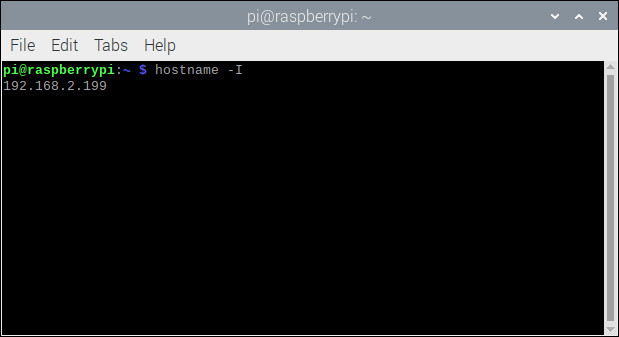
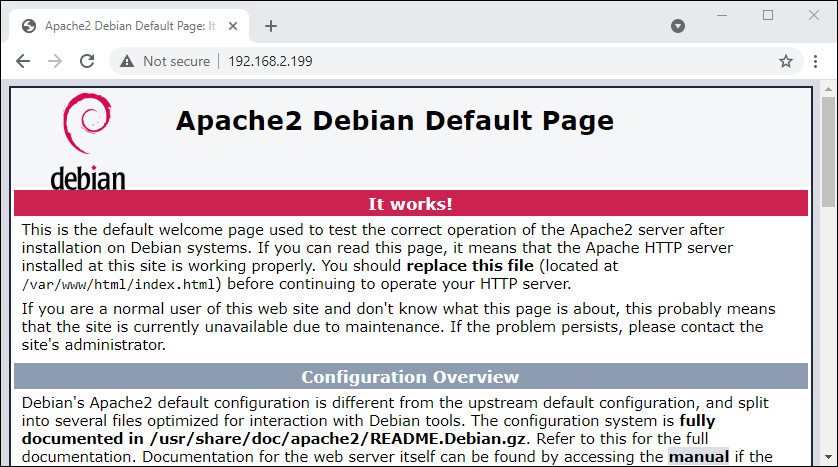
A demo web page is created when you install the web server. To view it, figure out what your Raspberry Pi's IP address is. You can do this by opening the terminal and entering the following command:
hostname -I
After finding the IP address, simply enter it into your web browser. You will see the demo web page.
Modifying Your Web Page
Navigate to /var/www/html/ in order to view your website file.
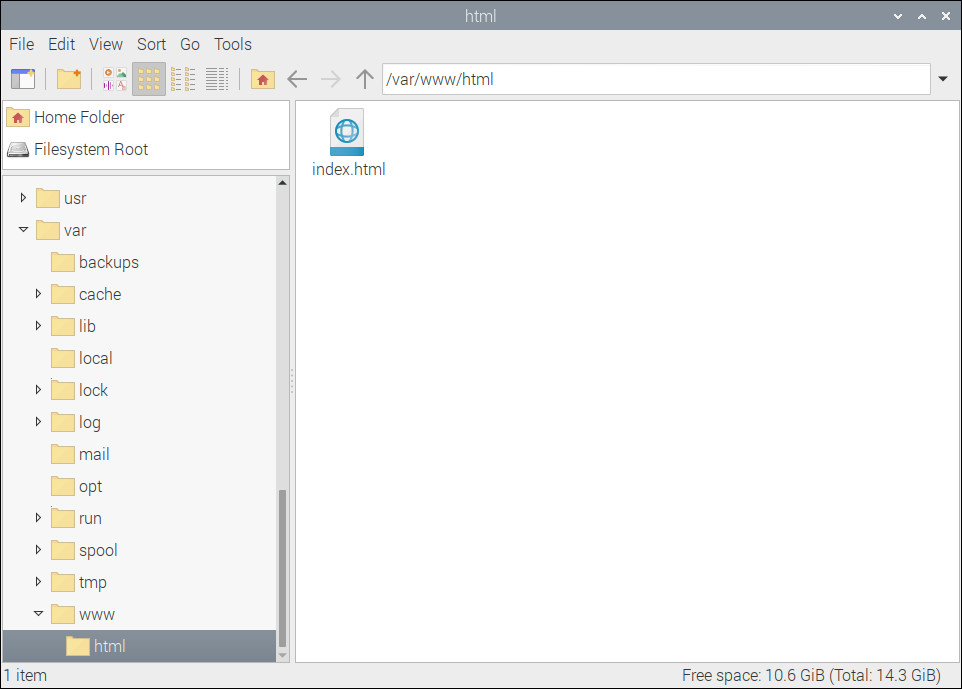
In order to edit the file, you will need to change ownership of it from root to pi (or whatever your username is). You will be adding other files to this directory in the next project, so change the permissions for the entire folder by entering the following command.
sudo chown -R pi: /var/www/html/
Replace the content of index.html with the following code.
<!doctype html>
<html lang="en">
<head>
    <meta charset="utf-8">
    <title>Phidgets</title>
</head>
    <body>
        <div>
            <h1>Phidget Data</h1>
            <h2 id="dataLabel">?</h2>
        </div>
    </body>
</html>
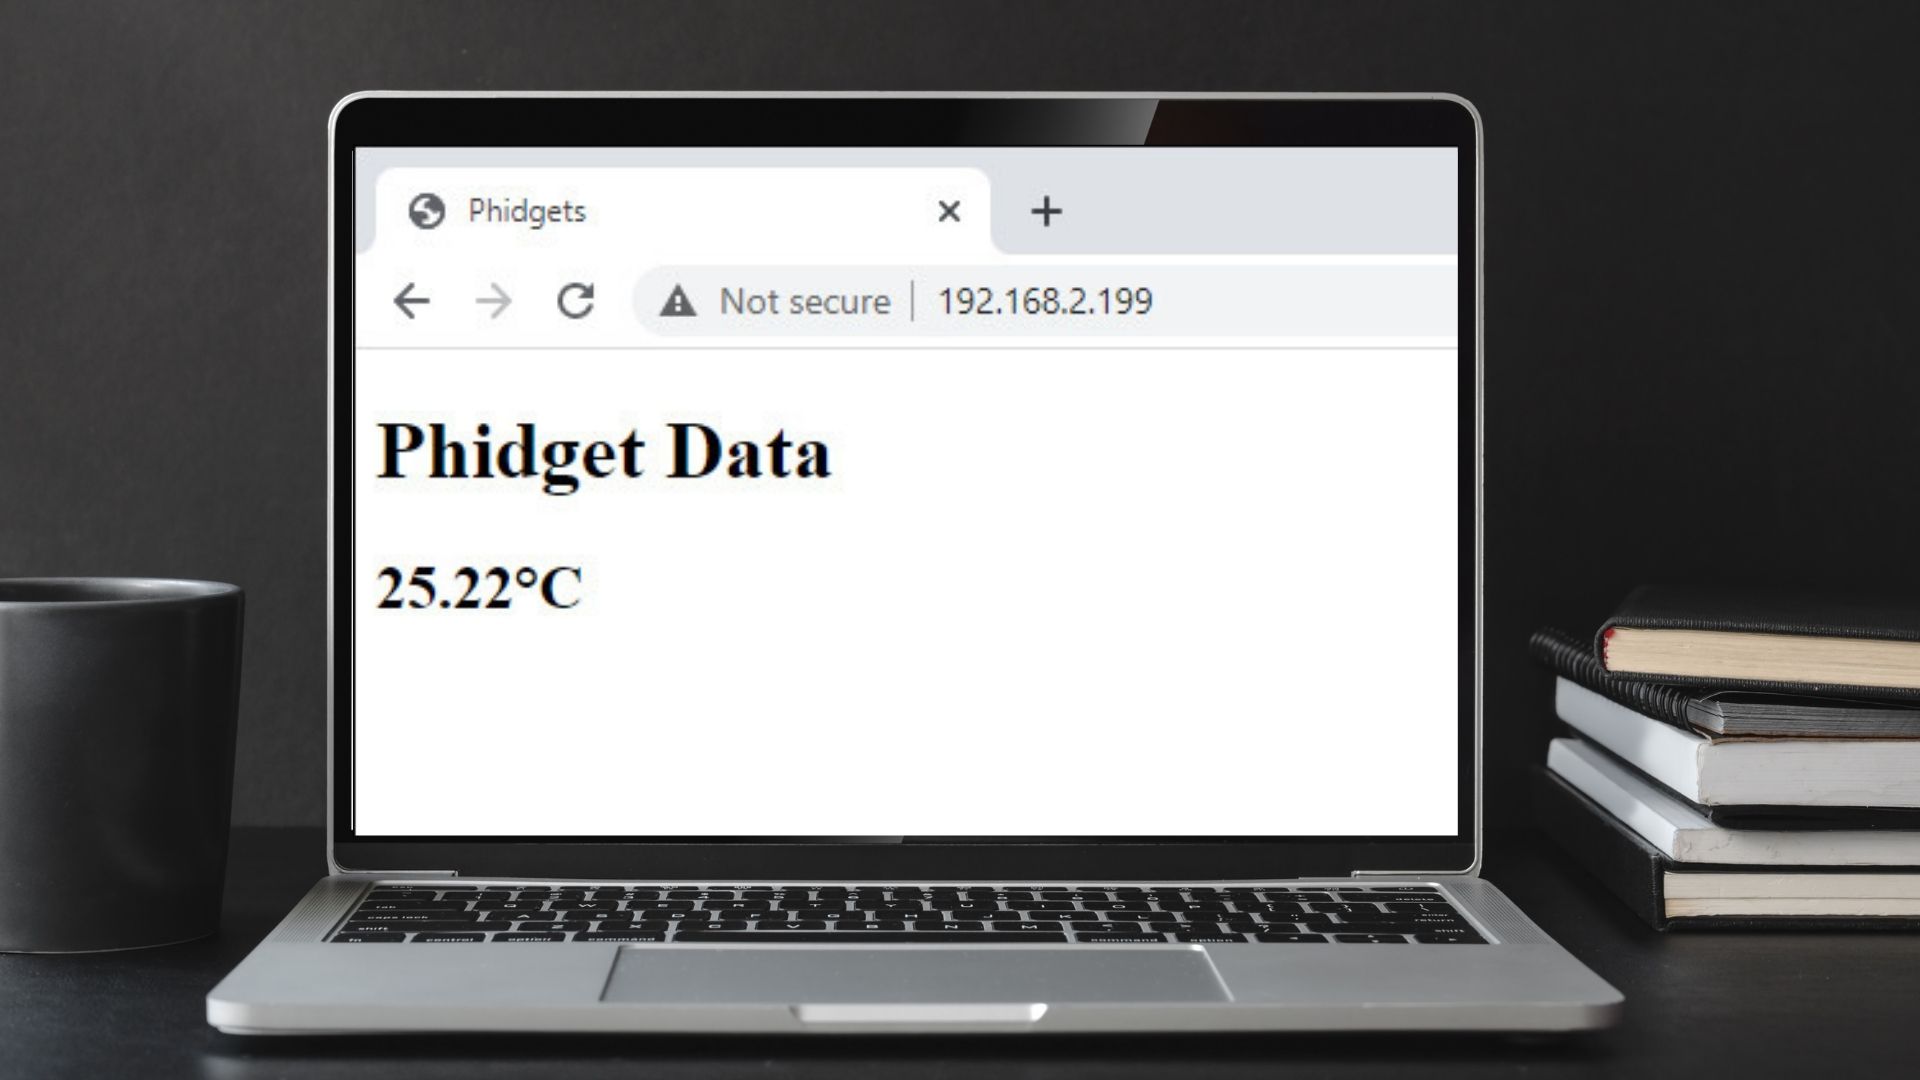
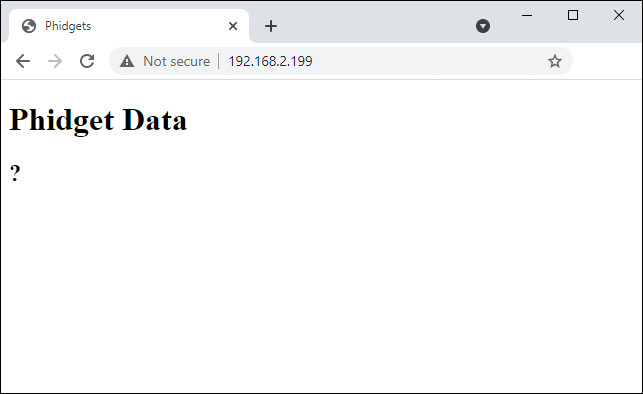
When you refresh your browser, you will see the following:
Next Steps
When you are comfortable with how the web page works, move on to the continuation of this project: Display Sensor Data
