Prerequisites
You should review the following before moving on:
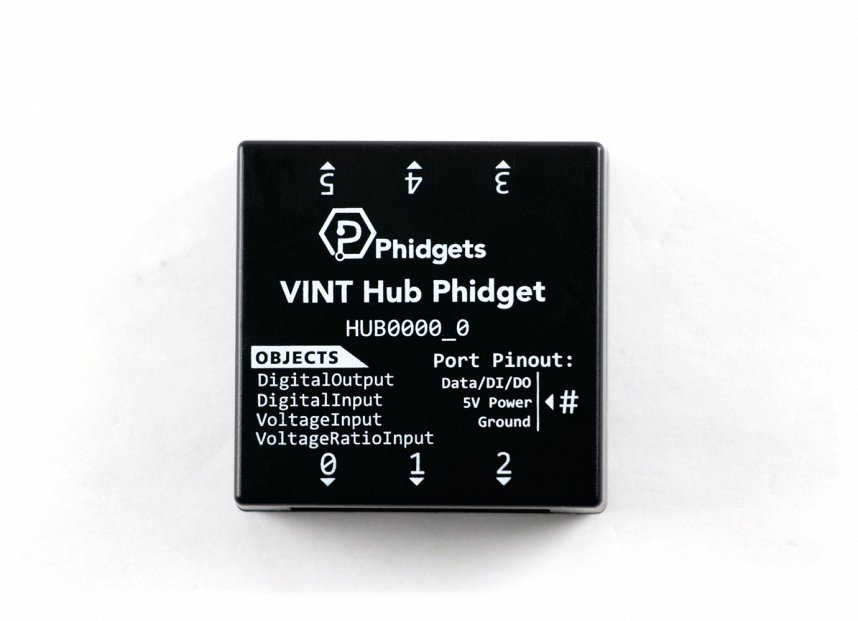
Setup
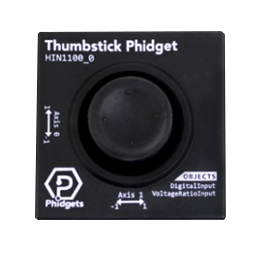
VINT Hub
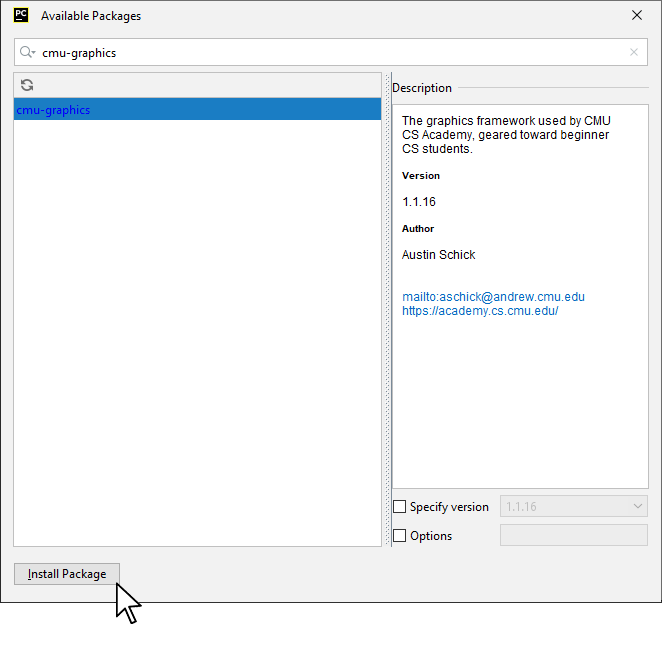
Install CMU Graphics
In order to use CMU Graphics, you first have to install it. You do this in the same way you previously installed the Phidget22 library. Simply navigate to your package manager, search for cmu-graphics and press install!
Note: macOS users must install dependencies before moving forward. For more information, please visit this page.
Thonny
If you're using Thonny, select Tools > Manage Packages and search for cmu-graphics.

PyCharm
If you're using PyCharm, select File > Settings > Python Interpreter and use the + symbol to install cmu-graphics.
PyScripter
If you're using PyScripter, select Tools > Tools > Install Packages with pip and enter cmu-graphics.

Write Code (Python)
Copy the code below into a new Python project.
from cmu_graphics import *
from Phidget22.Devices.DigitalInput import *
from Phidget22.Devices.VoltageRatioInput import *

app.background = gradient('white', 'aliceBlue')

# Create a circle
dot = Circle(200, 200, 20)

# Phidgets Code Start
def mapThumbstick(value, size):
    # The thumbstick range is -1 to 1 and the window range is 0 to WIDTH and 0 to HEIGHT
    return ((value + 1) * size) / 2

def onThumbstickChange_horizontal(self, voltageRatio):
    dot.centerX = mapThumbstick(voltageRatio, app.width)

def onThumbstickChange_vertical(self, voltageRatio):
	dot.centerY = mapThumbstick(-voltageRatio, app.height)

# Button Event
def onStateChange(self, state):
    if(state):
        dot.fill = 'green'
    else:
        dot.fill = 'black'

# Create, Address, Subscribe to Events and Open
button = DigitalInput()
vertical = VoltageRatioInput()
horizontal = VoltageRatioInput()
vertical.setChannel(0)
horizontal.setChannel(1)
vertical.setOnVoltageRatioChangeHandler(onThumbstickChange_vertical)
horizontal.setOnVoltageRatioChangeHandler(onThumbstickChange_horizontal)
button.setOnStateChangeHandler(onStateChange)
button.openWaitForAttachment(1000)
vertical.openWaitForAttachment(1000)
horizontal.openWaitForAttachment(1000)
# Set data interval to minimum
vertical.setDataInterval(vertical.getMinDataInterval())
horizontal.setDataInterval(horizontal.getMinDataInterval())
# Phidgets Code End

cmu_graphics.run()
Run Your Program
When you move the thumbstick, the dot on the screen will also move. When you press the thumbstick down, the dot will change color.
Code Review
When using the Thumbstick Phidget, you have three objects to create and use:
- Horizontal Axis
- Vertical Axis
- Push Button
When using the horizontal and vertical axes, it's important to set the data interval to the minimum as shown in the code above. This will ensure your sensor is as responsive as possible. In this program, you are controlling the position of the dot with the sensor, so you must map the thumbstick range to the window range. You can do this with the following formula:
Y = (X - A) / (B - A) * (D - C) + C
where:
- A and B are the range of the Thumbstick (-1 to 1)
- C and D are the range of values you want to map to (0 to WIDTH/HEIGHT)
- X is the current value that falls between A and B
- Y is the value you are looking for that falls between C and D
This formula has been implemented in the mapThumbstick function in the code.
When using the push button, it's a good idea to use events. Events will allow you to easily determine when the button has been pushed or released. Polling can also be used, however, extra code will be required
Practice
- Try commenting out the section of your code that sets the data interval. What is the result?