Setup
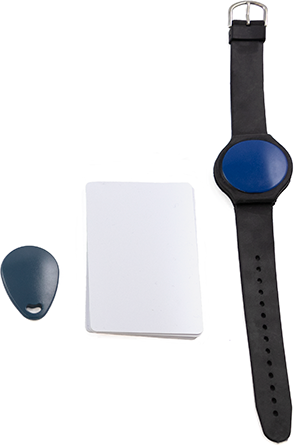
Before getting started, make sure you have the following parts.
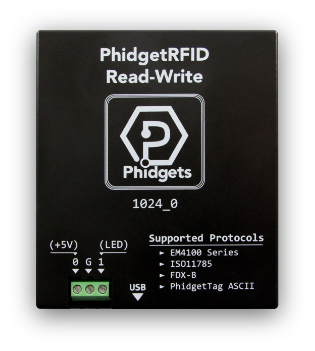
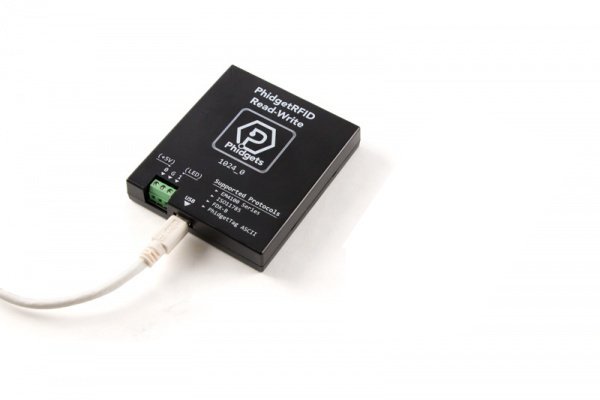
Step 1
Attach the RFID Phidget to your computer.
Download Audio Files
Click HERE to download the audio files. After downloading, unzip the file as shown below.
Write Code (Java)
Copy the code below into a new Java project. If you need a reminder of how to do this, revisit the Getting Started Course.
Not your programming language? Set your preferences so we can display relevant code examples
//Add Phidgets Library
import com.phidget22.*;

//Add other libraries for sound
import java.io.File;
import javax.sound.sampled.*;

public class SoundEffects {

    public static void main(String[] args) throws Exception {
        //Define tags and audio
        String cheerTag = "TAG_ID_HERE";
        AudioInputStream cheerAudio = AudioSystem.getAudioInputStream(new File("PATH TO CHEER AUDIO HERE"));

        //Create
        RFID rfid = new RFID();

        //Open
        rfid.open(1000);

        //Use Phidgets
        while (true) {
            if (rfid.getTagPresent()) {
                System.out.println("Tag Detected: " + rfid.getLastTag().tagString);
                if (rfid.getLastTag().tagString.equals(cheerTag)) {
                    Clip clip = AudioSystem.getClip();
                    clip.open(cheerAudio);
                    clip.start();
                    Thread.sleep(clip.getMicrosecondLength() / 1000);
                }
            }
            Thread.sleep(250);
        }
    }
}
package soundeffects;

//Add Phidgets Library
import com.phidget22.*;

//Add other libraries for sound
import java.io.File;
import javax.sound.sampled.*;

public class SoundEffects {

    public static void main(String[] args) throws Exception {
        //Define tags and audio
        String cheerTag = "TAG_ID_HERE";
        AudioInputStream cheerAudio = AudioSystem.getAudioInputStream(new File("PATH TO CHEER AUDIO HERE"));

        //Create
        RFID rfid = new RFID();

        //Open
        rfid.open(1000);

        //Use Phidgets
        while (true) {
            if (rfid.getTagPresent()) {
                System.out.println("Tag Detected: " + rfid.getLastTag().tagString);
                if (rfid.getLastTag().tagString.equals(cheerTag)) {
                    Clip clip = AudioSystem.getClip();
                    clip.open(cheerAudio);
                    clip.start();
                    Thread.sleep(clip.getMicrosecondLength() / 1000);
                }
            }
            Thread.sleep(250);
        }
    }
}
Write Code (Python)
Copy the code below into a new Python project. If you need a reminder of how to do this, revisit the Getting Started Course.
Not your programming language? Set your preferences so we can display relevant code examples
from Phidget22.Phidget import *
from Phidget22.Devices.RFID import *
from playsound import *
import time

#Define tags/sounds
cheerTag = "TAG ID HERE"
cheerSound = "PATH TO CHEER AUDIO HERE"

#Create
rfid = RFID()

#Open
rfid.openWaitForAttachment(1000)

#Use your Phidgets
while(True):
    if(rfid.getTagPresent()):
        print("Tag Detected: " + rfid.getLastTag()[0])
        if(rfid.getLastTag()[0] == cheerTag):
            playsound(cheerSound)
    time.sleep(0.25)
Write Code (C#)
Copy the code below into a new C# project. If you need a reminder of how to do this, revisit the Getting Started Course.
Not your programming language? Set your preferences so we can display relevant code examples
using System;
using Phidget22;

namespace SoundEffects
{
    class Program
    {
        static void Main(string[] args)
        {
            //Define tags/sounds
            String cheerTag = "TAG ID HERE";
            String cheerSound = "PATH TO CHEER AUDIO HERE";

            //Create Phidget
            RFID rfid = new RFID();

            //Open
            rfid.Open(1000);

            //Use your Phidgets
            while (true)
            {
                if (rfid.TagPresent)
                {
                    Console.WriteLine("Tag Detected " + rfid.GetLastTag().TagString);
                    if(rfid.GetLastTag().TagString == cheerTag)
                    {
                        System.Media.SoundPlayer player = new System.Media.SoundPlayer(cheerSound);
                        player.PlaySync();
                    }
                }
                System.Threading.Thread.Sleep(150);
            }
        }
    }
}
Write Code (Swift)
Copy the code below into a new Swift project. If you need a reminder of how to do this, revisit the Getting Started Course.
Not your programming language? Set your preferences so we can display relevant code examples
Coming Soon!
In the code above, you need to add the following information:
- cheerTag: This is the RFID tag ID that will be associated with the cheering sound. If you don't know your tag ID values, go to the RFID Device Tutorial, run the provided code and copy/paste the tag ID.
- cheerSound: This is the file path to your cheer sound. E.g. "C:/Users/Downloads/sounds/cheer.wav"
After you have updated your code with the proper tag ID and the file path, try running your code. When you tap the correct tag, you should hear cheering!
Practice
- Assign the other RFID Tags to the Applause sound effect and the Boo sound effect.
- After adding the other sound effects, you may notice that your code has many repeated statements. Try creating a function that takes in an audio clip and plays it to reduce your code size.
- Using buttons from your Getting Started Kit and music files, try to replicate the functionality of the Juuke