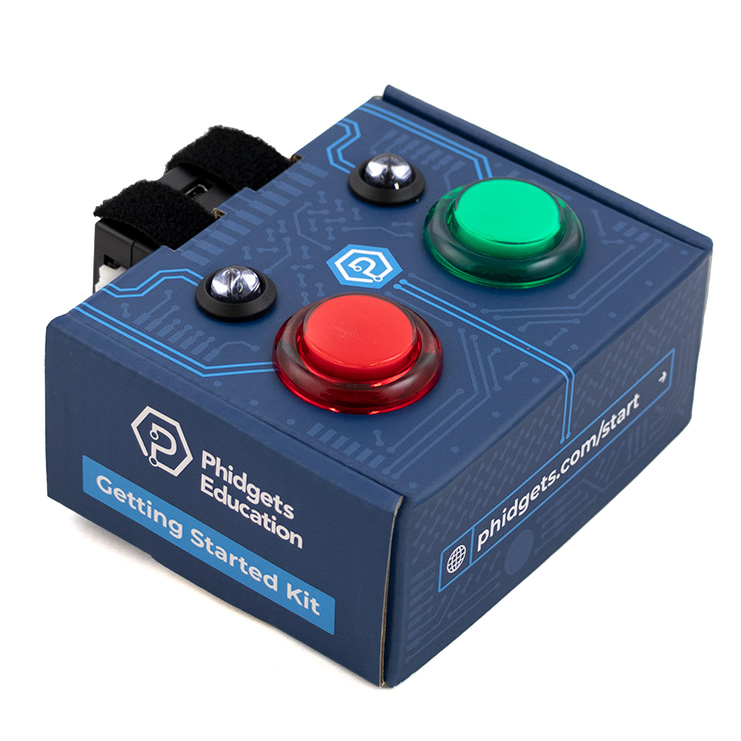
Setup
All you need for this project is the Getting Started Kit
Write Code (Java)
Copy the code below into a new Java project. If you need a reminder of how to do this, revisit the Getting Started Course.
Not your programming language? Set your preferences so we can display relevant code examples
import com.phidget22.*;

public class ReactionTimer {

    //Define variables
    static int countdown = 3;
    static long startTime = 0;
    public static void main(String[] args) throws Exception{


        //Create
        DigitalInput redButton = new DigitalInput();

        //Address
        redButton.setIsHubPortDevice(true);
        redButton.setHubPort(0);

        //Event
        redButton.addStateChangeListener(new DigitalInputStateChangeListener() {
            public void onStateChange(DigitalInputStateChangeEvent e) {
                if(e.getState()){
                    double timeDiff = (System.currentTimeMillis() - startTime)/1000.0;
                    System.out.println("\nGAME OVER\nTIME: " + timeDiff + " s");
                }
            }
        });

        //Open
        redButton.open(5000);

        //Keep program running
        while (true) {
            if(countdown > 0){
                System.out.println("Countdown: " + countdown);
            }
            if(countdown == 0){
                System.out.println("GO");
                startTime = System.currentTimeMillis();
            }

            countdown -=1 ;

            Thread.sleep(1000);
        }
    }
}
package reactiontimer;

import com.phidget22.*;

public class ReactionTimer {

    //Define variables
    static int countdown = 3;
    static long startTime = 0;
    public static void main(String[] args) throws Exception{


        //Create
        DigitalInput redButton = new DigitalInput();

        //Address
        redButton.setIsHubPortDevice(true);
        redButton.setHubPort(0);

        //Event
        redButton.addStateChangeListener(new DigitalInputStateChangeListener() {
            public void onStateChange(DigitalInputStateChangeEvent e) {
                if(e.getState()){
                    double timeDiff = (System.currentTimeMillis() - startTime)/1000.0;
                    System.out.println("\nGAME OVER\nTIME: " + timeDiff + " s");
                }
            }
        });

        //Open
        redButton.open(5000);

        //Keep program running
        while (true) {
            if(countdown > 0){
                System.out.println("Countdown: " + countdown);
            }
            if(countdown == 0){
                System.out.println("GO");
                startTime = System.currentTimeMillis();
            }

            countdown -=1 ;

            Thread.sleep(1000);
        }
    }
}
Write Code (Python)
Copy the code below into a new Python project. If you need a reminder of how to do this, revisit the Getting Started Course.
Not your programming language? Set your preferences so we can display relevant code examples
#Add Phidgets Library
from Phidget22.Phidget import *
from Phidget22.Devices.DigitalInput import *
import time
import datetime

global startTime
countdown = 3

#Event
def onRedButton_StateChange(self, state):
    if(state):
        timeDiff = time.time() - startTime
        print("\nGAME OVER\nTIME: " + str(timeDiff))

#Create
redButton = DigitalInput()

#Address
redButton.setIsHubPortDevice(True)
redButton.setHubPort(0)

#Subscribe to Events
redButton.setOnStateChangeHandler(onRedButton_StateChange)

#Open
redButton.openWaitForAttachment(5000)

ready = False

#Keep program running
while(True):
    if(countdown > 0):
        print("Countdown: " + str(countdown))

    if(countdown == 0):
        print("GO")
        startTime = time.time()

    countdown -= 1

    time.sleep(1)
Write Code (C#)
Copy the code below into a new C# project. If you need a reminder of how to do this, revisit the Getting Started Course.
Not your programming language? Set your preferences so we can display relevant code examples
using System;
using Phidget22;
using System.Diagnostics;

namespace ReactionTimer
{
    class Program
    {
        //Define
        static Stopwatch stopwatch;

        //Event
        private static void RedButton_StateChange(object sender, Phidget22.Events.DigitalInputStateChangeEventArgs e)
        {
            if (e.State)
            {
                Console.WriteLine("\nGAME OVER\nTIME: " + stopwatch.ElapsedMilliseconds / 1000.0 + " s");
            }
        }

        static void Main(string[] args)
        {
            //Create stopwatch
            stopwatch = new Stopwatch();

            //Create
            DigitalInput redButton = new DigitalInput();

            //Address
            redButton.IsHubPortDevice = true;
            redButton.HubPort = 0;

            //Subscribe to Events
            redButton.StateChange += RedButton_StateChange;

            //Open
            redButton.Open(5000);

            int countdown = 3;

            // Keep Program Running
            while (true)
            {
                if(countdown > 0)
                {
                    Console.WriteLine("Countdown " + countdown);
                }

                if(countdown == 0)
                {
                    Console.WriteLine("GO");
                    stopwatch.Start();
                }

                countdown -= 1;

                System.Threading.Thread.Sleep(1000);
            }
        }
    }
}
Write Code (Swift)
Copy the code below into a new Swift project. If you need a reminder of how to do this, revisit the Getting Started Course.
Not your programming language? Set your preferences so we can display relevant code examples
Coming Soon!
Run your program. You will see a countdown from 3. When the program says GO, press the red button as fast as you can!
Button Events
If you haven’t already, make sure to check out the Advanced Lesson on Button Events to understand the code.
Practice
- Modify your program so that the user is disqualified (game is over) if they press the button before the countdown is over
- Store the three quickest times as high scores. Display high scores at the end of every game.