
Setup
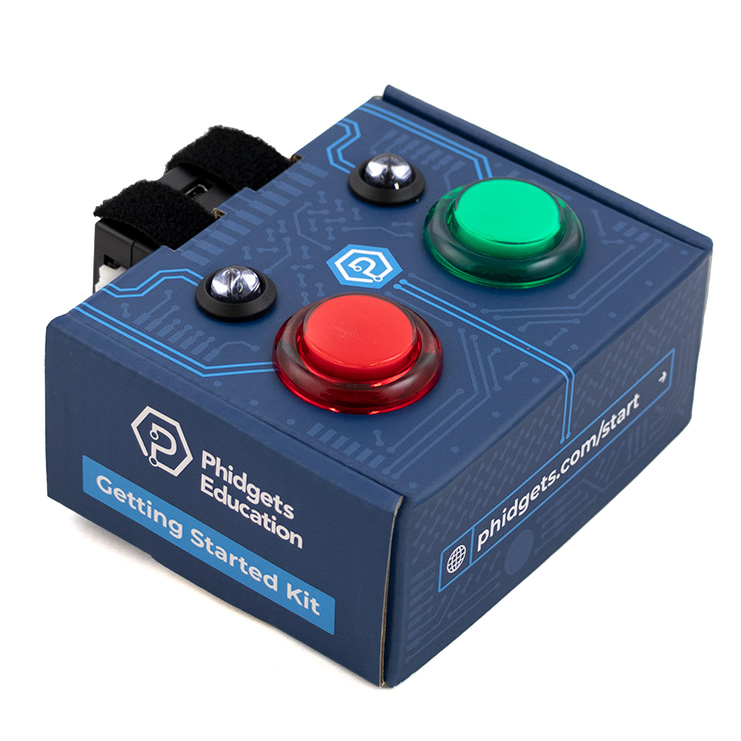
Before getting started, make sure you have the following parts.
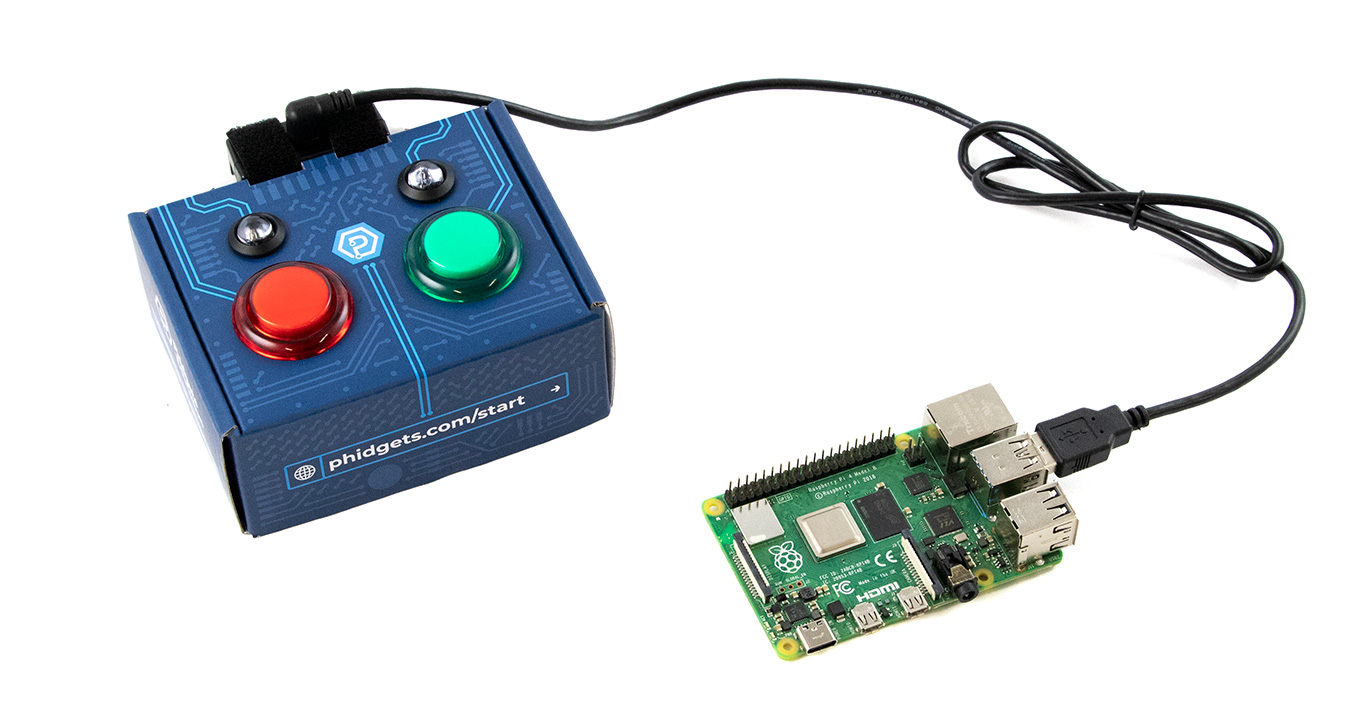
Step 1
Simply connect your Getting Started Kit to your Raspberry Pi.
If you haven't set up your Raspberry Pi with Phidgets yet, visit the Getting Started Kit tutorial.
Write Code
Copy the code below into a new Python project. If you need a reminder of how to do this, revisit the Getting Started Course.
from Phidget22.Phidget import *
from Phidget22.Devices.DigitalInput import *
from picamera import PiCamera
import time

#Create
redButton = DigitalInput()
camera = PiCamera()

#Address
redButton.setHubPort(0)
redButton.setIsHubPortDevice(True)

#Open
redButton.openWaitForAttachment(1000)

#Used to increment file names
i = 0

while(True):
    #Check for button press, if pressed, take photo!
    if(redButton.getState()):
        camera.capture("/home/pi/Desktop/image " + str(i) + ".jpg")
        i += 1
    time.sleep(0.15)
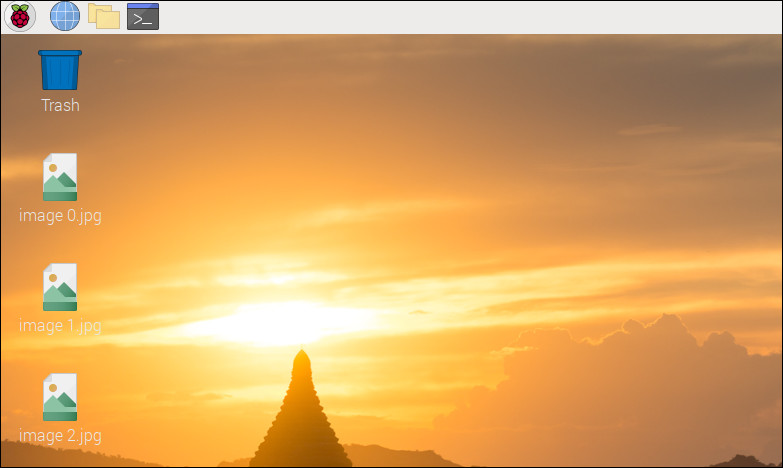
Run your code. If you press the red button, you will see images appear on your Desktop:
PiCamera
The picamera Python package allows you to control your Raspberry Pi module right from your Python code. For more information, view the documentation here.
Practice
- Try using the Green button to implement a countdown timer. E.g. when the green button is pressed, wait 3 seconds before taking a picture.
- Use the PiCamera documentation and record a video instead of capturing a picture.
- Try using a different sensor to trigger the camera. E.g. use a distance sensor to snap a photo when movement is detected.