Setup
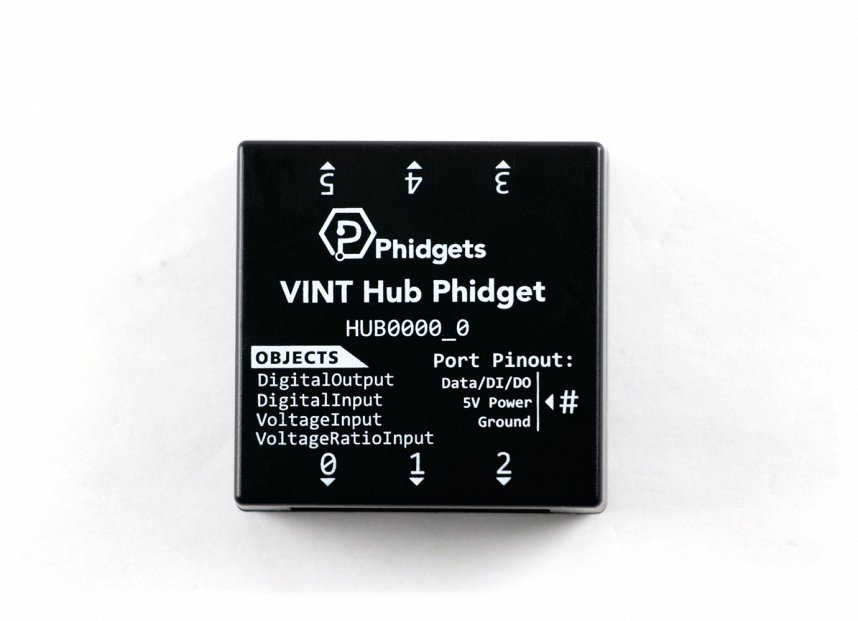
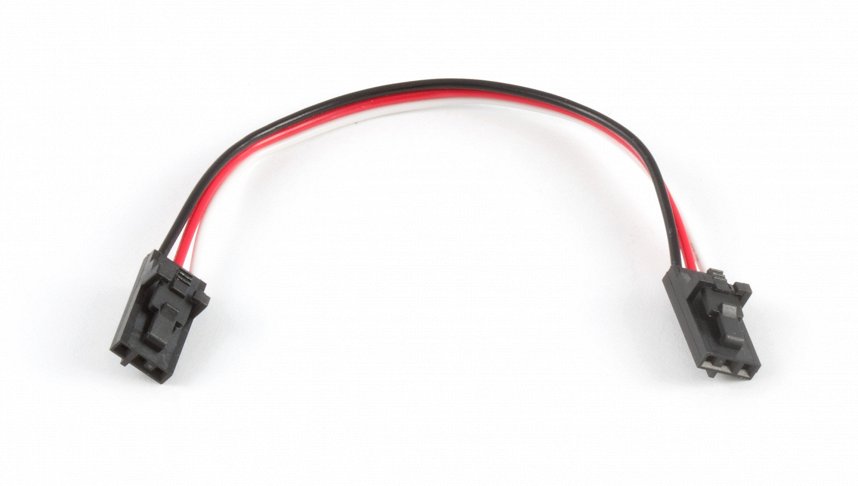
Before getting started, make sure you have the following parts.
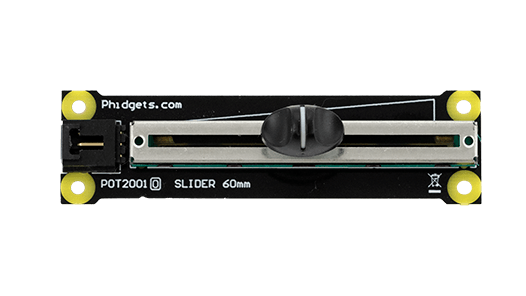
VINT Hub
Install CMU Graphics
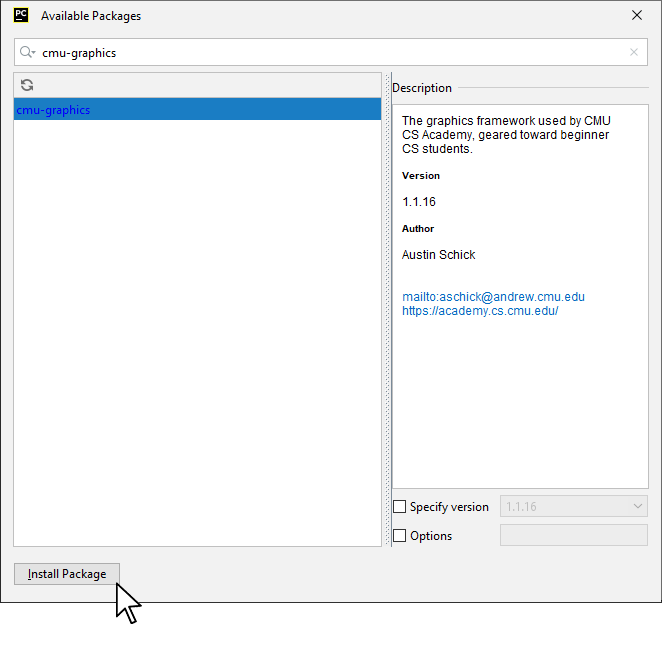
In order to use CMU Graphics, you first have to install it. You do this in the same way you previously installed the Phidget22 library. Simply navigate to your package manager, search for cmu-graphics and press install!
Note: macOS users must install dependencies before moving forward. For more information, please visit this page.
Thonny
If you're using Thonny, select Tools > Manage Packages and search for cmu-graphics.

PyCharm
If you're using PyCharm, select File > Settings > Python Interpreter and use the + symbol to install cmu-graphics.
PyScripter
If you're using PyScripter, select Tools > Tools > Install Packages with pip and enter cmu-graphics.

Write code (Python)
Copy the code below into a python script pong.py.
from cmu_graphics import *
from Phidget22.Devices.VoltageRatioInput import *

#Set background to black
app.background = 'black'

#Define basic shapes for pong
ball = Circle(200, 200, 5, fill='white')
leftPaddle = Rect(5, 200, 10, 50, fill = 'white')
rightPaddle = Rect(385, 200, 10, 50, fill = 'white')
Rect(200, 0, 1, app.height, fill = 'white') #Dividing line

#Create score properties
leftPaddle.score = 0
rightPaddle.score = 0

#Create speed properties
ball.xSpeed = 5
ball.ySpeed = 5

#Define update rate
app.stepsPerSecond = 30

def resetBallPosition():
    #Reset ball to the middle of the screen
    ball.centerX = app.width / 2
    ball.centerY = app.height / 2

def moveBall():
    ball.centerX += ball.xSpeed
    ball.centerY += ball.ySpeed

def updateScore():
    if(ball.centerX <= 0):
        rightPaddle.score += 1
        resetBallPosition()
    elif(ball.centerX >= app.width):
        leftPaddle.score += 1
        resetBallPosition()

def onStep():
    moveBall()

    #The right paddle is controlled by the computer. With this code, you can't win!
    rightPaddle.centerY = ball.centerY

    #Bounce from walls
    if(ball.centerY > app.height or ball.centerY < 0):
        ball.ySpeed = -ball.ySpeed

    #Bounce from paddles
    if(ball.hitsShape(leftPaddle) or ball.hitsShape(rightPaddle)):
        ball.xSpeed = -ball.xSpeed

    updateScore()

# Phidgets Code Start
def mapSlider(value, size):
    #The slider range is 0 to 1 and the window range is 0 to app.width
    return ((1 - value) * size) #(1 - value) to match orientation to Slider Phidget

def onSliderChange(self, voltageRatio):
    leftPaddle.centerY = mapSlider(voltageRatio, app.width)

slider = VoltageRatioInput()
slider.setHubPort(0)
slider.setIsHubPortDevice(True)
slider.setOnVoltageRatioChangeHandler(onSliderChange)
slider.openWaitForAttachment(1000)
#Set data interval to minimum
slider.setDataInterval(slider.getMinDataInterval())
# Phidgets Code End

cmu_graphics.run()
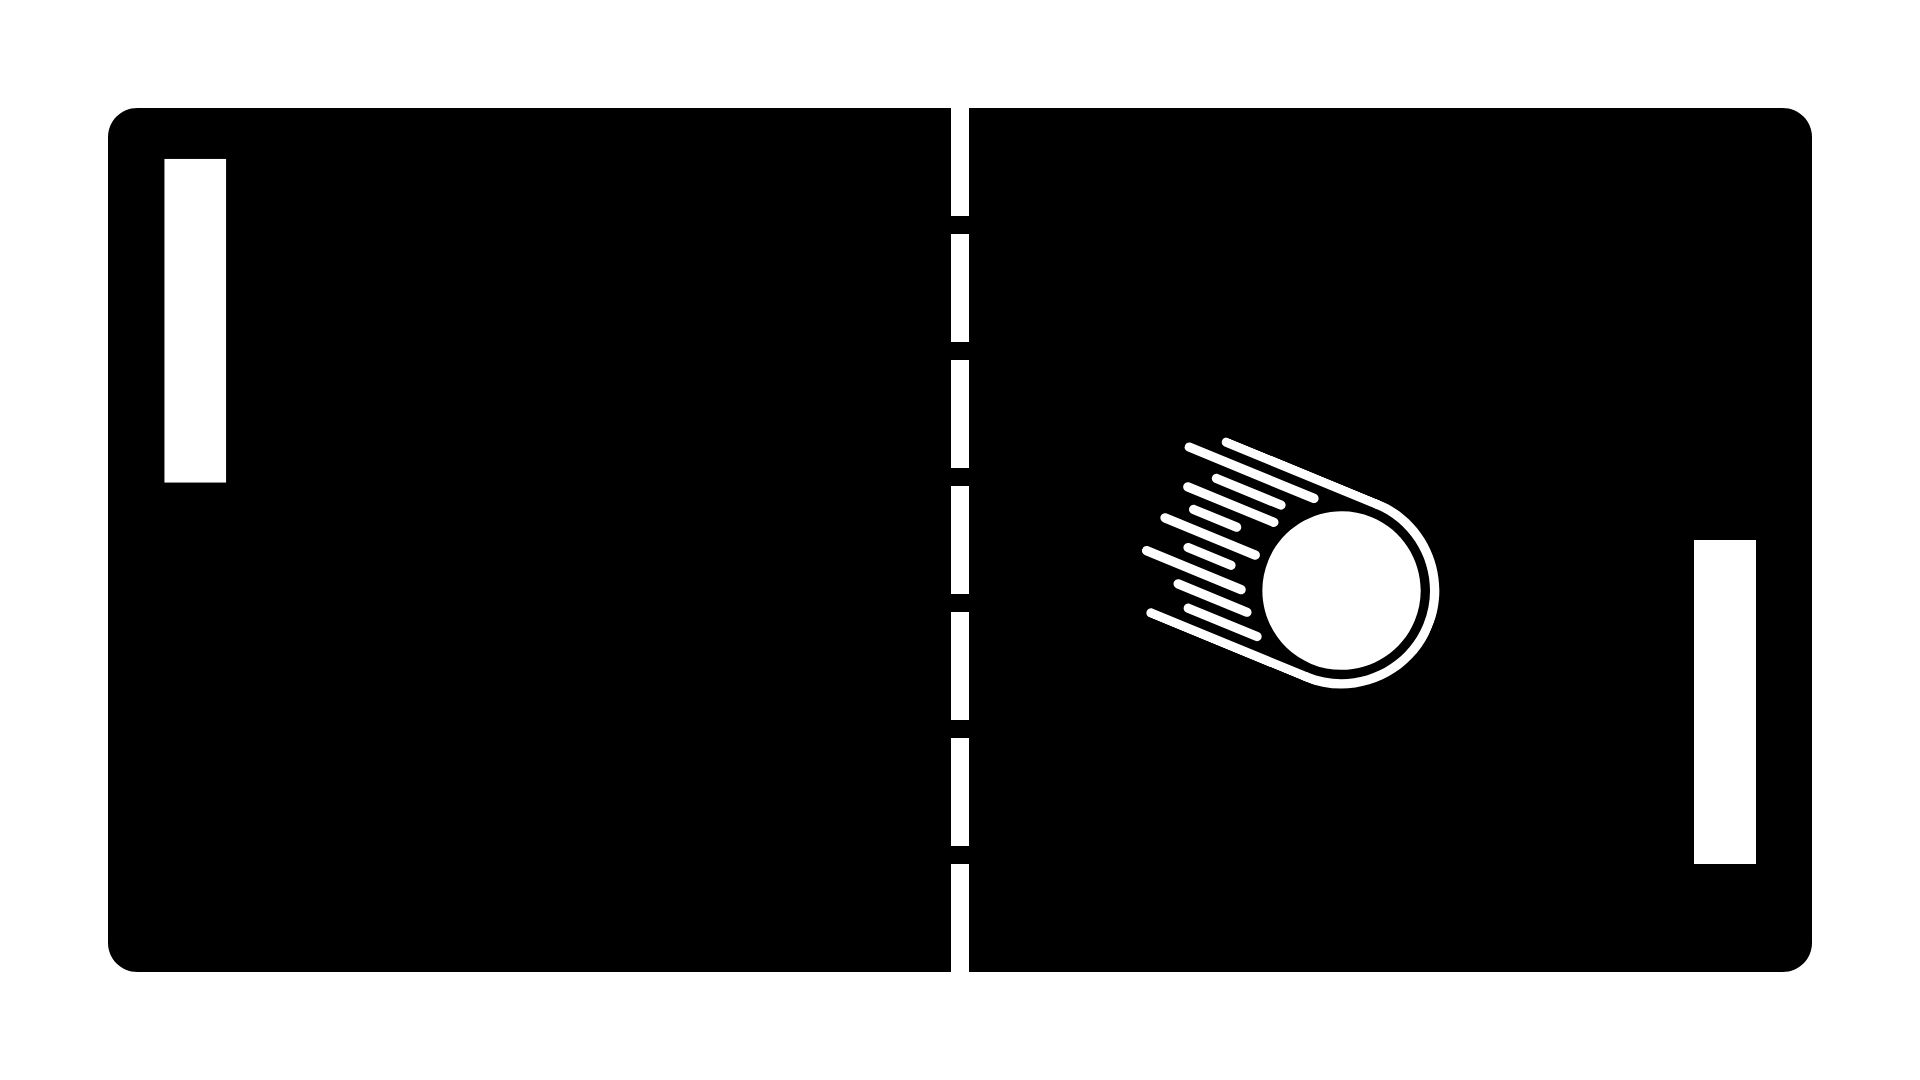
Run Your Program
You will see the left paddle move when you move your slider.
Code Review
In this example, we are simply mapping the left paddle to the position of the slider.
Practice
- Improve the game by making the following modifications:
- Add a label to display the score of each player.
- When the ball resets, wait for a key to be pressed before launching the ball.
- Modify how the computer plays the game so the player can score points.
- Try modifying the game so it is a two-player experience. Both players should use a Slider Phidget to control their paddle.