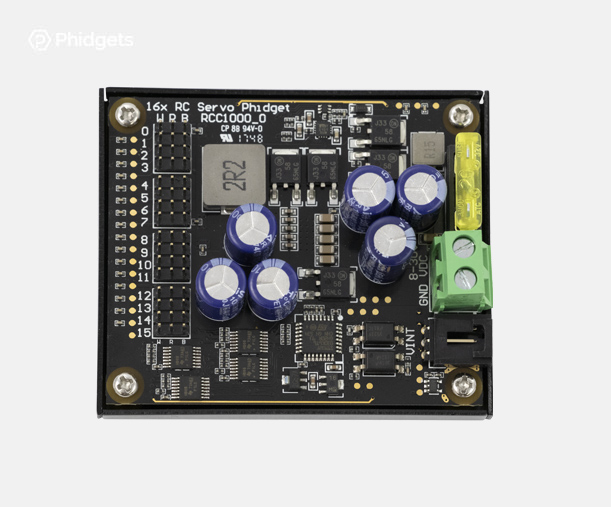
RC Servo Phidget
The RC Servo Phidget allows you to control up to 16 servo motors at once.
With this Phidget, each servo motor can be controlled independently. Advanced users can also set the pulse width range, the velocity and acceleration properties to change the way the motor moves, and even modify the voltage for all servo motors (5V, 6V, 7.4V).
Setup
Before you do any coding you will have to attach your RC Servo Phidget to your VINT hub as shown:
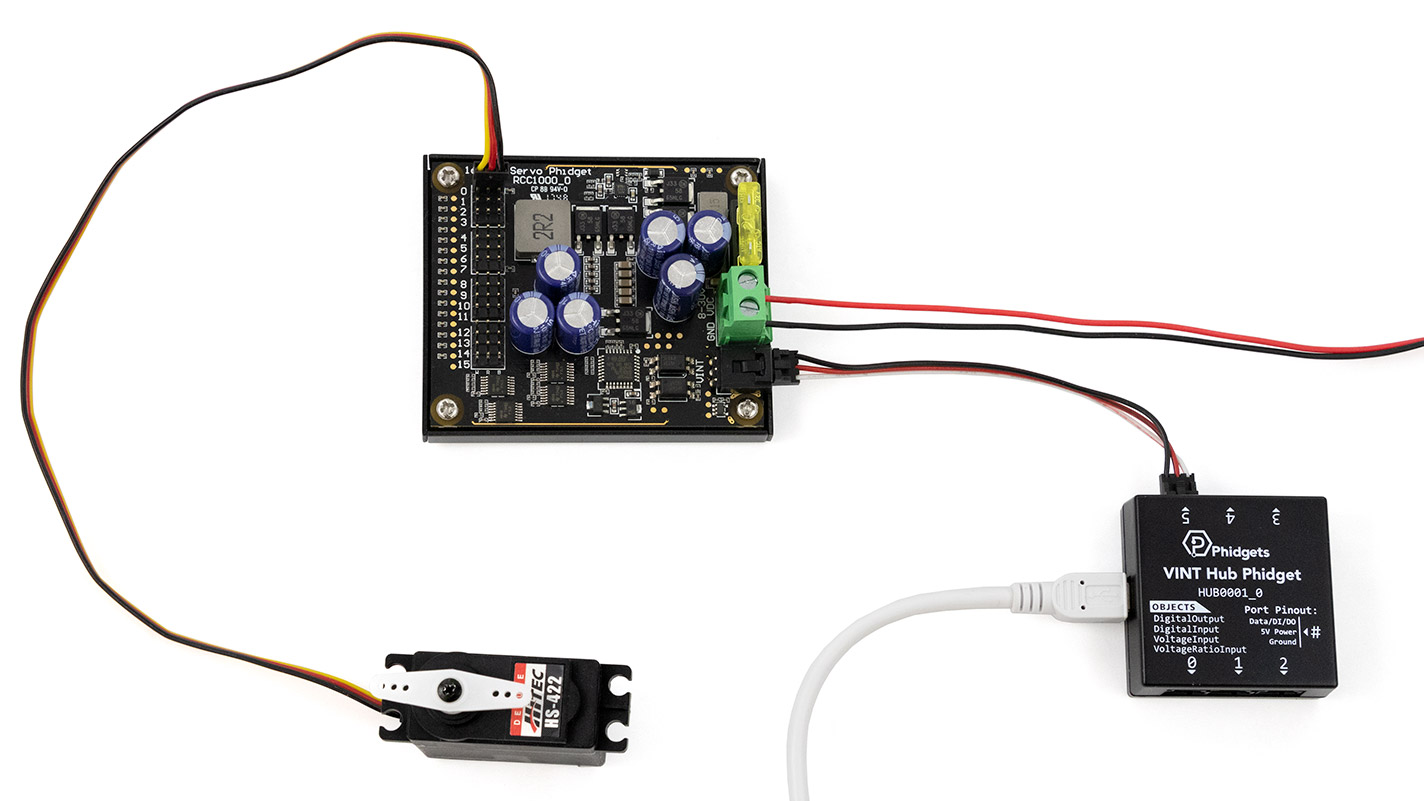
Setup - Connections
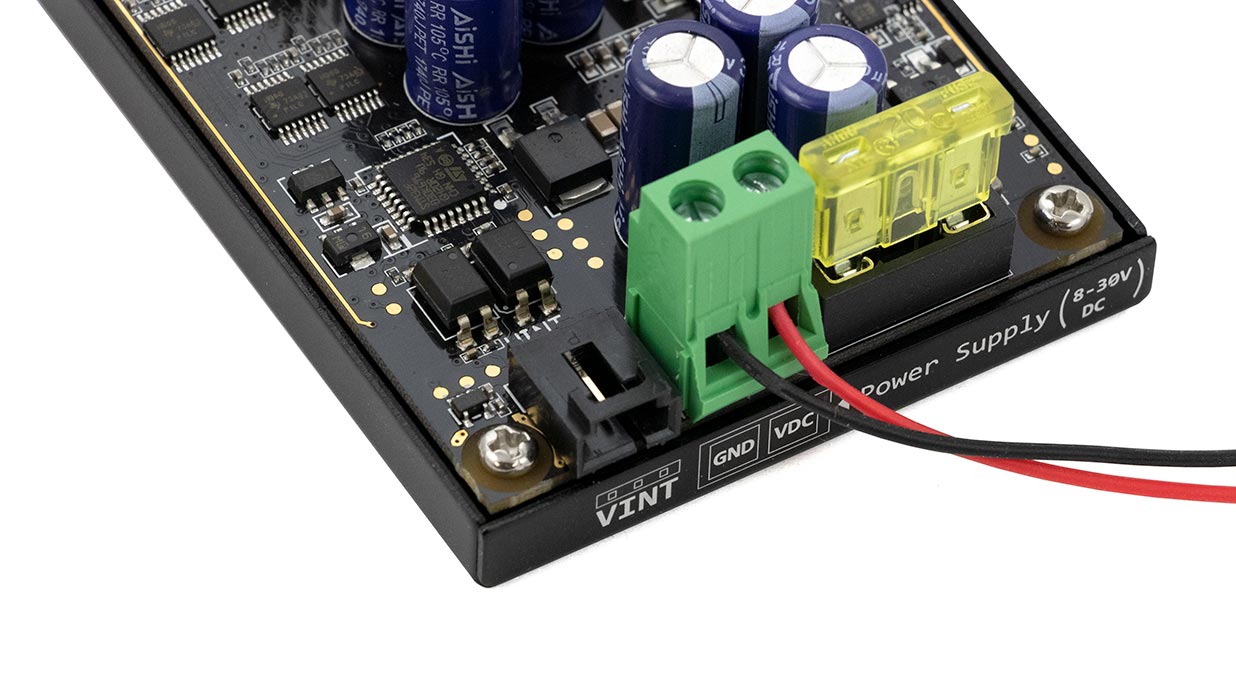
Power: the RC Servo Phidget requires 8-30VDC to run. It comes with a 12VDC power supply with a pigtail adapter. Connect the red end of the adapter into VCC and the black end into GND.
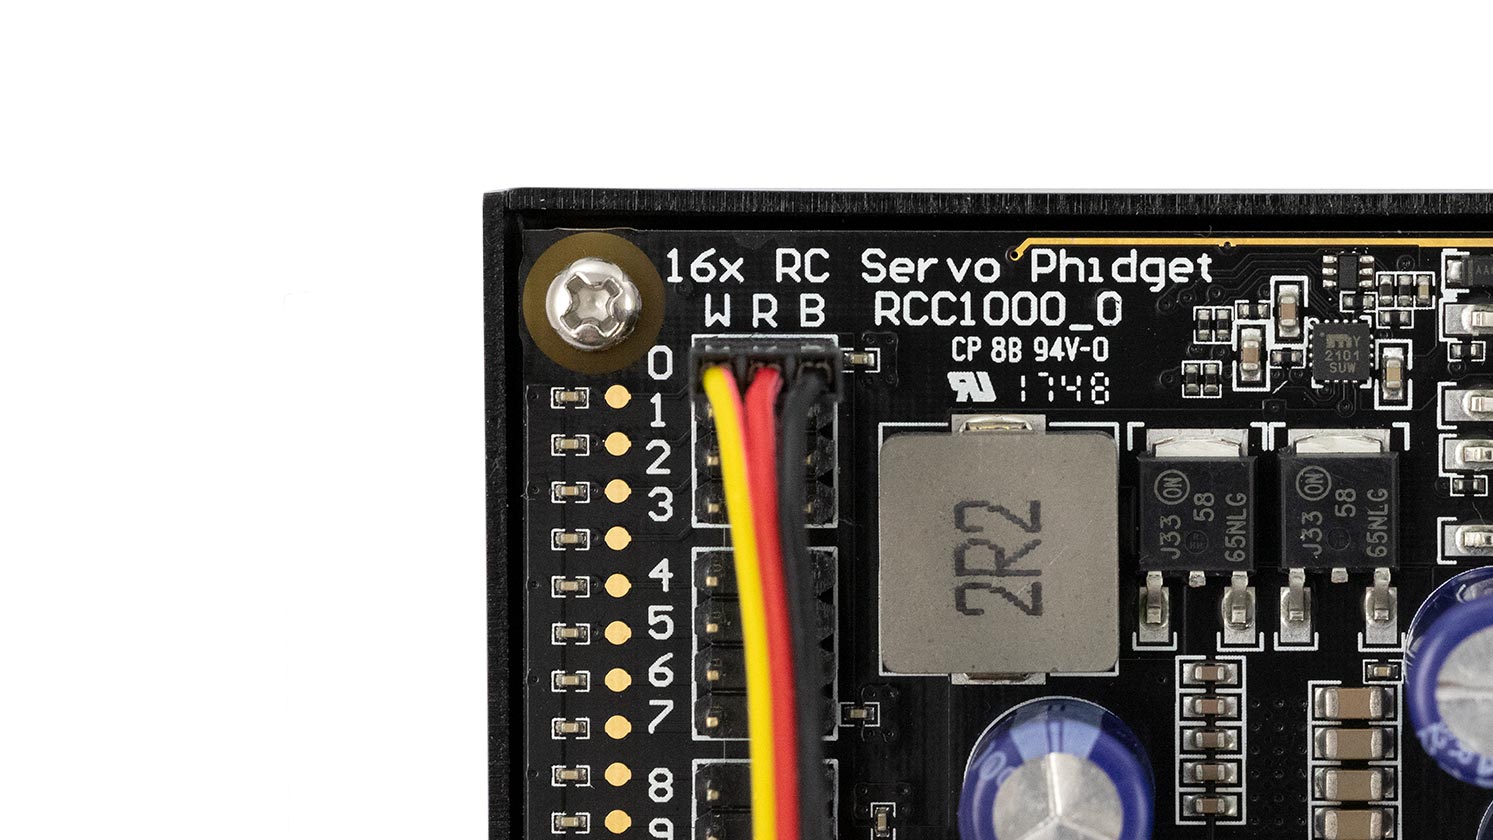
Servo Motor: Connect your servo motor to input 0. WRB (white, red, black) indicates the wire color. Note: some servos may have a yellow cable instead of white.
Code (Java)
Create a file called Servo and add the following code.
Not your programming language? Set my language and IDE.
package servo;

//Add Phidgets Libary
import com.phidget22.*;

public class Servo {
    public static void main(String[] args) throws Exception{
        //Create
        RCServo servoController = new RCServo();

        //Open
        servoController.open(1000);

        //Set a target position | By default, this is between 0 and 180
        servoController.setTargetPosition(90);

        //Engage the motor controller | This allows your motor to move towards the target position
        servoController.setEngaged(true);

        Thread.sleep(1000);
    }
}
//Add Phidgets Library
import com.phidget22.*;

//Define
RCServo servoController;

void setup(){
  try{

    //Create
    servoController = new RCServo();

    //Open
    servoController.open(1000);

  }catch(Exception e){
    e.printStackTrace();
  }
}

void draw(){
  try{

    //Set a target position | By default, this is between 0 and 180
    servoController.setTargetPosition(90);

    //Engage the motor controller | This allows your motor to move towards the target position
    servoController.setEngaged(true);

    delay(1000);
    print("Program Ending");
    exit();

  }catch(Exception e){
    e.printStackTrace();
  }
}
Code (Python)
Create a file called Servo and add the following code.
Not your programming language? Set my language and IDE.
#Add Phidgets Library
from Phidget22.Phidget import *
from Phidget22.Devices.RCServo import *
#Required for sleep statement
import time

#Create
servoController = RCServo()

#Open
servoController.openWaitForAttachment(1000)

#Set a target position | By default, this is between 0 and 180
servoController.setTargetPosition(90)

#Engage the motor controller | This allows your motor to move towards the target position
servoController.setEngaged(True)

time.sleep(1.0)
Code (C#)
Create a file called Servo and add the following code.
Not your programming language? Set my language and IDE.
//Add Phidgets Library
using Phidget22;

namespace Servo
{
    internal class Program
    {
        static void Main(string[] args)
        {
            //Create
            RCServo servoController = new RCServo();

            //Open
            servoController.Open(1000);

            //Set a target position | By default, this is between 0 and 180
            servoController.TargetPosition = 90;

            //Engage the motor controller | This allows your motor to move towards the target position
            servoController.Engaged = true;

            System.Threading.Thread.Sleep(1000);
        }
    }
}
Code (Swift)
Create a file called Servo and add the following code.
Not your programming language? Set my language and IDE.
Add two buttons.
Code Sample Coming Soon!
Applications
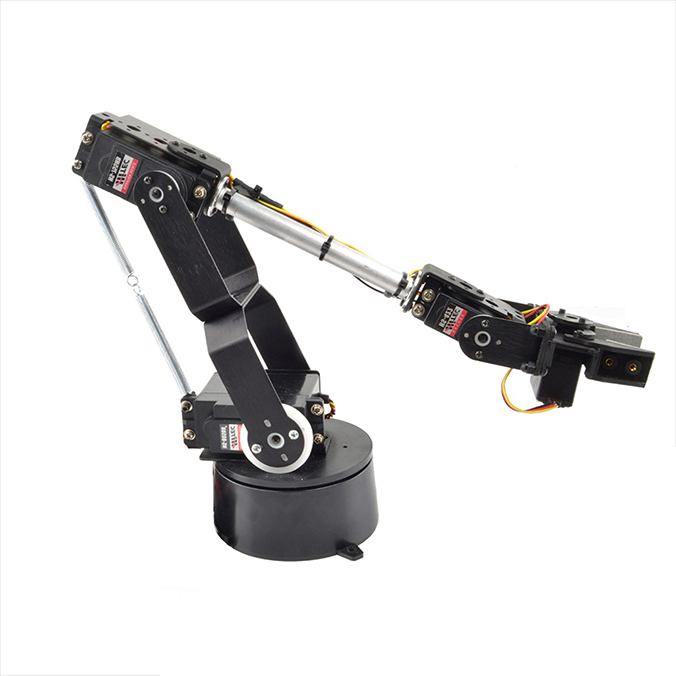
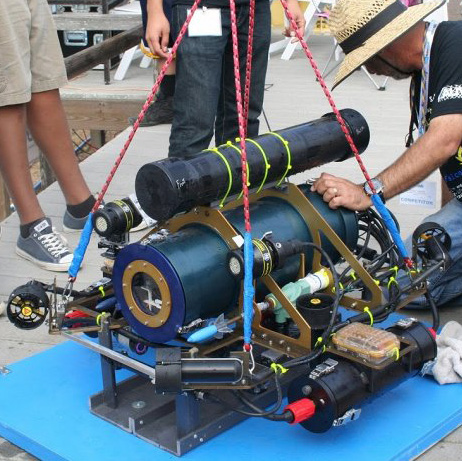
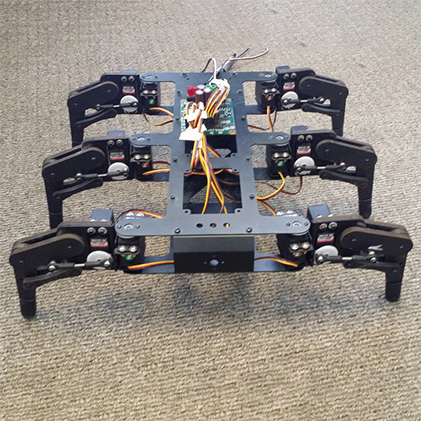
Servo motors are used in an extremely wide range of applications. You will often see them in robots to achieve precise, repeatable movements. More robust servos can be seen in machinery, consumer electronics and vehicles.
Practice
Use your Getting Started Kit and the RC Servo Phidget to control a servo motor. Write a program that moves your servo to 180° when the green button is pressed, and to 0° when the red button is pressed.
Check out the advanced lesson Using the Sensor API before you use the API for the first time.