In this step, you will learn how to move your rover forward and backward.

You will need to create a new project called PhidgetsRover and import the Phidgets Library. If you’ve forgotten how to do this, revisit the Configure section from the Getting Started Kit.
Write code (Java)
Not your programming language? Set your preferences so we can display relevant code examples.
package phidgetsrover;

//Add Phidgets Library
import com.phidget22.*;

public class PhidgetsRover {
    public static void main(String[] args) throws Exception {

        //Connect to wireless rover
        Net.addServer("", "192.168.100.1", 5661, "", 0);

        //Create
        DCMotor leftMotors = new DCMotor();
        DCMotor rightMotors = new DCMotor();

        //Address
        leftMotors.setChannel(0);
        rightMotors.setChannel(1);

        //Open
        leftMotors.open(5000);
        rightMotors.open(5000);

        //Move forward at full speed
        leftMotors.setTargetVelocity(1);
        rightMotors.setTargetVelocity(1);

        //Wait for 1 second
        Thread.sleep(1000);

        //Stop motors
        leftMotors.setTargetVelocity(0);
        rightMotors.setTargetVelocity(0);
    }
}
//Add Phidgets Library
import com.phidget22.*;

//Define
DCMotor leftMotors;
DCMotor rightMotors;

void setup(){
  try{

    //Connect to wireless rover
    Net.addServer("","192.168.100.1", 5661,"",0);

    //Create
    leftMotors = new DCMotor();
    rightMotors = new DCMotor();

    //Address
    leftMotors.setChannel(0);
    rightMotors.setChannel(1);

    //Open
    leftMotors.open(5000);
    rightMotors.open(5000);

  }catch(Exception e){
    //Handle Exceptions
    e.printStackTrace();
  }
}

void draw(){
  try{

    //Move forward at full speed
    leftMotors.setTargetVelocity(1);
    rightMotors.setTargetVelocity(1);

    //Wait for 1 second
    delay(1000);

    //Stop motors
    leftMotors.setTargetVelocity(0);
    rightMotors.setTargetVelocity(0);

    //Only execute draw once for this example
    noLoop();

  }catch(Exception e){
    //Handle Exceptions
    e.printStackTrace();
  }
}
Write code (Python)
Not your programming language? Set your preferences so we can display relevant code examples.
#Add Phidgets library
from Phidget22.Phidget import *
from Phidget22.Net import *
from Phidget22.Devices.DCMotor import *
#Required for sleep statement
import time

#Connect to your wireless rover
Net.addServer("", "192.168.100.1", 5661, "", 0)

#Create
leftMotors = DCMotor()
rightMotors = DCMotor()

#Address
leftMotors.setChannel(0)
rightMotors.setChannel(1)

#Open
leftMotors.openWaitForAttachment(5000)
rightMotors.openWaitForAttachment(5000)

#Move forward at full speed
leftMotors.setTargetVelocity(1)
rightMotors.setTargetVelocity(1)

#Wait for 1 second
time.sleep(1)

#Stop motors
leftMotors.setTargetVelocity(0)
rightMotors.setTargetVelocity(0)
Write code (C#)
Not your programming language? Set your preferences so we can display relevant code examples.
//Add Phidgets Library
using Phidget22;

namespace PhidgetsRover {
    class Program {
        static void Main(string[] args) {

            //Connect to wireless rover
            Net.AddServer("", "192.168.100.1", 5661, "", 0);

            //Create
            DCMotor leftMotors = new DCMotor();
            DCMotor rightMotors = new DCMotor();

            //Address
            leftMotors.Channel = 0;
            rightMotors.Channel = 1;

            //Open
            leftMotors.Open(5000);
            rightMotors.Open(5000);

            //Move forward at full speed
            leftMotors.TargetVelocity = 1;
            rightMotors.TargetVelocity = 1;

            //Wait for 1 second
            System.Threading.Thread.Sleep(1000);

            //Stop motors
            leftMotors.TargetVelocity = 0;
            rightMotors.TargetVelocity = 0;
        }
    }
}
Write code (Swift)
Not your programming language? Set your preferences so we can display relevant code examples.
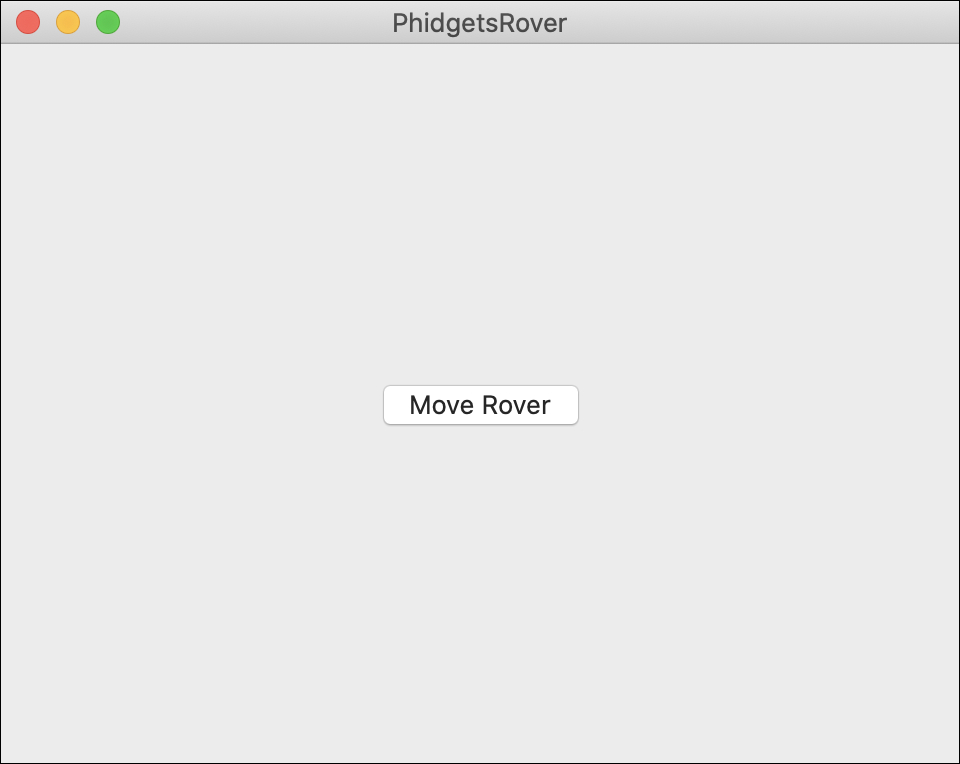
Create two buttons
NOTE: the code below assumes you've created a single button and linked it to an IBAction named moveRover
import Cocoa
//Add Phidgets Library
import Phidget22Swift

class ViewController: NSViewController {

    //Create
    let leftMotors = DCMotor()
    let rightMotors = DCMotor()

    override func viewDidLoad() {
        super.viewDidLoad()
        do{
            //Connect to wireless rover
            try Net.addServer(serverName: "", address: "192.168.100.1", port: 5661, flags: 0)

            //Address
            try leftMotors.setChannel(0)
            try rightMotors.setChannel(1)

            //Open
            try leftMotors.open()
            try rightMotors.open()

        }catch{
            print(error)
        }

    }

    @IBAction func moveRover(_ sender: Any) {
        do{
            //Move forward at full speed
            try leftMotors.setTargetVelocity(1.0)
            try rightMotors.setTargetVelocity(1.0)

            //Wait for 1 second
            sleep(1)

            //Stop motors
            try leftMotors.setTargetVelocity(0.0)
            try rightMotors.setTargetVelocity(0.0)

        }catch{
            print(error)
        }
    }
}
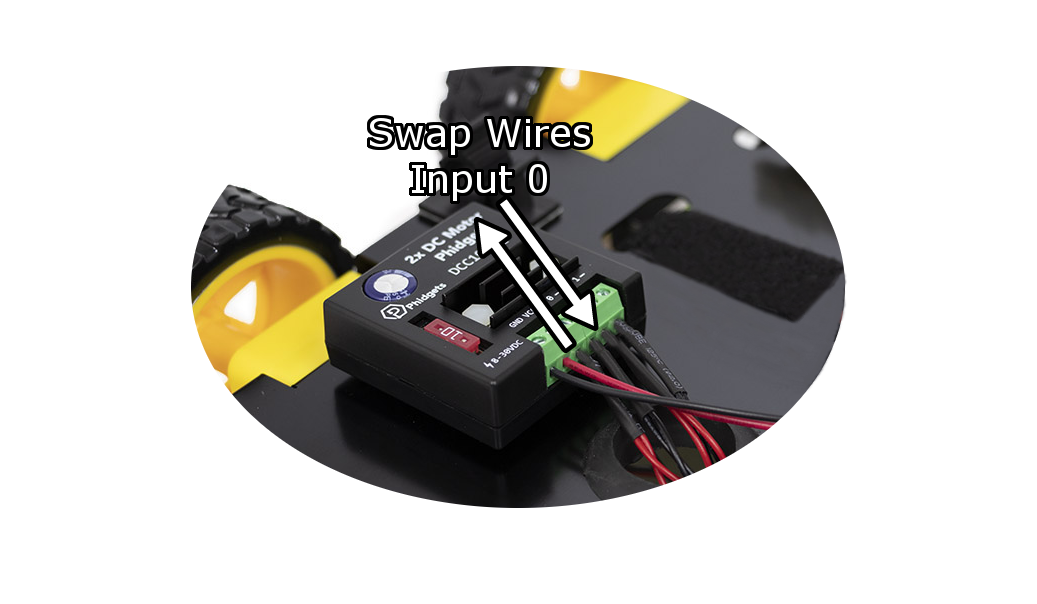
Did Your Rover Spin?
If your Rover spun around instead of driving straight, simply swap the red and black wires on input 0.
Did Your Rover Move Backwards?
Not to worry! Move onto the practice problems below and learn how to modify your code to produce the results you expected.
Practice
- Change your Target Velocity to 0.5 for both motors.
- Change the sleep duration from 1 second to 2 seconds.
- Change your Target Velocity to -1.0 for both motors.