LEDArray API Guide
Introduction
This guide will provide information about the LEDArray API to get you up and running with your new Addressable LED Phidget.
LEDArray API Overview
Phidget Control Panel
After wiring your Addressable LED Phidget using the Quick Start Guide on the product page, we recommend opening the Phidget Control Panel on a Windows computer to experiment with key features.
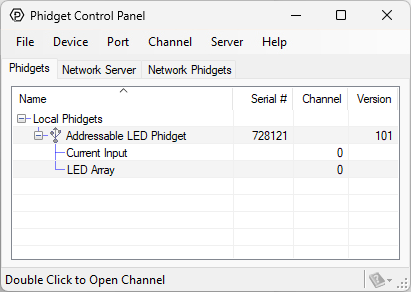
When the Addressable LED Phidget is plugged in via USB or VINT, it will appear up on the Phidget Control Panel device list as shown above. Double-click on the entry to view the program.
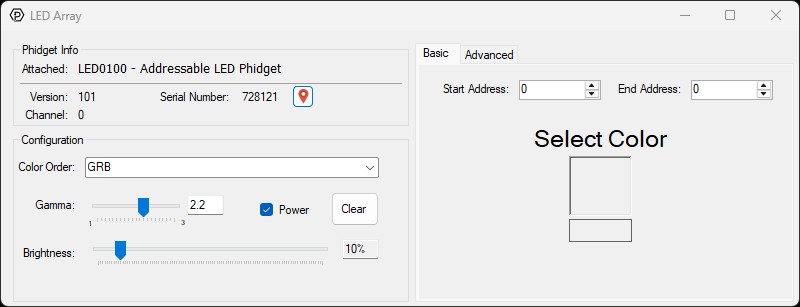
After opening the program, you will see the screen shown above. The program is split into multiple sections to help you get familiar with your controller.
- Phidget Info
- Configuration
- Basic/Advanced Tabs
In this guide, we will focus on the areas that contain important information about controlling your LEDs. For information about the Phidget Info section, and the Phidget Control Panel in general, visit our Phidget Control Panel Page.
Configuration
Color Order
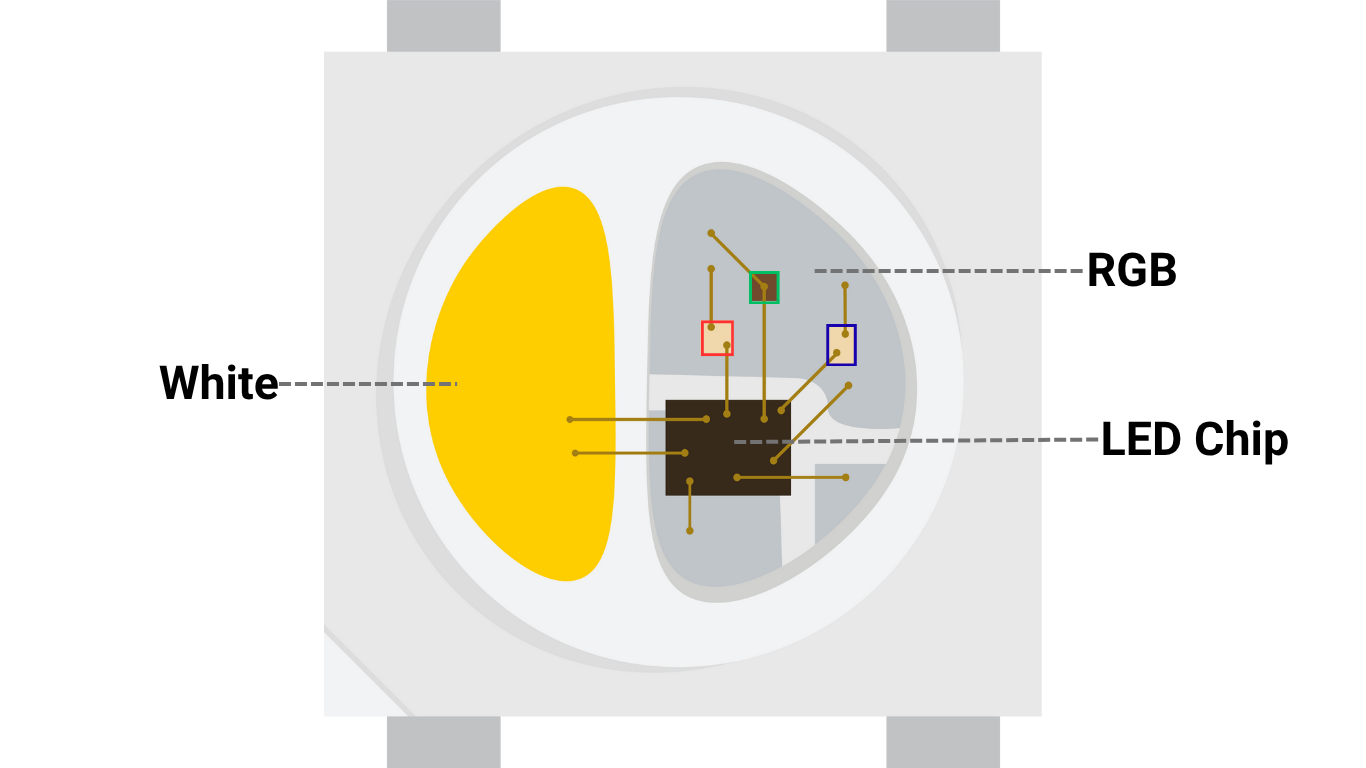
Addressable LEDs consist of red, green, blue, and sometimes white LEDs, as shown in the illustration on the right.
To control these LEDs, the LED chip must receive data from the Addressable LED Phidget in a specific order. The most common sequences are:
- RGB
- GRB
- RGBW
- GRBW
Refer to the product page or datasheet of your addressable LEDs to determine which sequence is used, and configure your controller accordingly using this property.
Gamma
The brightness of an LED increases linearly with current, however, the human eye perceives this brightness in a non-linear fashion. The Addressable LED Phidget includes built-in gamma correction to compensate for this.
The default value of this property is 2.2, which matches most computer displays.
Brightness
Apply a brightness value to all LEDs.
Other Considerations
Increasing the brightness of your LEDs will increase their current draw. Ensure you are using an appropriately sized power supply.
PowerEnabled
Control the power to your LEDs with this property.
Other Considerations
If an Over Current error event occurs, you must toggle Power Enabled to resume operation.
Clear
This will turn off all LEDs. It will also stop any animations.
Basic Tab
The basic tab uses the setLEDs method to apply a single color to the LEDs specified by the start and end addresses.
Other Considerations
The MinAddress is 0, and the MaxAddress is 2047 for this controller. This means you can control up to 2048 LEDs, which is specified by the MaxLEDCount property.
If you are using addressable LEDs with a white component (e.g., RGBW), the MaxAddress is reduced to 1535 and the MaxLEDCount is reduced to 1536.
Advanced Tab
The advanced tab also uses the setLEDs method, however, it exposes extra parameters to experiment with.
LED Pattern
The LED Pattern selector can be used to define a color pattern that can be sent to the controller.

This is equivalent to the following LEDArrayColor array:
//C#
LEDArrayColor[] exampleArray = new LEDArrayColor[2];
exampleArray[0].B = 255;
exampleArray[1].G = 255;
This pattern will repeat if it is shorter than the total number of LEDs being controlled, as defined by the start and end addresses. For example, if the start address is set to 0 and the end address to 7, we would see the following result:
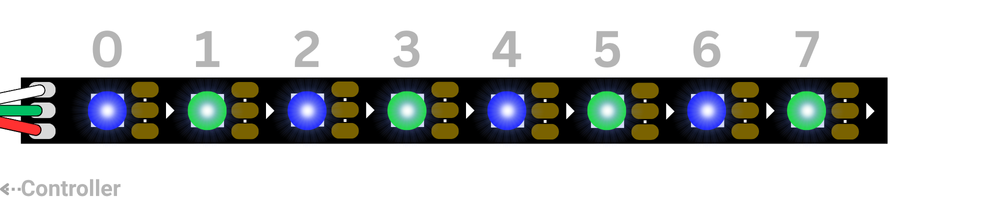
Conversely, if the pattern is longer than the total number of LEDs being controlled, it will be truncated.
Fade Time
If a fade time is defined, the controller will smoothly fade the LED from its previous state to its new state.
Other Considerations
The MinAddress is 0, and the MaxAddress is 2047 for this controller. This means you can control up to 2048 LEDs, which is specified by the MaxLEDCount property.
If you are using addressable LEDs with a white component (e.g., RGBW), the MaxAddress is reduced to 1535 and the MaxLEDCount is reduced to 1536.
Animations
The Addressable LED Phidget can perform various animations on board.
Animation Type
There are five animation types:
- ForwardScroll
- ReverseScroll
- ForwardScrollMirror
- ReverseScrollMirror
- Randomize
Animation Slot
Up to 16 animations can run concurrently. The animation slot (animation ID) is used when setting and stopping an animation.
Start/End Address
Define the range of your animation. Animations cannot overlap.
Time
Define the time between changes in milliseconds.
Other Considerations
Animations can be especially useful when paired with Channel Persistence, as they are executed directly by the controller and can continue running even after the software application is no longer active.
Errors
Over Current
Addressable LEDs can demand significant power, especially when many LEDs are used at high brightness. The Addressable LED Phidget intelligently monitors current draw and will shut off power when the following limits are exceeded:
| Power Source | Current Limit (mA) |
|---|---|
| USB | 800 |
| External (Power Jack) | 3200 |
| External (Direct to LEDs) | N/A* |
*The Addressable LED Phidget can only monitor current draw when the LEDs are powered via USB or the onboard power jack. If the LEDs are powered directly, they are not protected by the onboard fuse or current monitoring circuitry. In these situations, the user is responsible for implementing adequate overcurrent protection to prevent damage or injury.
Other Considerations
If an OverCurrent error occurs, you will need to toggle Power Enabled to resume operation.