KIT4006 User Guide
Mounting a Device
The screws provided are self-tapping and will bite into the plastic enclosures of your Phidgets. You can find a spot for your Phidget depending on its size.
You can move things around until all of your devices fit. In a pinch, you can use the 0.1" grid to help drill new mounting holes if you have a drill that can handle aluminum.
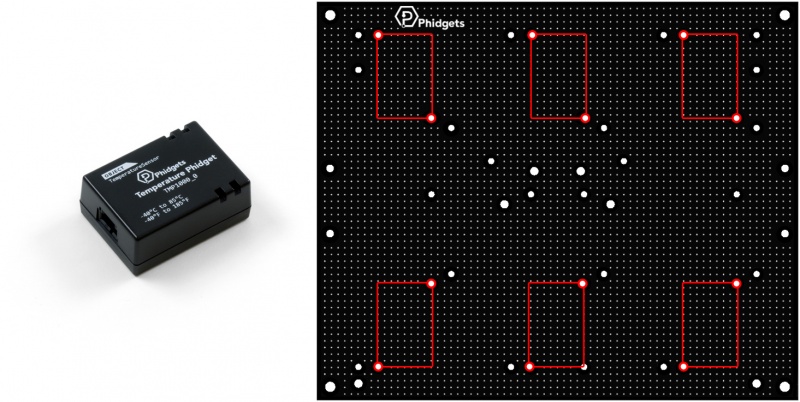
Small Phidgets like the TMP1000 or HIN1101 can be mounted in these spots:
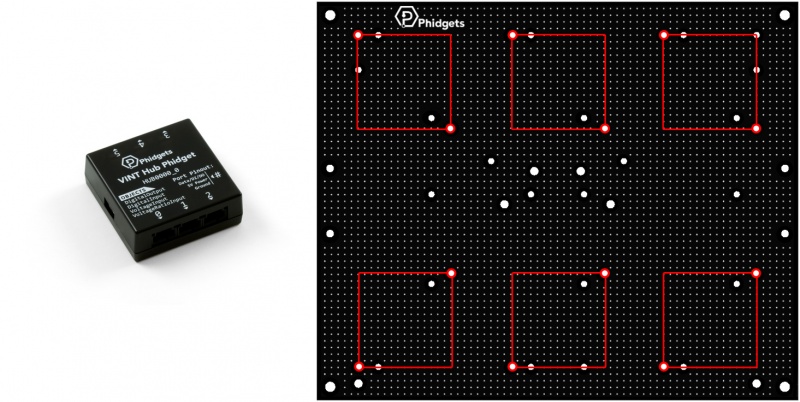
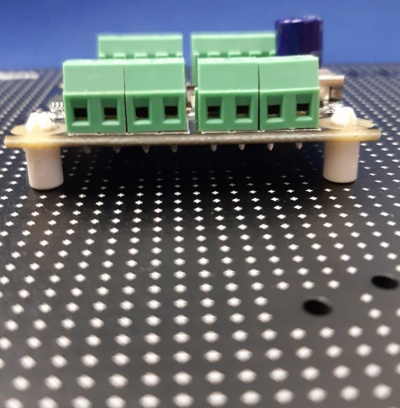
Medium-sized Phidgets like the HUB0000 can be mounted in these spots:
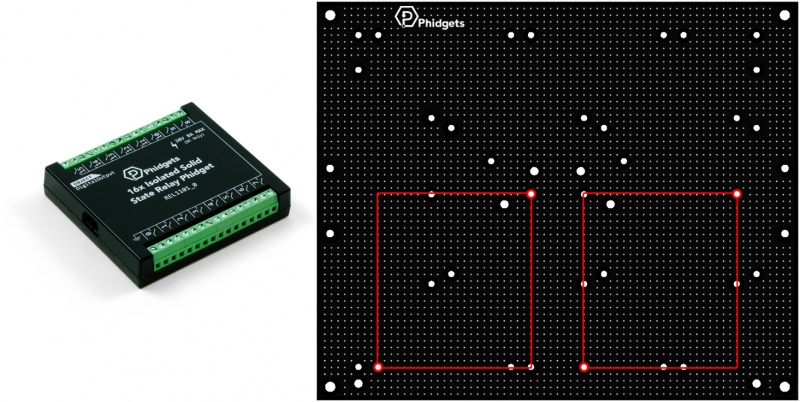
Large Phidgets like the REL1101 or LED1000 can be mounted in these spots:
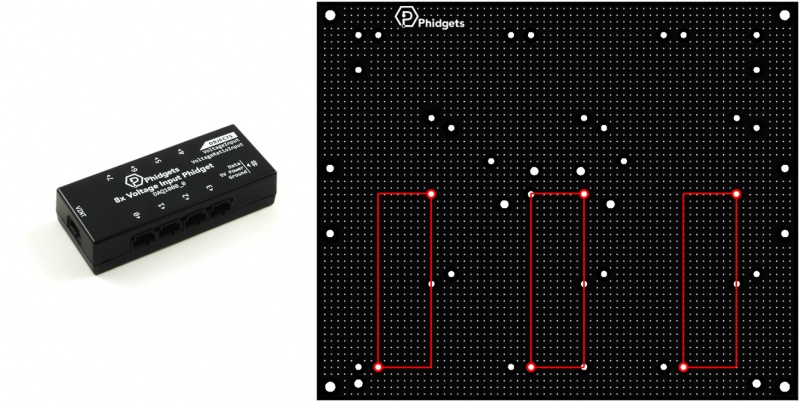
Long Phidgets like the DAQ1000 or DST1200 can be mounted in these spots:
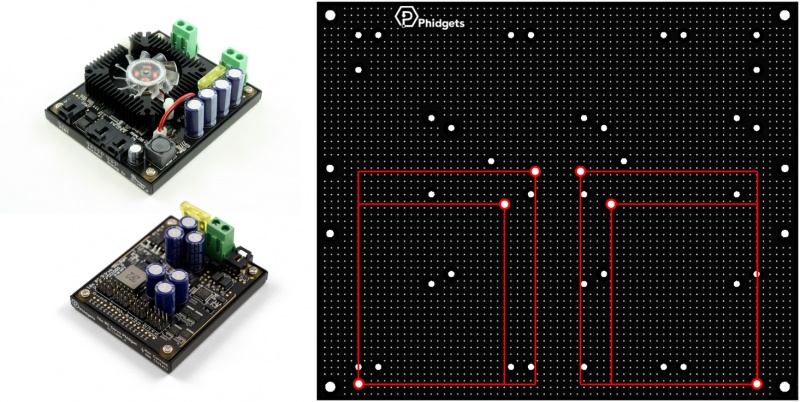
Phidgets with metal enclosures come in two different sizes (e.g. DCC1000 and RCC1000), and can be mounted in these spots:
When mounting a Phidget with a metal enclosure, remove the two screws that match with the spot you've chosen and replace them with longer screws from the hardware mounting kit that came with that Phidget. Secure the screws with nuts on the opposite side:
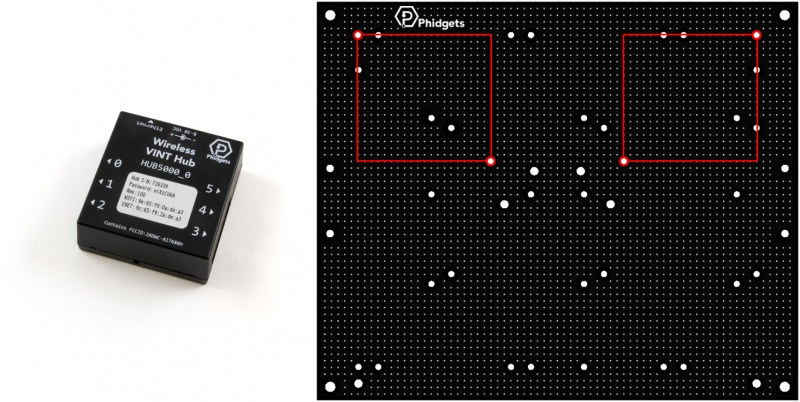
The Wifi VINT Hub can be mounted in these spots:
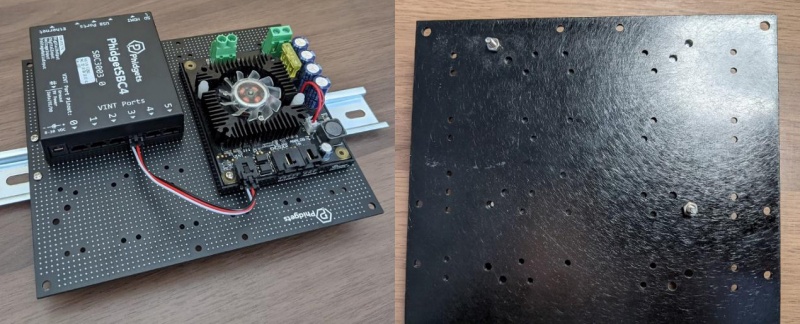
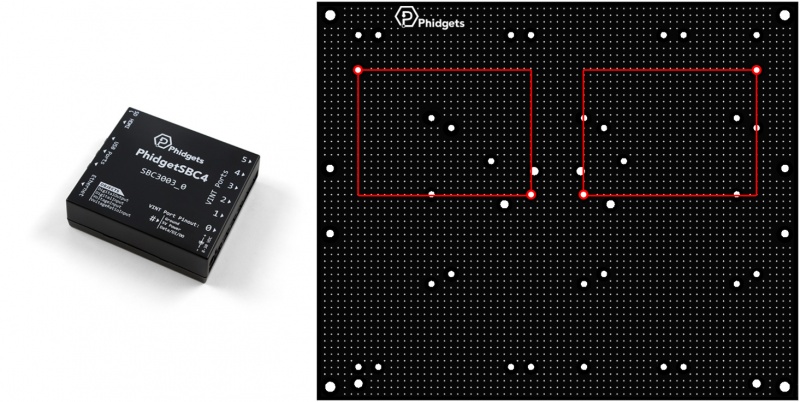
The PhidgetSBC4 can be mounted in these spots:
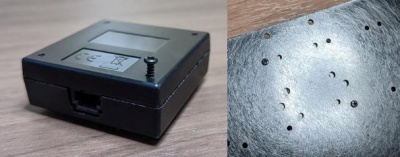
USB Phidgets such as the 1018 or 1067, and analog sensors like the 1108 or 1129 don't have a standardized mounting size like VINT devices do, so you'll have to drill custom holes to mount these devices.
The grid on the KIT4006 is spaced at 0.1" intervals, and the mounting holes for these devices are all some multiple of 0.1". Choose where you want to mount the Phidget and line it up so you can see a '+' inside each of the four holes. Mark the crosses with a sharpie or center punch to make it easy to see where you need to drill.
For Phidgets without plastic enclosures, you can buy plastic snap locking pins to secure them to the plate. These aren't included in the kit, but can be purchased at electronics retailers like Digikey.
Example:
- Snap-locking pin - 36-9020-ND
For other devices with mounting holes, you'll probably have to drill custom holes and find mounting hardware that works with your device.
For devices without mounting holes, you can buy snap locking adhesive pads. These aren't included in the kit, but can be purchased at electronics retailers like Digikey.

Example:
- Snap-locking adhesive pad - RPC1096-ND
DIN Rail Mounting
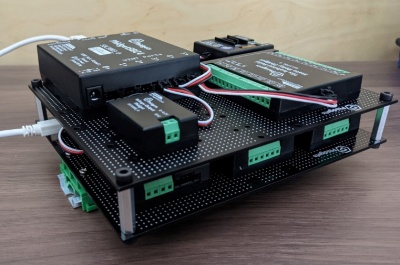
One of the main features of the Mounting Plate Kit is the ability to snap the entire plate onto a standard piece of 35mm DIN rail for easy assembly and disassembly into a larger system.
Installing onto the Rail
First, mount the included DIN clips on the edge of both sides of plate using the screws provided. You should mount them with the tall side facing whichever direction will be easiest to access on the rail when it comes time to remove the panel (e.g. if the rail is up high, make your life easier by mounting the clips with the tall side down).
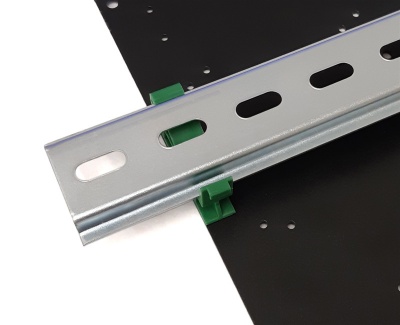
Next, you can mount the plate to the rail by sliding the clips onto the edge of the rail as shown here:
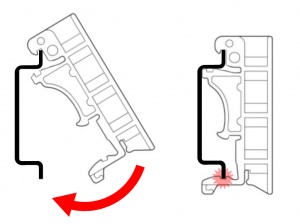
Line it up so that the top hook is in place for both clips, then you can simply push in on the bottom edge of the plate and both clips will snap in place.
Removing from the Rail
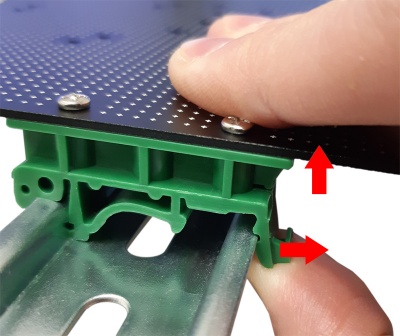
To remove the panel from the DIN rail, pull down on the tall end of the clip while pulling that side of the panel away from the rail (If you don't pull the plate, you'll end up putting too much strain on the clip and it might snap). Once the rail pops out of the groove in the clip, you can unclip the other side of the plate in the same way.
Mounting on Both Sides
You can mount Phidgets on both the top and bottom of the plate if you use the included countersunk screws in any spots where their footprints overlap.
You'll need to drill part way through the plate with a 90° countersink drill bit so that the countersunk screw can be flush with the surface of the plate. If you don't have one, you can achieve the same result if you carefully use a standard 5/32" or 4mm drill bit to clear the area around the edge of the hole.

Stacking Plates
Plates can be stacked on top of one another with M4 standoffs or plastic snap-lock rods in the four corners. These aren't included in the kit, but can be purchased at electronics retailers like Digikey.
Example Parts:
- Standoffs - 36-24458-ND
- M4 Bolts - A127803-ND
- Nylon Snap Lock - RPC1401-ND