Language - Swift
Get Started
With the Phidget22 library, it's easy to create Swift applications that work with Phidget devices.
Swift Libraries
If you've installed the Phidget drivers for macOS or iOS, then you already have the files you need for your project.
Example Code
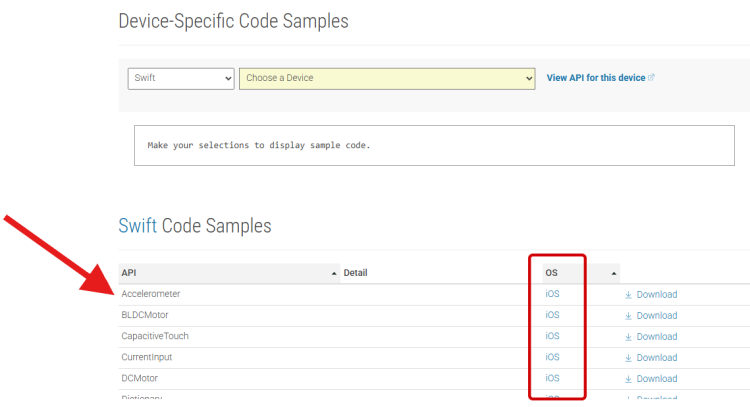
You can find examples for macOS and iOS on our Code Samples page. Make sure you download one for the correct OS.
XCode Configuration
Xcode is an IDE provided by Apple that's used to develop code in a wide variety of programming languages, including Swift.
macOS
Use Our Examples |
||
| Start by downloading a Swift example that will work with your Phidget.
Open the folder and run Package.swift to open it in Xcode. | ||
| Next, simply press run. | 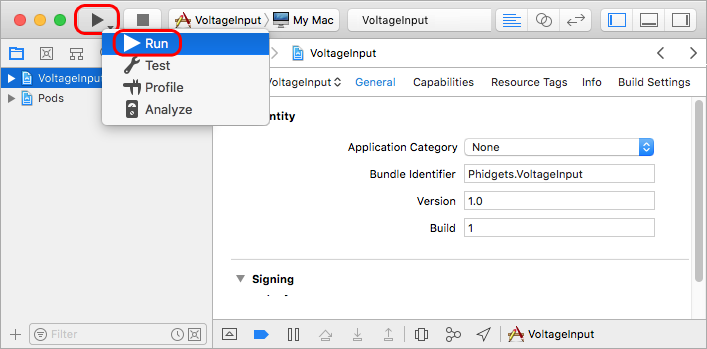
| |
| Here's what the VoltageInput example will look like when it's running. Try playing around with the device and experiment with some of its functionality. The next step is configuring a new project and writing your own code. | 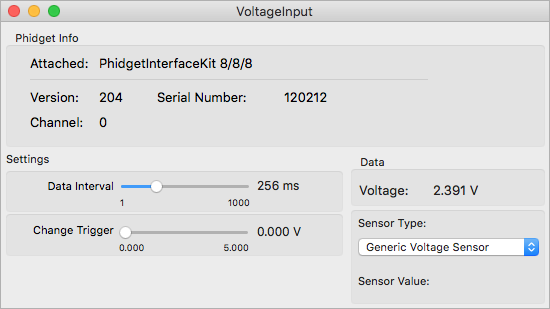
| |
Starting a New Project
| ||
| Create a new XCode project and select a macOS app. | 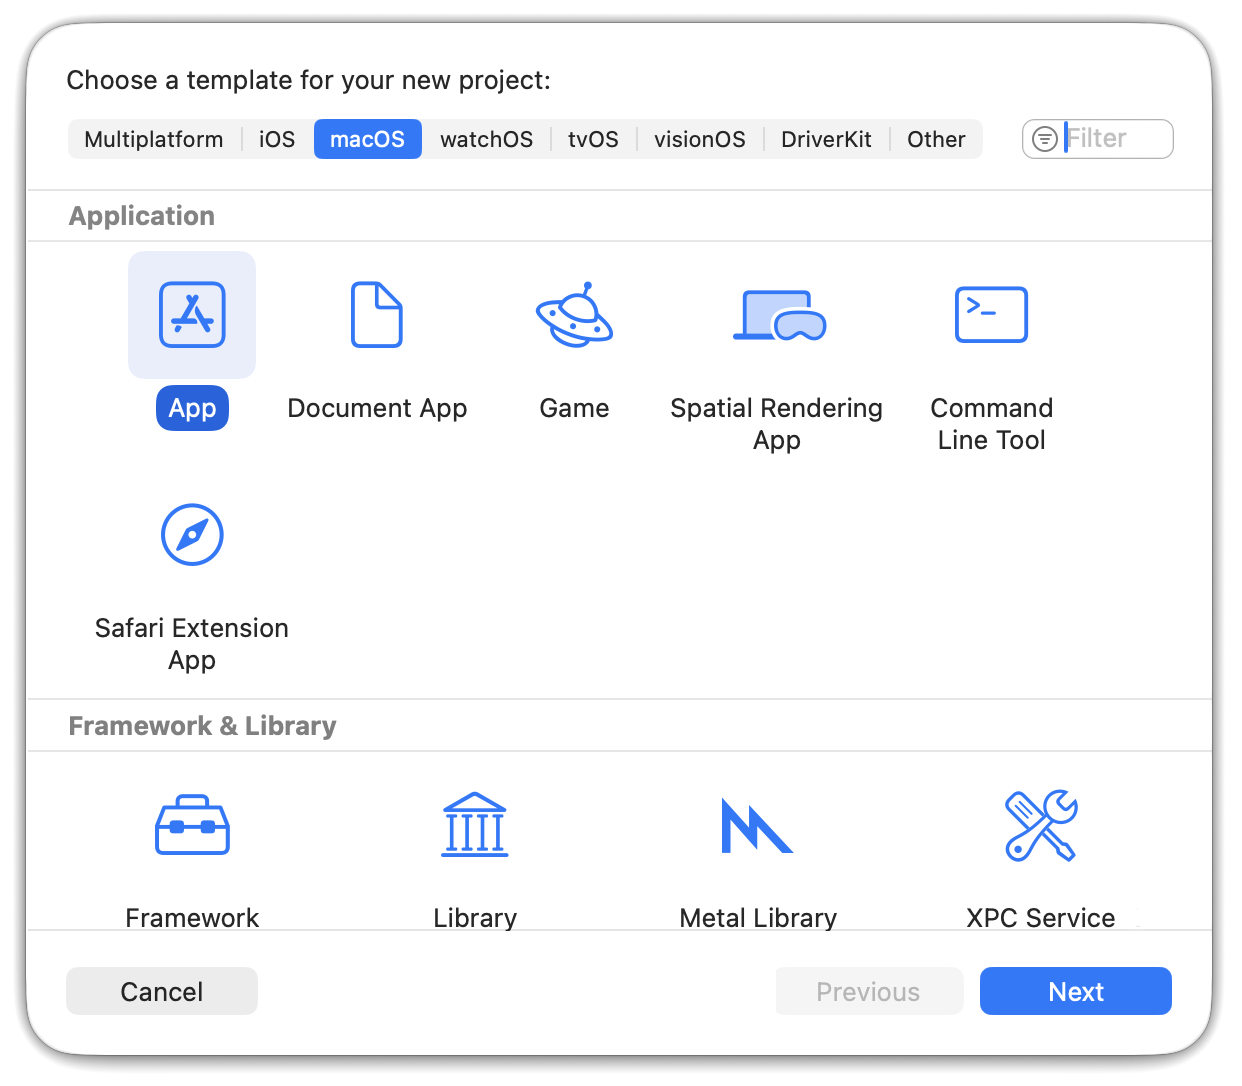
| |
| Name the project, select Swift as the language, and continue. | 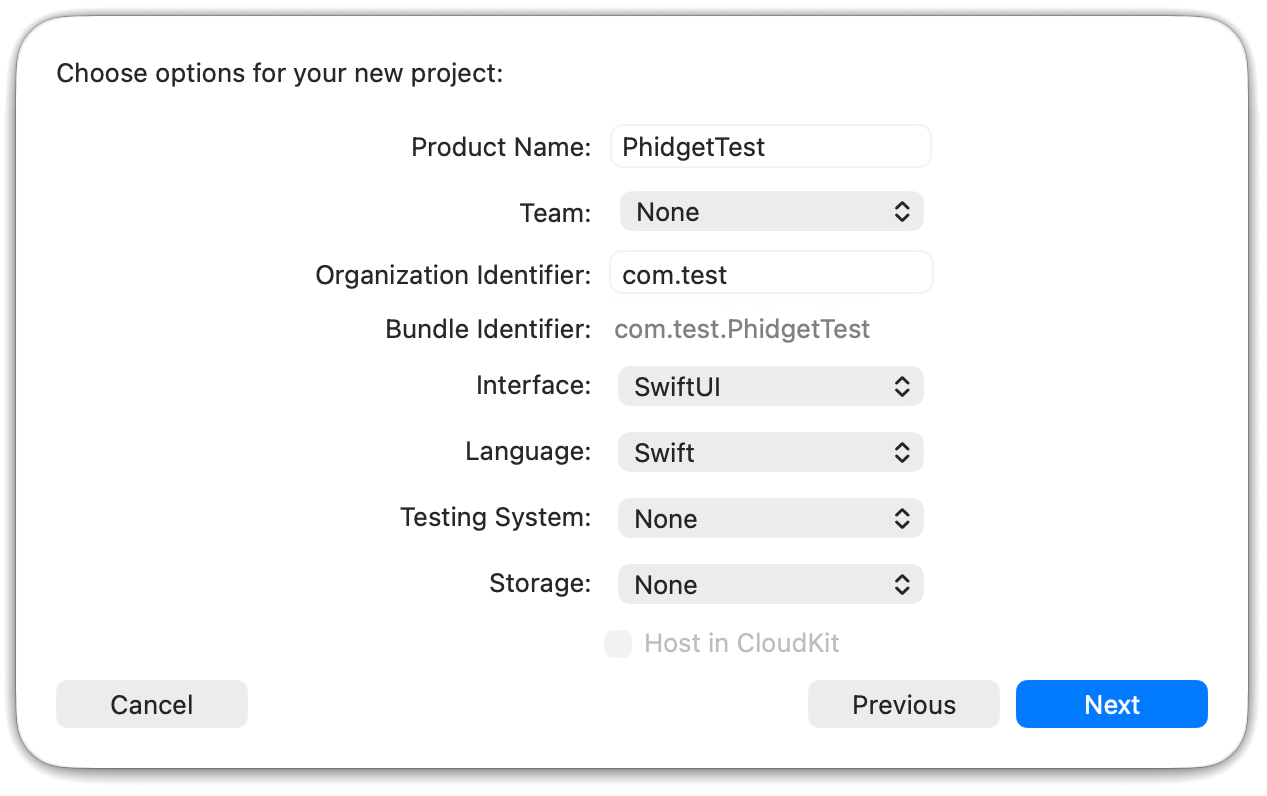
| |
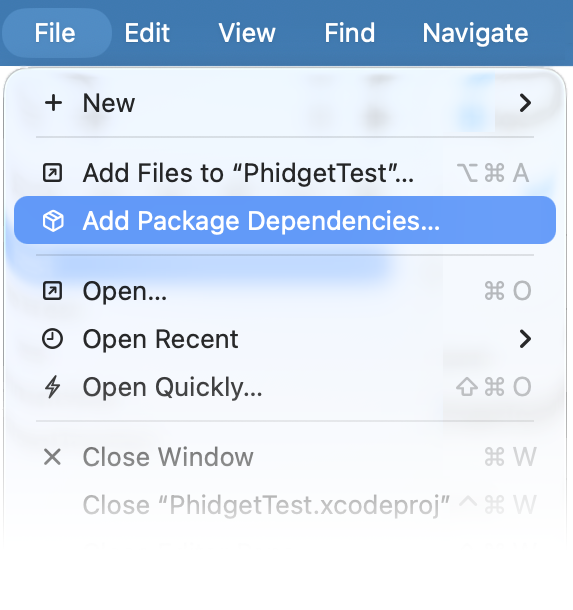
| Now that your project is created, you need to add the Phidget libraries.
Go to File > Add Package Dependencies |
| |
| This will pop up the Swift package manager. | 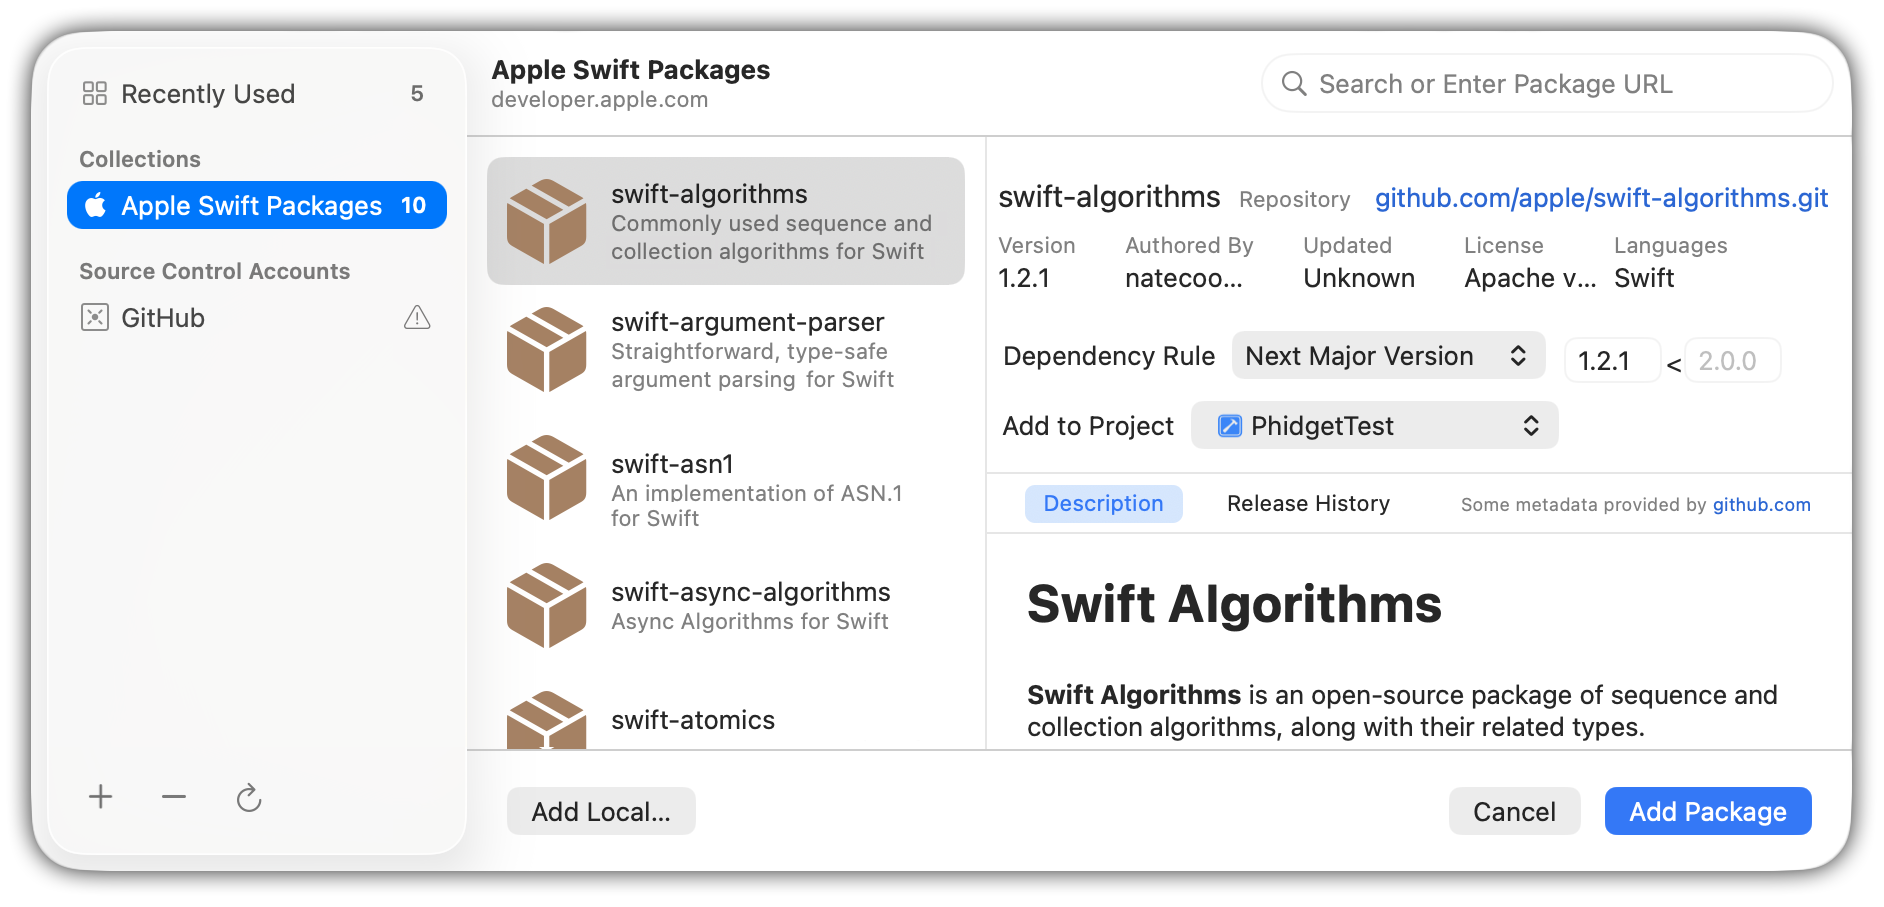
| |
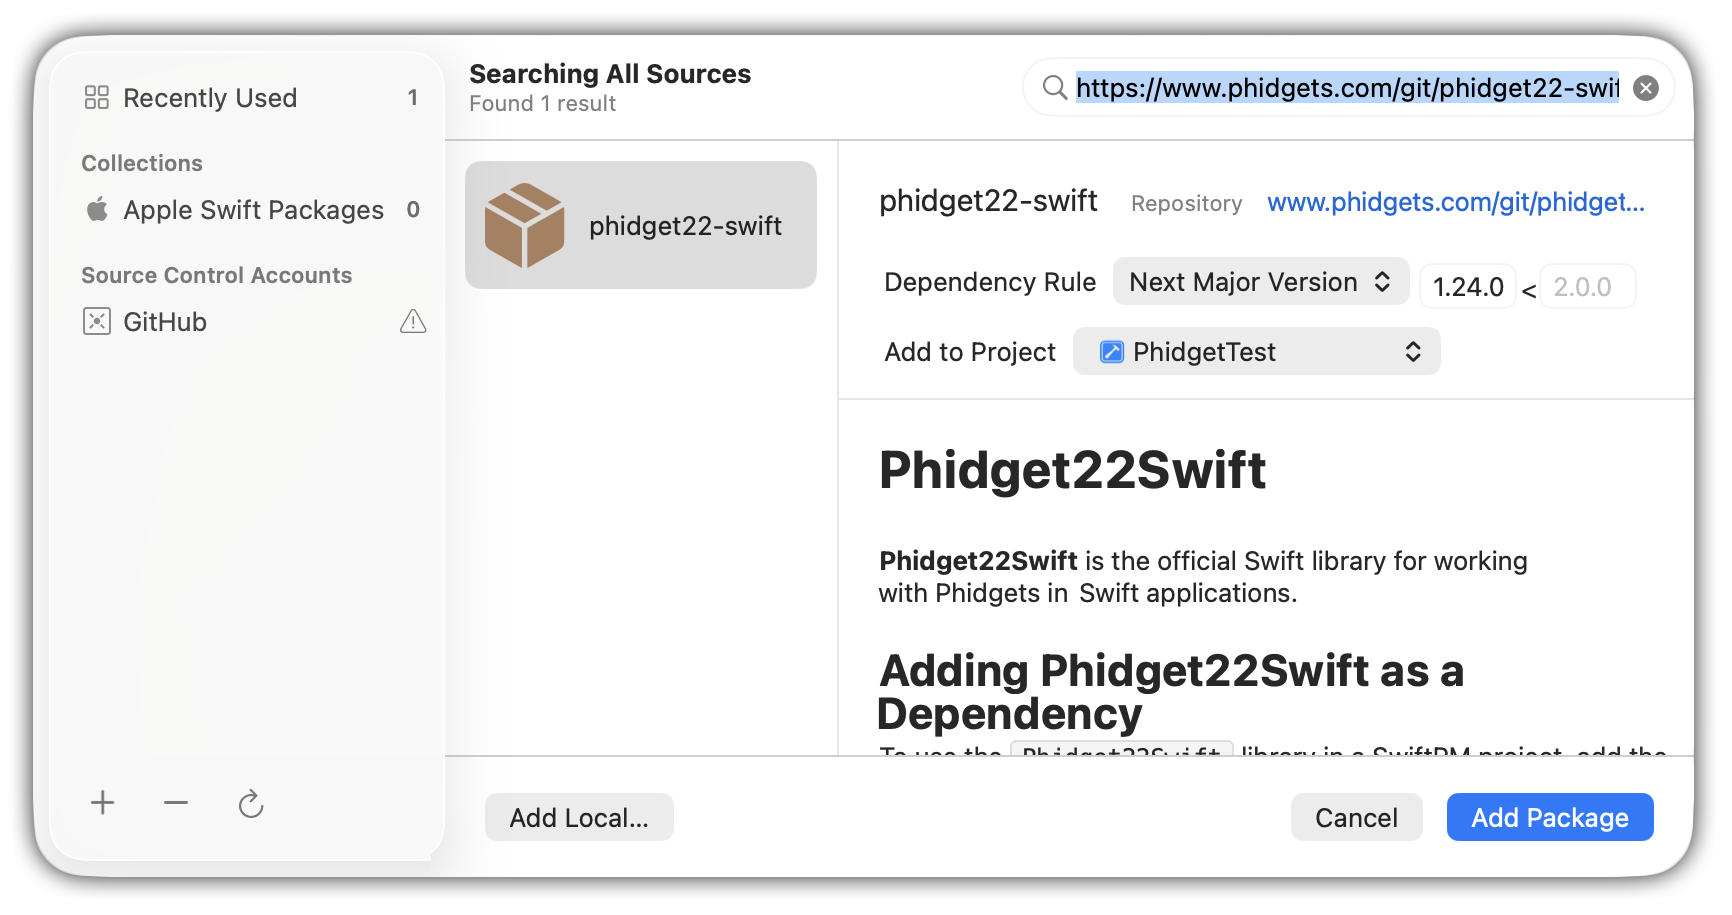
Type this URL into the search bar in the top right:
https://www.phidgets.com/git/phidget22-swift.gitThen select the phidget22-swift package and click Add Package. |
| |
Now you can access the Phidget libraries by adding the following line to the top of your files:
import Phidget22SwiftThe project now has access to Phidgets you can begin coding. See Phidget Programming Basics for guidance on writing your own code. | ||
iOS
Use Our Examples |
||
| Start by downloading a Swift example that will work with your Phidget.
Open the folder and run Package.swift to open it in Xcode. | ||
| Next, select the type of device you would like the application to run on, and press play. | 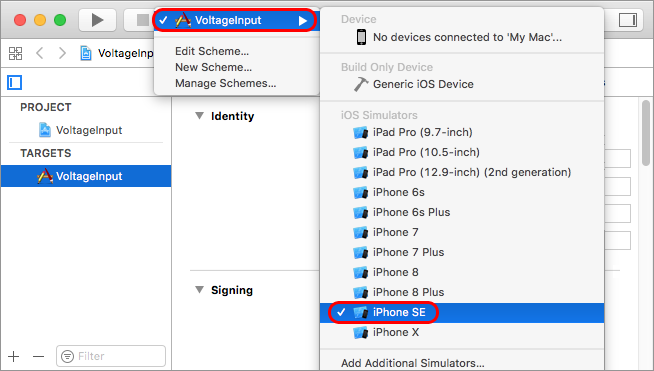
| |
| Here's what the VoltageInput example will look like when it's running. Try playing around with the device and experiment with some of its functionality. The next step is starting a new project and writing your own code. | 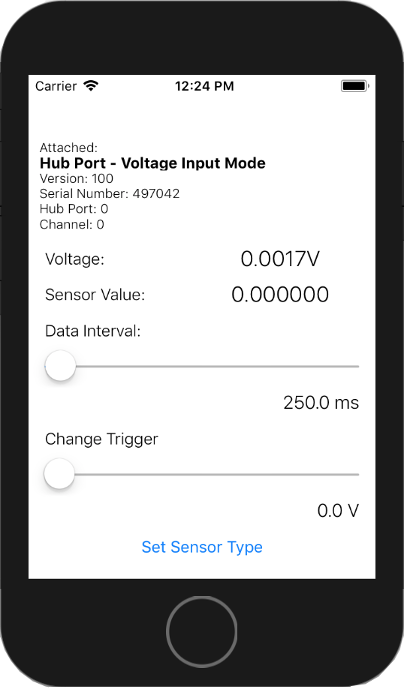
| |
Starting a New Project
| ||
| Create a new XCode project and select an iOS app. | 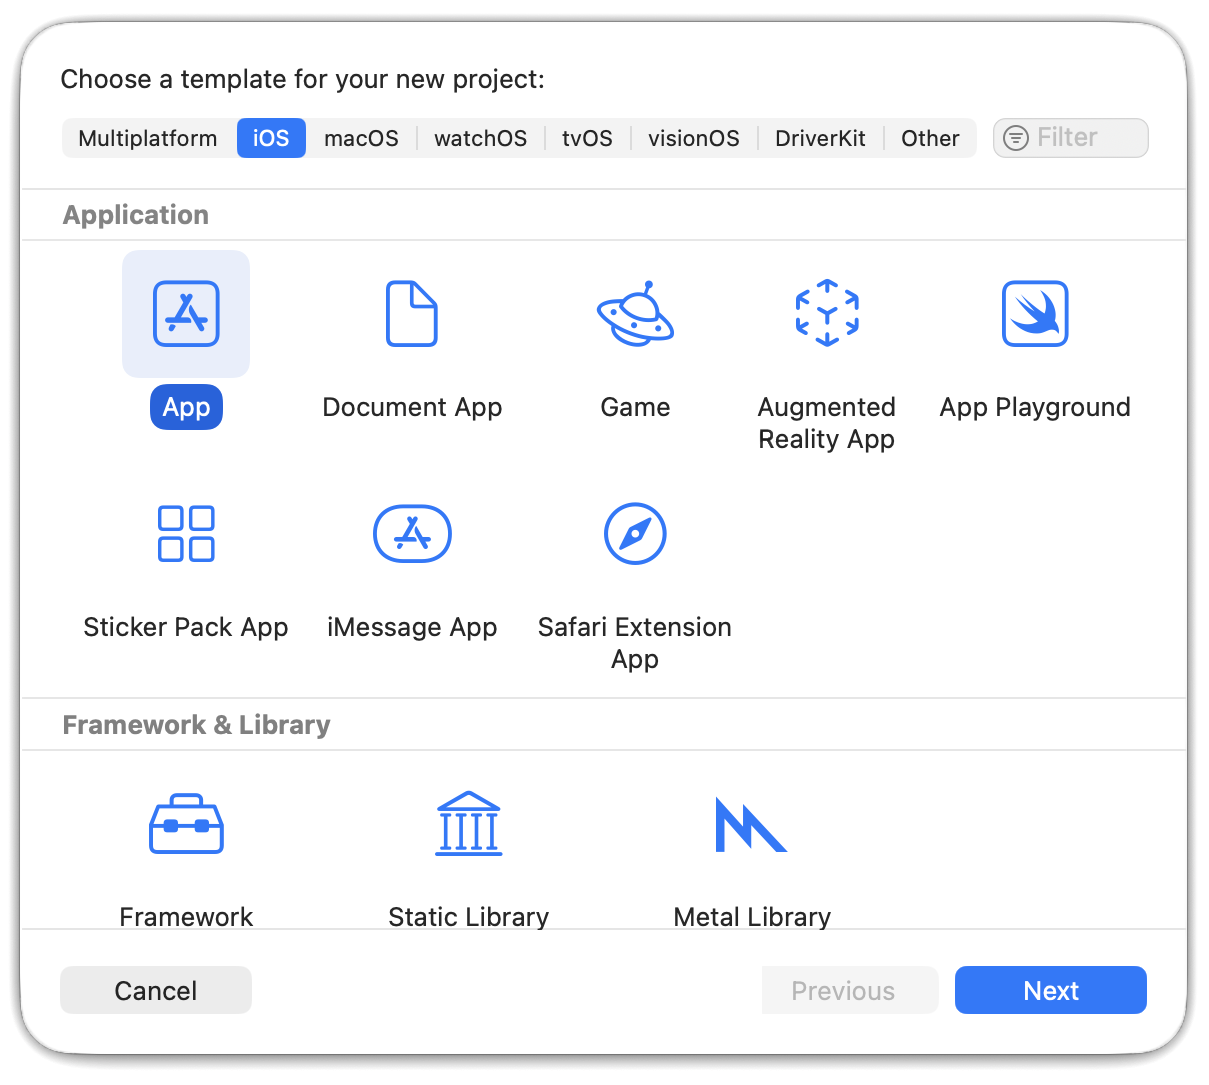
| |
| Name the project, select Swift as the language, and choose which devices will be supported. | 
| |
| Now that your project is created, you need to add the Phidget libraries.
Go to File > Add Package Dependencies |
| |
| This will pop up the Swift package manager. |
| |
Type this URL into the search bar in the top right:
https://www.phidgets.com/git/phidget22-swift.gitThen select the phidget22-swift package and click Add Package. |
| |
Now you can access the Phidget libraries by adding the following line to the top of your files:
import Phidget22SwiftThe project now has access to Phidgets you can begin coding. See Phidget Programming Basics for guidance on writing your own code. | ||
Phidget Programming Basics
To learn more about the structure of the example code, visit our Phidget Programming Basics guide.