OS - macOS: Difference between revisions
No edit summary |
No edit summary |
||
| (29 intermediate revisions by 3 users not shown) | |||
| Line 1: | Line 1: | ||
<metadesc>Communicate over USB with sensors, controllers and relays with Phidgets! Program in macOS using a wide variety of programming languages.</metadesc> | |||
[[Category:OS]] | [[Category:OS]] | ||
__TOC__ | __TOC__ | ||
| Line 5: | Line 6: | ||
Already know what you're doing? Here you go: | Already know what you're doing? Here you go: | ||
*[{{SERVER}}/downloads/phidget22/libraries/macos/Phidget22.dmg macOS Installer Download] | *[{{SERVER}}/downloads/phidget22/libraries/macos/Phidget22.dmg macOS Installer Download] | ||
*[[Software License]] | |||
If you need older versions of the Phidget22 macOS libraries, [{{SERVER}}/downloads/phidget22/libraries/macos/Phidget22/ click here]. | |||
If you need Phidget21 macOS libraries, [{{SERVER}}/downloads/phidget21/libraries/macos/Phidget/ click here]. | |||
==Getting Started with macOS== | ==Getting Started with macOS== | ||
Welcome to using Phidgets with macOS | Welcome to using Phidgets with macOS. If you are ready to go, the first step in creating macOS applications with Phidgets is installing our libraries! | ||
===Install=== | ===Install=== | ||
To install our libraries, download the installer for your machine: | |||
*[{{SERVER}}/downloads/phidget22/libraries/macos/Phidget22.dmg macOS installer download] | |||
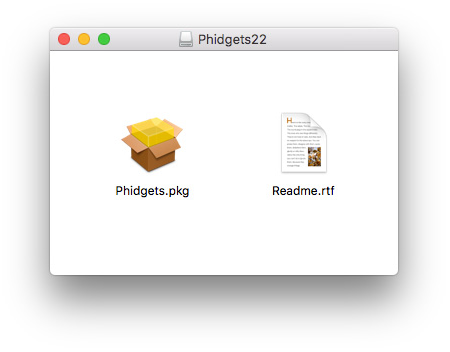
Next, open up the installer, and double click on ''Phidgets.pkg'' to install the libraries: | |||
[[File:OSX Install 1.png|link=|alt=macOS Install|center]] | [[File:OSX Install 1.png|link=|alt=macOS Install|center]] | ||
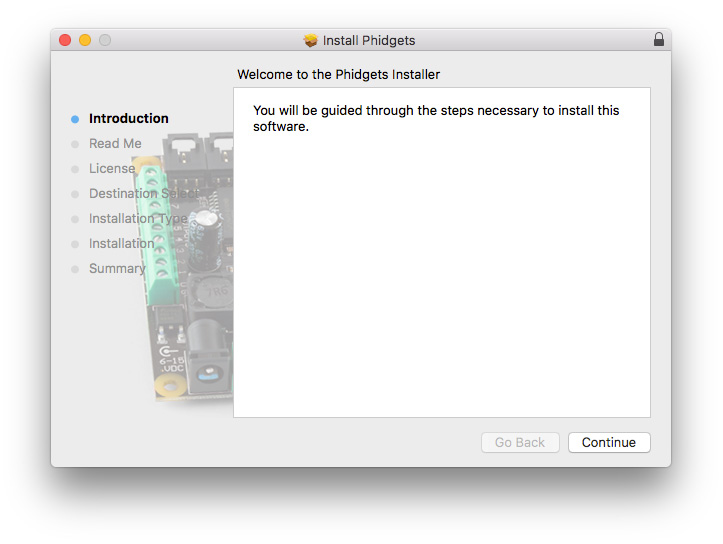
When prompted, continue with the installation: | |||
[[File:OSX Install 2.png|link=|alt=macOS Install|center]] | [[File:OSX Install 2.png|link=|alt=macOS Install|center]] | ||
If you are using OS X 10.13 or newer you will also need to give explicit permission for the driver to function. You can read about this here[https://developer.apple.com/library/content/technotes/tn2459/_index.html]. | |||
The libraries are now installed on your machine. Next, let's verify that they are working properly. | |||
===Verify=== | ===Verify=== | ||
The best way to verify that your libraries are | The best way to verify that your libraries are working properly is to use the Phidget Control Panel. The control panel is a powerful tool that will help you develop your Phidgets applications. Get started by following the instructions below: | ||
Open Finder and navigate to the Phidget Control Panel in the Applications list: | |||
[[File:OSX Finder Apps.png|link=|900px|alt=macOS Finder Apps|center]] | |||
Double-click on the Phidgets icon to bring up the Phidget Control Panel. You can now see all the Phidgets that are plugged into your machine, as well as any Phidgets that are on the network: | |||
[[File:OSX ControlPanel General.png|link=|alt=macOS Control Panel General|center]] | [[File:OSX ControlPanel General.png|link=|alt=macOS Control Panel General|center]] | ||
Click on the arrow beside a device to expand it so that you can see all available channels. Double-click on one of these channels to open up a window that lets you interact with it: | |||
[[File:OSX Control Panel Channel.png |link=|alt=macOS Control Panel Channel|center]] | |||
The Phidget Control Panel can be used for testing devices, updating firmware, enabling a network server, and more! Visit the [[Phidget Control Panel|Phidget Control Panel page]] for more information. | |||
Your Phidget is now able to communicate with your development machine. The next step is selecting a programming language so you can start to write some code! | Your Phidget is now able to communicate with your development machine. The next step is selecting a programming language so you can start to write some code! | ||
==Programming== | |||
Ready to write some code? Select one of the programming languages below: | Ready to write some code? Select one of the programming languages below: | ||
* [[Language - C | ''Great choices for beginners:'' | ||
* [[Language - C|C]] | |||
* [[Language - C Sharp|C#]] | * [[Language - C Sharp|C#]] | ||
* [[Language - Python | Python]] | * [[Language - Python | Python]] | ||
* [[Language - Java | Java]] | * [[Language - Java | Java]] | ||
''Also supported:'' | |||
* [[Language - Objective C | Objective-C]] | * [[Language - Objective C | Objective-C]] | ||
* [[Language - JavaScript | JavaScript]] | * [[Language - JavaScript | JavaScript]] | ||
| Line 61: | Line 66: | ||
* [[Language - Max/MSP|Max/MSP]] | * [[Language - Max/MSP|Max/MSP]] | ||
==Phidget Network | ==Phidget Network Server== | ||
The Phidget Network Server is an extremely useful tool that allows you to remotely control Phidgets over your network. If you haven't already, check out the [[Phidget Network Server]] page for a complete overview. | |||
===Try it Out!=== | |||
In order to try the Phidget Network Server out, you will need a host computer, and a client computer: | |||
*'''Host computer:''' the computer that is physically connected to the Phidgets via USB and is running the Phidget Network Server. | |||
*'''Client computer:''' a computer running a Phidgets application that accesses Phidgets connected to the host computer. | |||
If you only have one computer, don't worry, your machine can act as both a host and a client. | |||
Next, open the Phidget Control Panel on your host computer. Do this by double-clicking on the [[File:Ph.jpg|link=]] icon in your applications folder. Navigate to the Network Server tab, you will see the following: | |||
[[File:macos_networkserver.png|link=|center]] | |||
From here, you can start or stop the Network Server. You can also decide when the Network Server will start. | |||
[[File:macos_networkserver_run.png|link=|center]] | |||
Check the automatic start box and enter a server name. By enabling automatic startup, the Network Server will run immediately after macOS boots, so you won't have to manually start it again. You can verify the Network Server is running by looking at the label beside the start/stop button. | |||
Now that you have the Network Server running on your host computer, the next step will be accessing the Phidgets connected to your host computer from your client computer. Follow the steps below: | |||
Open the Phidget Control Panel on your client computer. You will see something like this: | |||
[[File:macos_controlpanel_remote.png|link=|center]] | |||
As you can see from the image above, Phidget servers are listed under the following heading: | |||
*Remote Server: Servername | |||
You now have access to the Phidgets that are connected to your host computer. Try double-clicking one of them to bring up an example: | |||
[[File:macos_controlpanel_remoteexample.png|link=|center]] | |||
Note the label in the example indicating a remote connection. This means the example is using the Phidget Network Server in order to communicate with the device. | |||
[[ | ===What's Next?=== | ||
Now that you have seen the Phidget Network Server in action, you may be interested in implementing an application that takes advantage of all it's features. Luckily, every programming language we support comes with example code on how to do this! Jump to [[#Programming|programming languages]] above. | |||
[[ | For more information about the Network Server tab on the Phidget Control Panel, visit the Visit the [[Phidget Control Panel|Phidget Control Panel]] page. | ||
==Advanced Information== | ==Advanced Information== | ||
These files | ===Installed Files=== | ||
These files were placed onto your system as part of the installation process: | |||
{| class="wikitable" | |||
|- | |||
| align="center" style="background:#f0f0f0;"|'''File''' | |||
| align="center" style="background:#f0f0f0;"|'''Description''' | |||
| align="center" style="background:#f0f0f0;"|'''Location''' | |||
|- | |||
|Phidget22.framework||contains our library, which is used at run-time.||/Library/Frameworks | |||
|- | |||
|Phidget.kext||kernel extension.||/System/Library/Extensions | |||
|- | |||
|phidgetnetworkserver22||Phidget Network Server||/usr/local/bin | |||
|- | |||
|} | |||
Revision as of 17:55, 3 January 2018
Quick Downloads
Already know what you're doing? Here you go:
If you need older versions of the Phidget22 macOS libraries, click here.
If you need Phidget21 macOS libraries, click here.
Getting Started with macOS
Welcome to using Phidgets with macOS. If you are ready to go, the first step in creating macOS applications with Phidgets is installing our libraries!
Install
To install our libraries, download the installer for your machine:
Next, open up the installer, and double click on Phidgets.pkg to install the libraries:
When prompted, continue with the installation:
If you are using OS X 10.13 or newer you will also need to give explicit permission for the driver to function. You can read about this here[1].
The libraries are now installed on your machine. Next, let's verify that they are working properly.
Verify
The best way to verify that your libraries are working properly is to use the Phidget Control Panel. The control panel is a powerful tool that will help you develop your Phidgets applications. Get started by following the instructions below:
Open Finder and navigate to the Phidget Control Panel in the Applications list:

Double-click on the Phidgets icon to bring up the Phidget Control Panel. You can now see all the Phidgets that are plugged into your machine, as well as any Phidgets that are on the network:
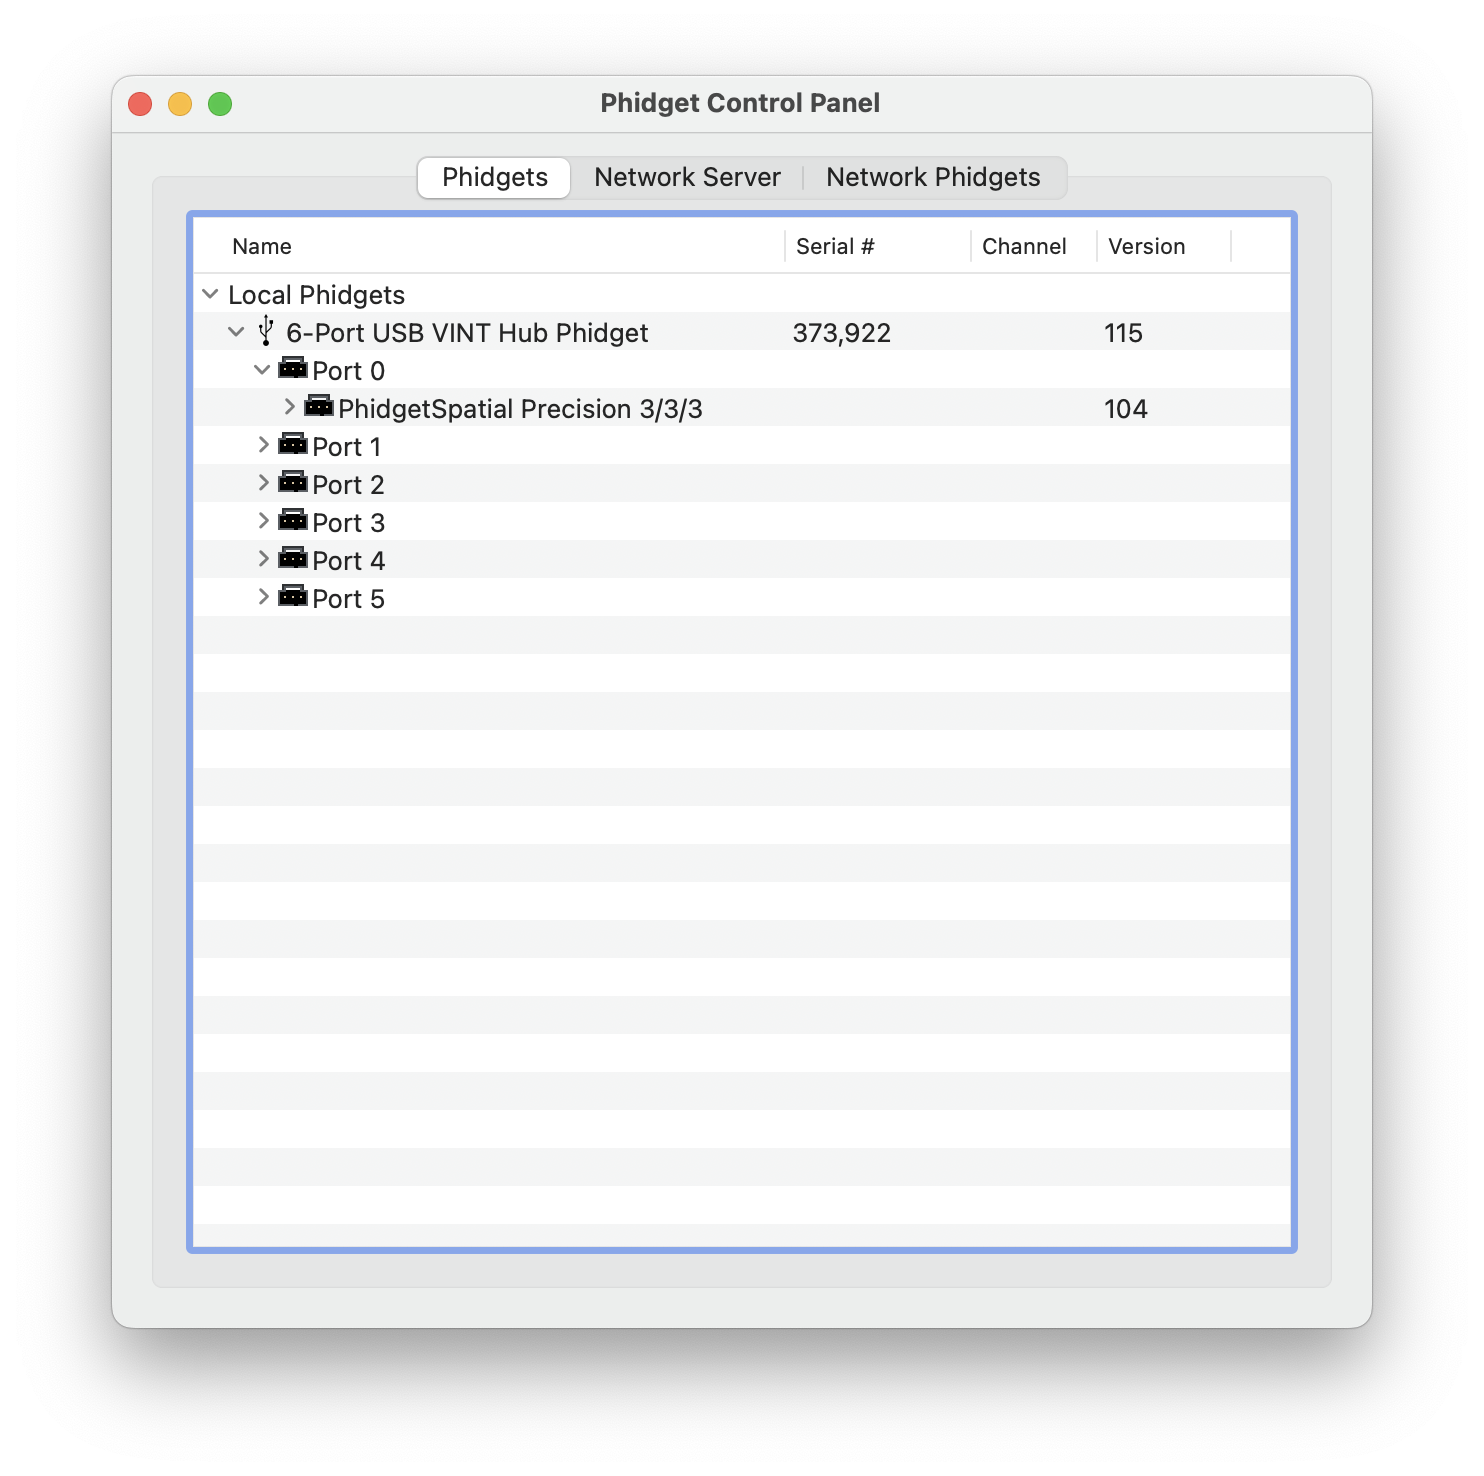
Click on the arrow beside a device to expand it so that you can see all available channels. Double-click on one of these channels to open up a window that lets you interact with it:

The Phidget Control Panel can be used for testing devices, updating firmware, enabling a network server, and more! Visit the Phidget Control Panel page for more information.
Your Phidget is now able to communicate with your development machine. The next step is selecting a programming language so you can start to write some code!
Programming
Ready to write some code? Select one of the programming languages below:
Great choices for beginners:
Also supported:
Phidget Network Server
The Phidget Network Server is an extremely useful tool that allows you to remotely control Phidgets over your network. If you haven't already, check out the Phidget Network Server page for a complete overview.
Try it Out!
In order to try the Phidget Network Server out, you will need a host computer, and a client computer:
- Host computer: the computer that is physically connected to the Phidgets via USB and is running the Phidget Network Server.
- Client computer: a computer running a Phidgets application that accesses Phidgets connected to the host computer.
If you only have one computer, don't worry, your machine can act as both a host and a client.
Next, open the Phidget Control Panel on your host computer. Do this by double-clicking on the ![]() icon in your applications folder. Navigate to the Network Server tab, you will see the following:
icon in your applications folder. Navigate to the Network Server tab, you will see the following:
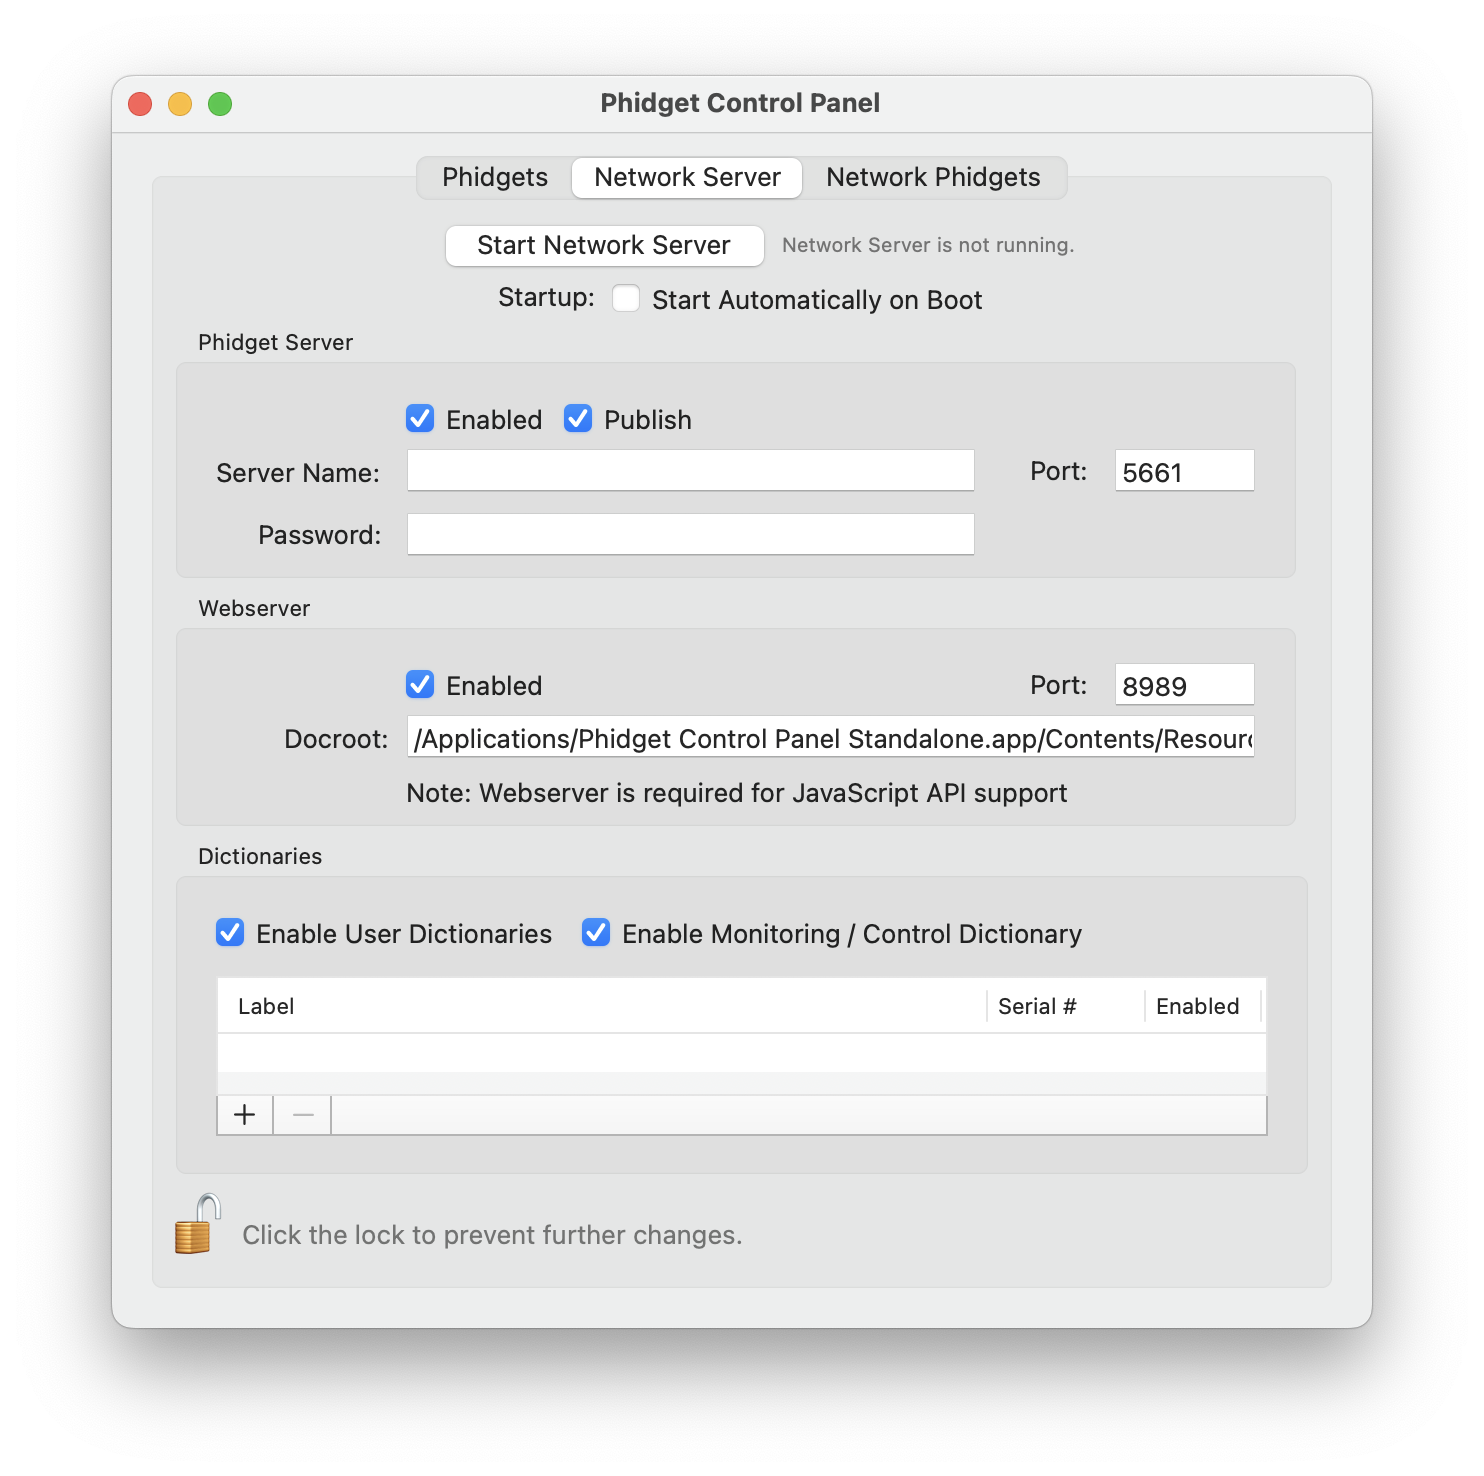
From here, you can start or stop the Network Server. You can also decide when the Network Server will start.
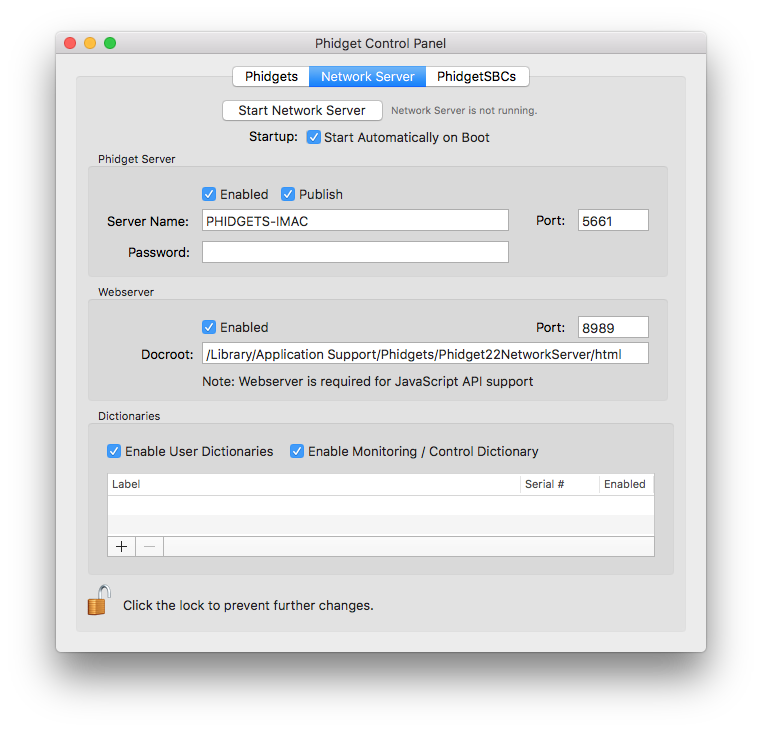
Check the automatic start box and enter a server name. By enabling automatic startup, the Network Server will run immediately after macOS boots, so you won't have to manually start it again. You can verify the Network Server is running by looking at the label beside the start/stop button.
Now that you have the Network Server running on your host computer, the next step will be accessing the Phidgets connected to your host computer from your client computer. Follow the steps below:
Open the Phidget Control Panel on your client computer. You will see something like this:
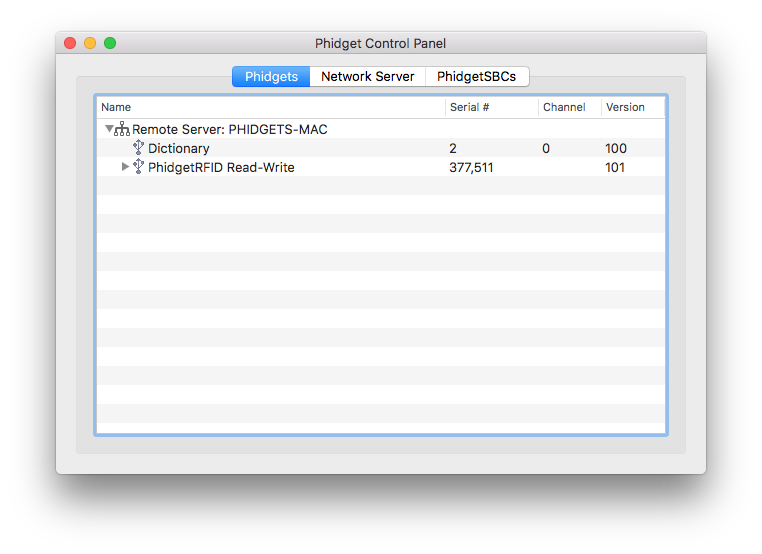
As you can see from the image above, Phidget servers are listed under the following heading:
- Remote Server: Servername
You now have access to the Phidgets that are connected to your host computer. Try double-clicking one of them to bring up an example:
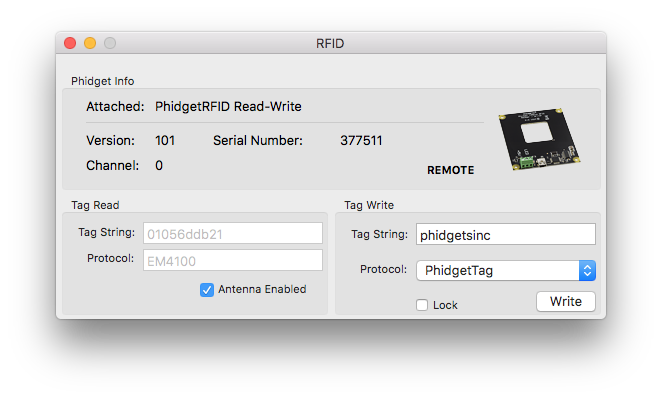
Note the label in the example indicating a remote connection. This means the example is using the Phidget Network Server in order to communicate with the device.
What's Next?
Now that you have seen the Phidget Network Server in action, you may be interested in implementing an application that takes advantage of all it's features. Luckily, every programming language we support comes with example code on how to do this! Jump to programming languages above.
For more information about the Network Server tab on the Phidget Control Panel, visit the Visit the Phidget Control Panel page.
Advanced Information
Installed Files
These files were placed onto your system as part of the installation process:
| File | Description | Location |
| Phidget22.framework | contains our library, which is used at run-time. | /Library/Frameworks |
| Phidget.kext | kernel extension. | /System/Library/Extensions |
| phidgetnetworkserver22 | Phidget Network Server | /usr/local/bin |